Roofing & Skylights - Part II
The following post contains affiliate links. To learn more about what this means, please visit our disclosures page here.
This post will start with more photos of our roofing endeavors! For a full description of the product we decided to use and explanation of the process, please go to our first roofing post, here.


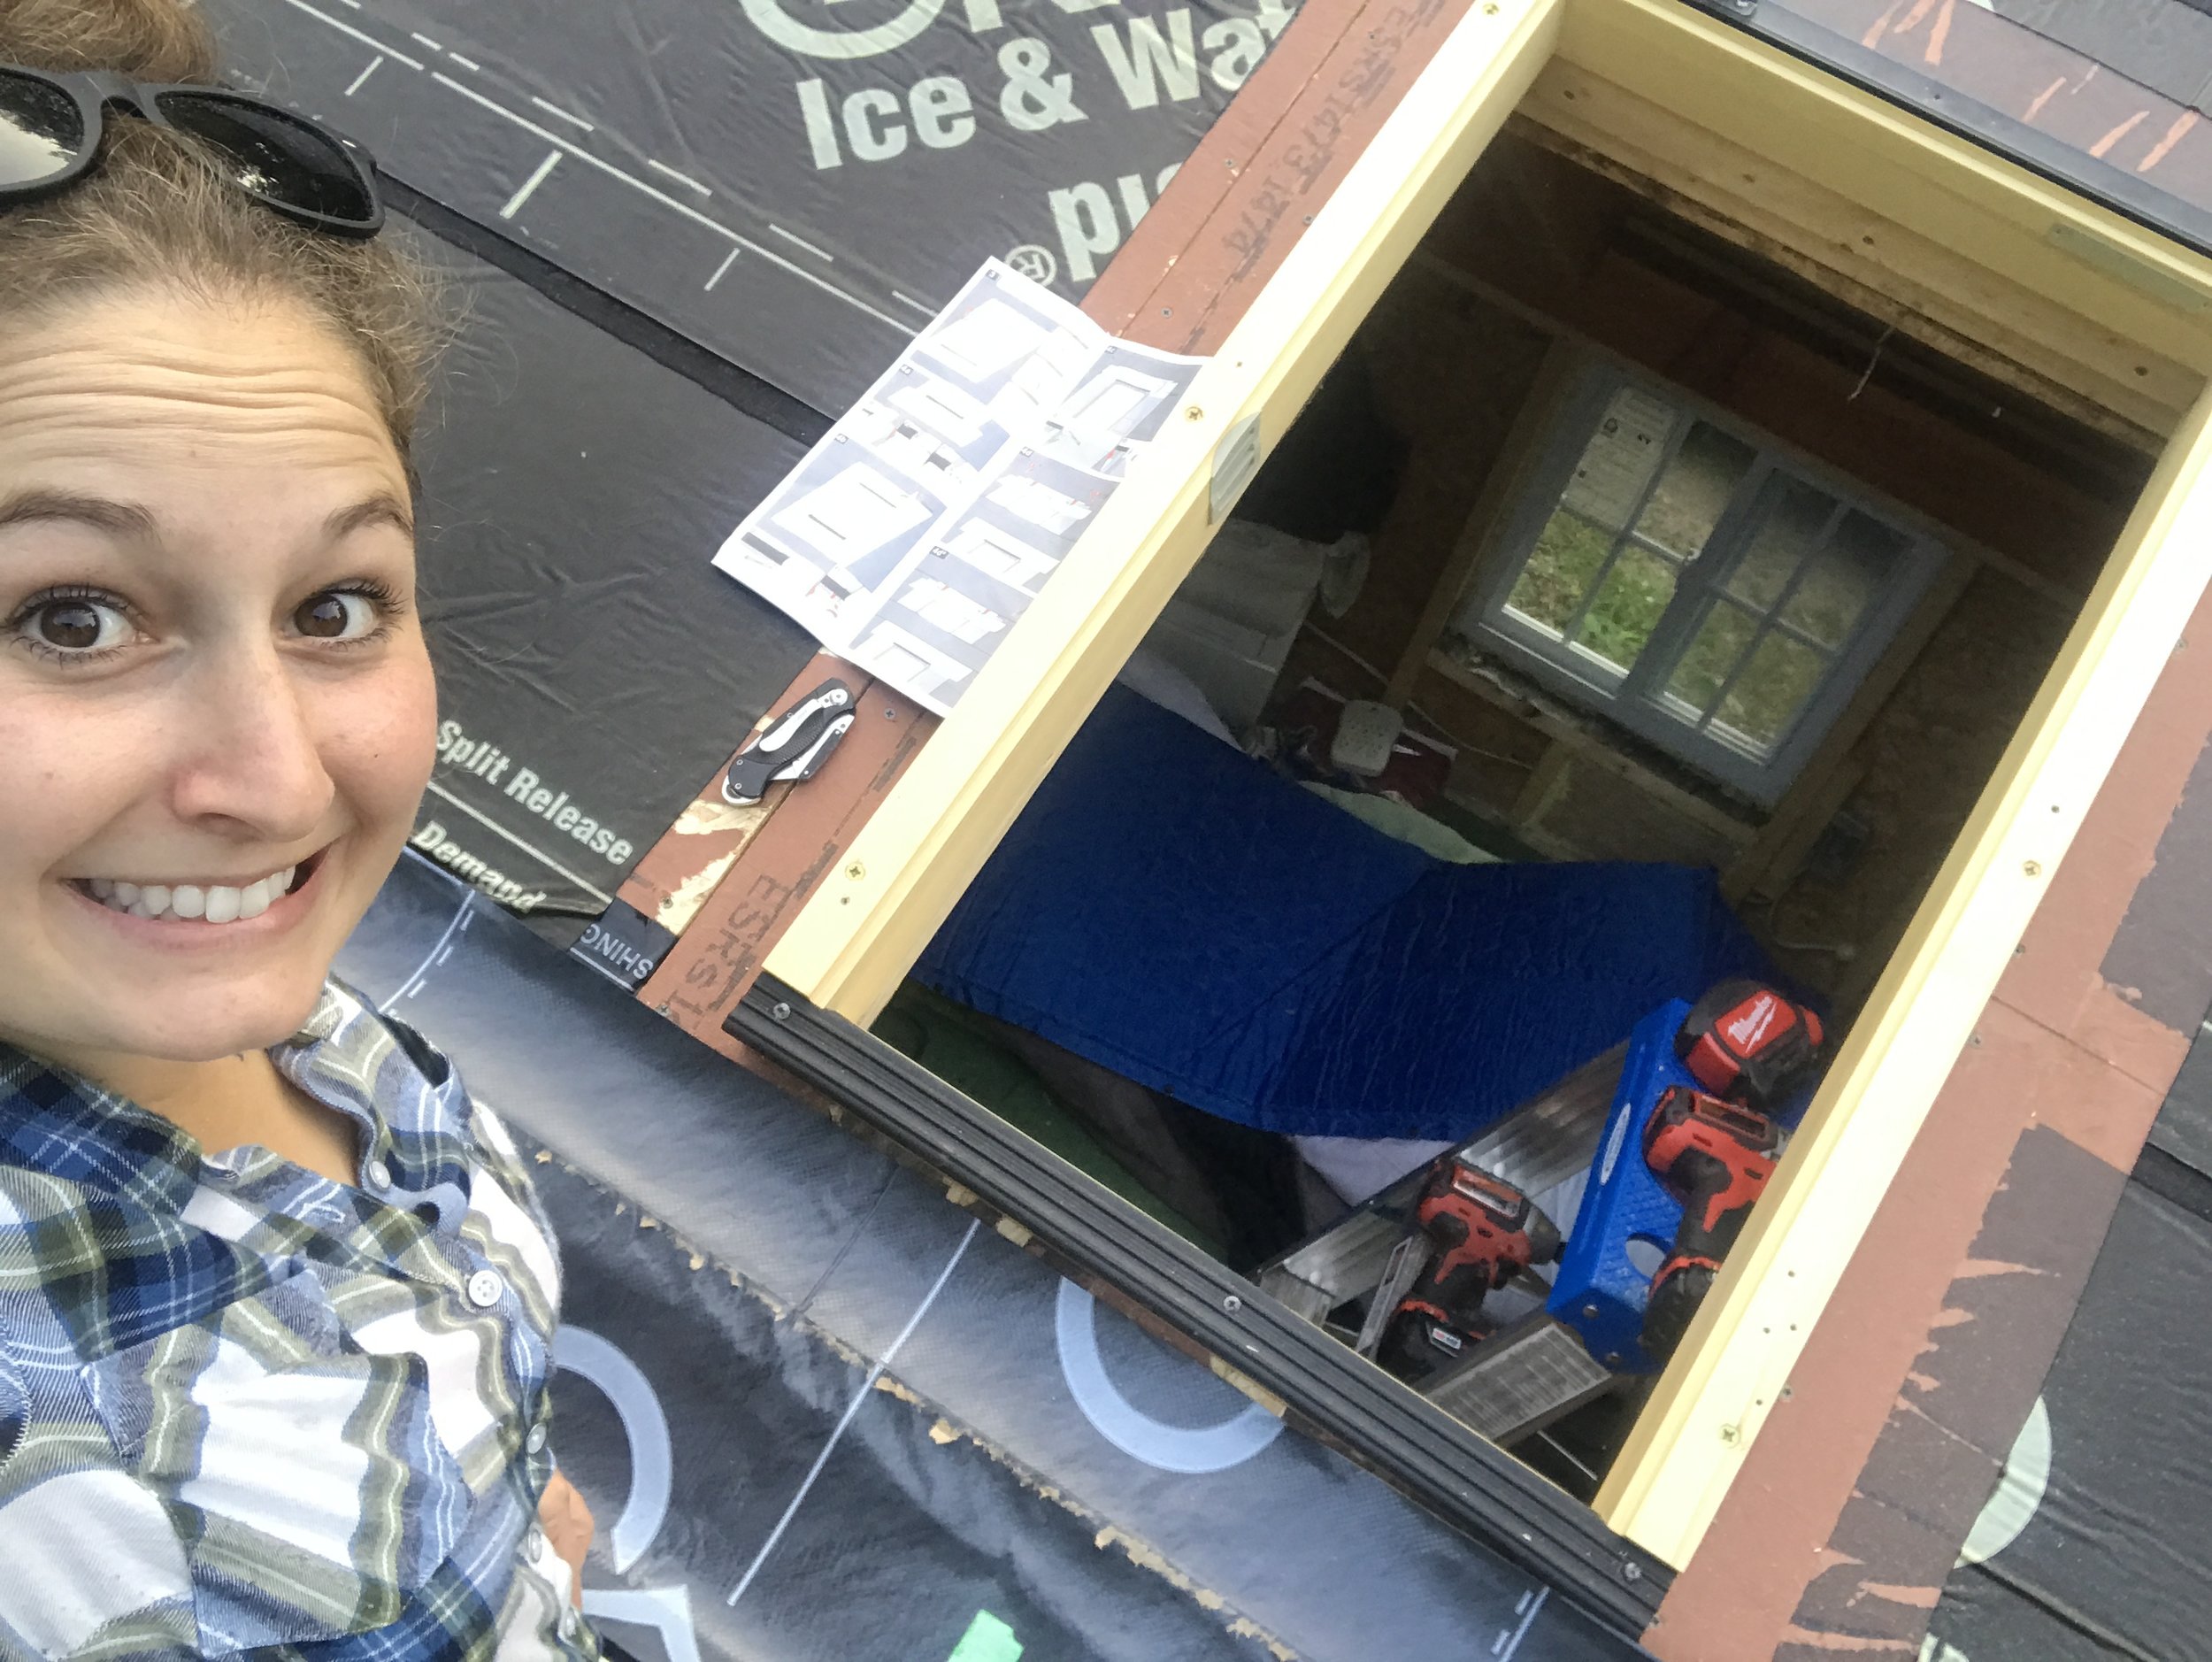
The second skylight we installed went MUCH more easily than the first! We had some experience under our belt by this point. The Fakro skylight we installed in the bedroom is an egress window that hinges along the side and opens all the way.

I framed this skylight correctly the FIRST time, after learning from my first (two!) screw-ups on the venting, kitchen skylight. I cut the Grace Ice & Water Shield back, set the window in place (making sure that it was level both ways), and reinstalled new Grace over the edges of the window, overlapping the hole I previously cut.
In my Part I post on the kitchen skylight I stressed the importance of purchasing the CORRECT flashing kit for the specific skylight you choose for your tiny house. This will ensure NO leaks or drafts!
After installing the appropriate Fakro flashing kit over the frame of the window (following the instructions carefully, OF COURSE!), I carefully placed the operating part of the window on top:


We camped out that night and in the morning the sun shined through our ceiling to wake us up for the very first time!


A photo of the tiny house lit up at night with BOTH skylights installed and weathertight!
