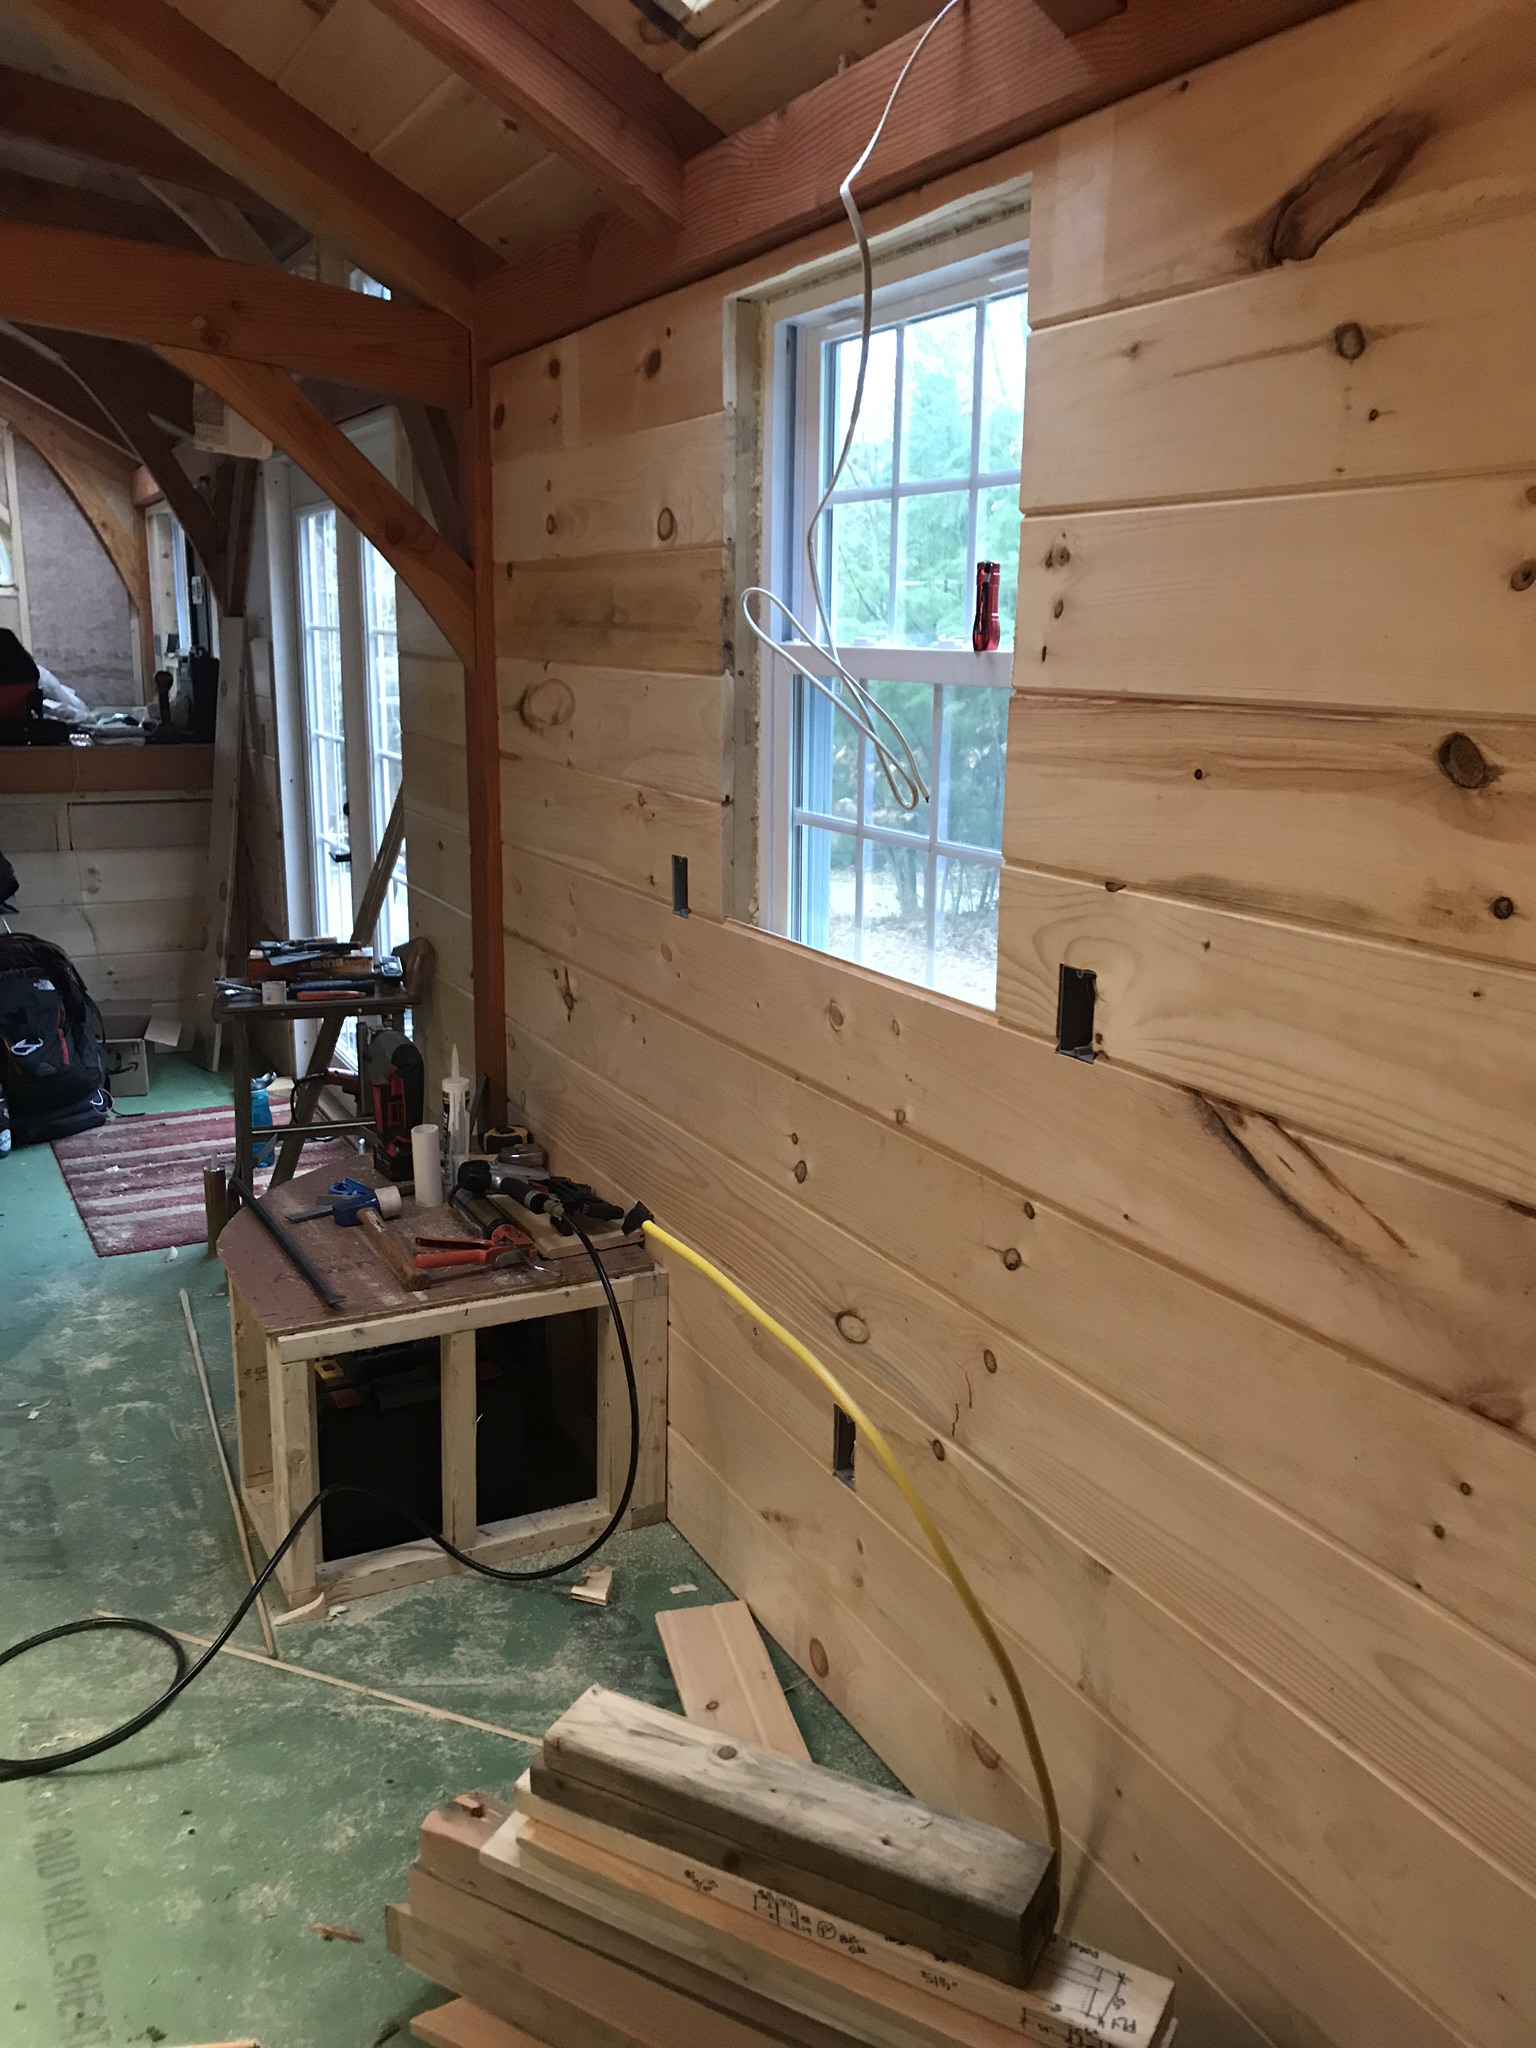
Pine Tongue & Groove Interior Finish
I will admit - I started getting antsy and wanted to install the wood stove, so we jumped right into finishing the wall behind where it would go (after we insulated, of course).
Brian and I picked up recycled rigid polyisocyanurate insulation boards last summer and we have been insulating the bays between our 2x4 studs, little by little as we go.

The pine we are using to finish the walls came from The Pine Outlet in Andover, NH. Mary and Mike were MORE THAN accommodating when it came to what we needed and when, as well as dropping it off at the site for us. We chose an 8” tongue-and-groove board with a v-groove detail; we used the same board on the ceiling which we installed earlier in our build.
Check out our post on installing the ceiling boards, here.
After the first wall was finished, we were ready to build the base for our wood stove. Stay tuned for a post on the wood stove installation coming up next!!

Please excuse the mess! :)

Installing the pine is very rewarding. It makes the house’s interior look cleaned up and almost finished! I use a brad nailer with my compressor, and some Liquid Nails (Wood Paneling) for extra security.
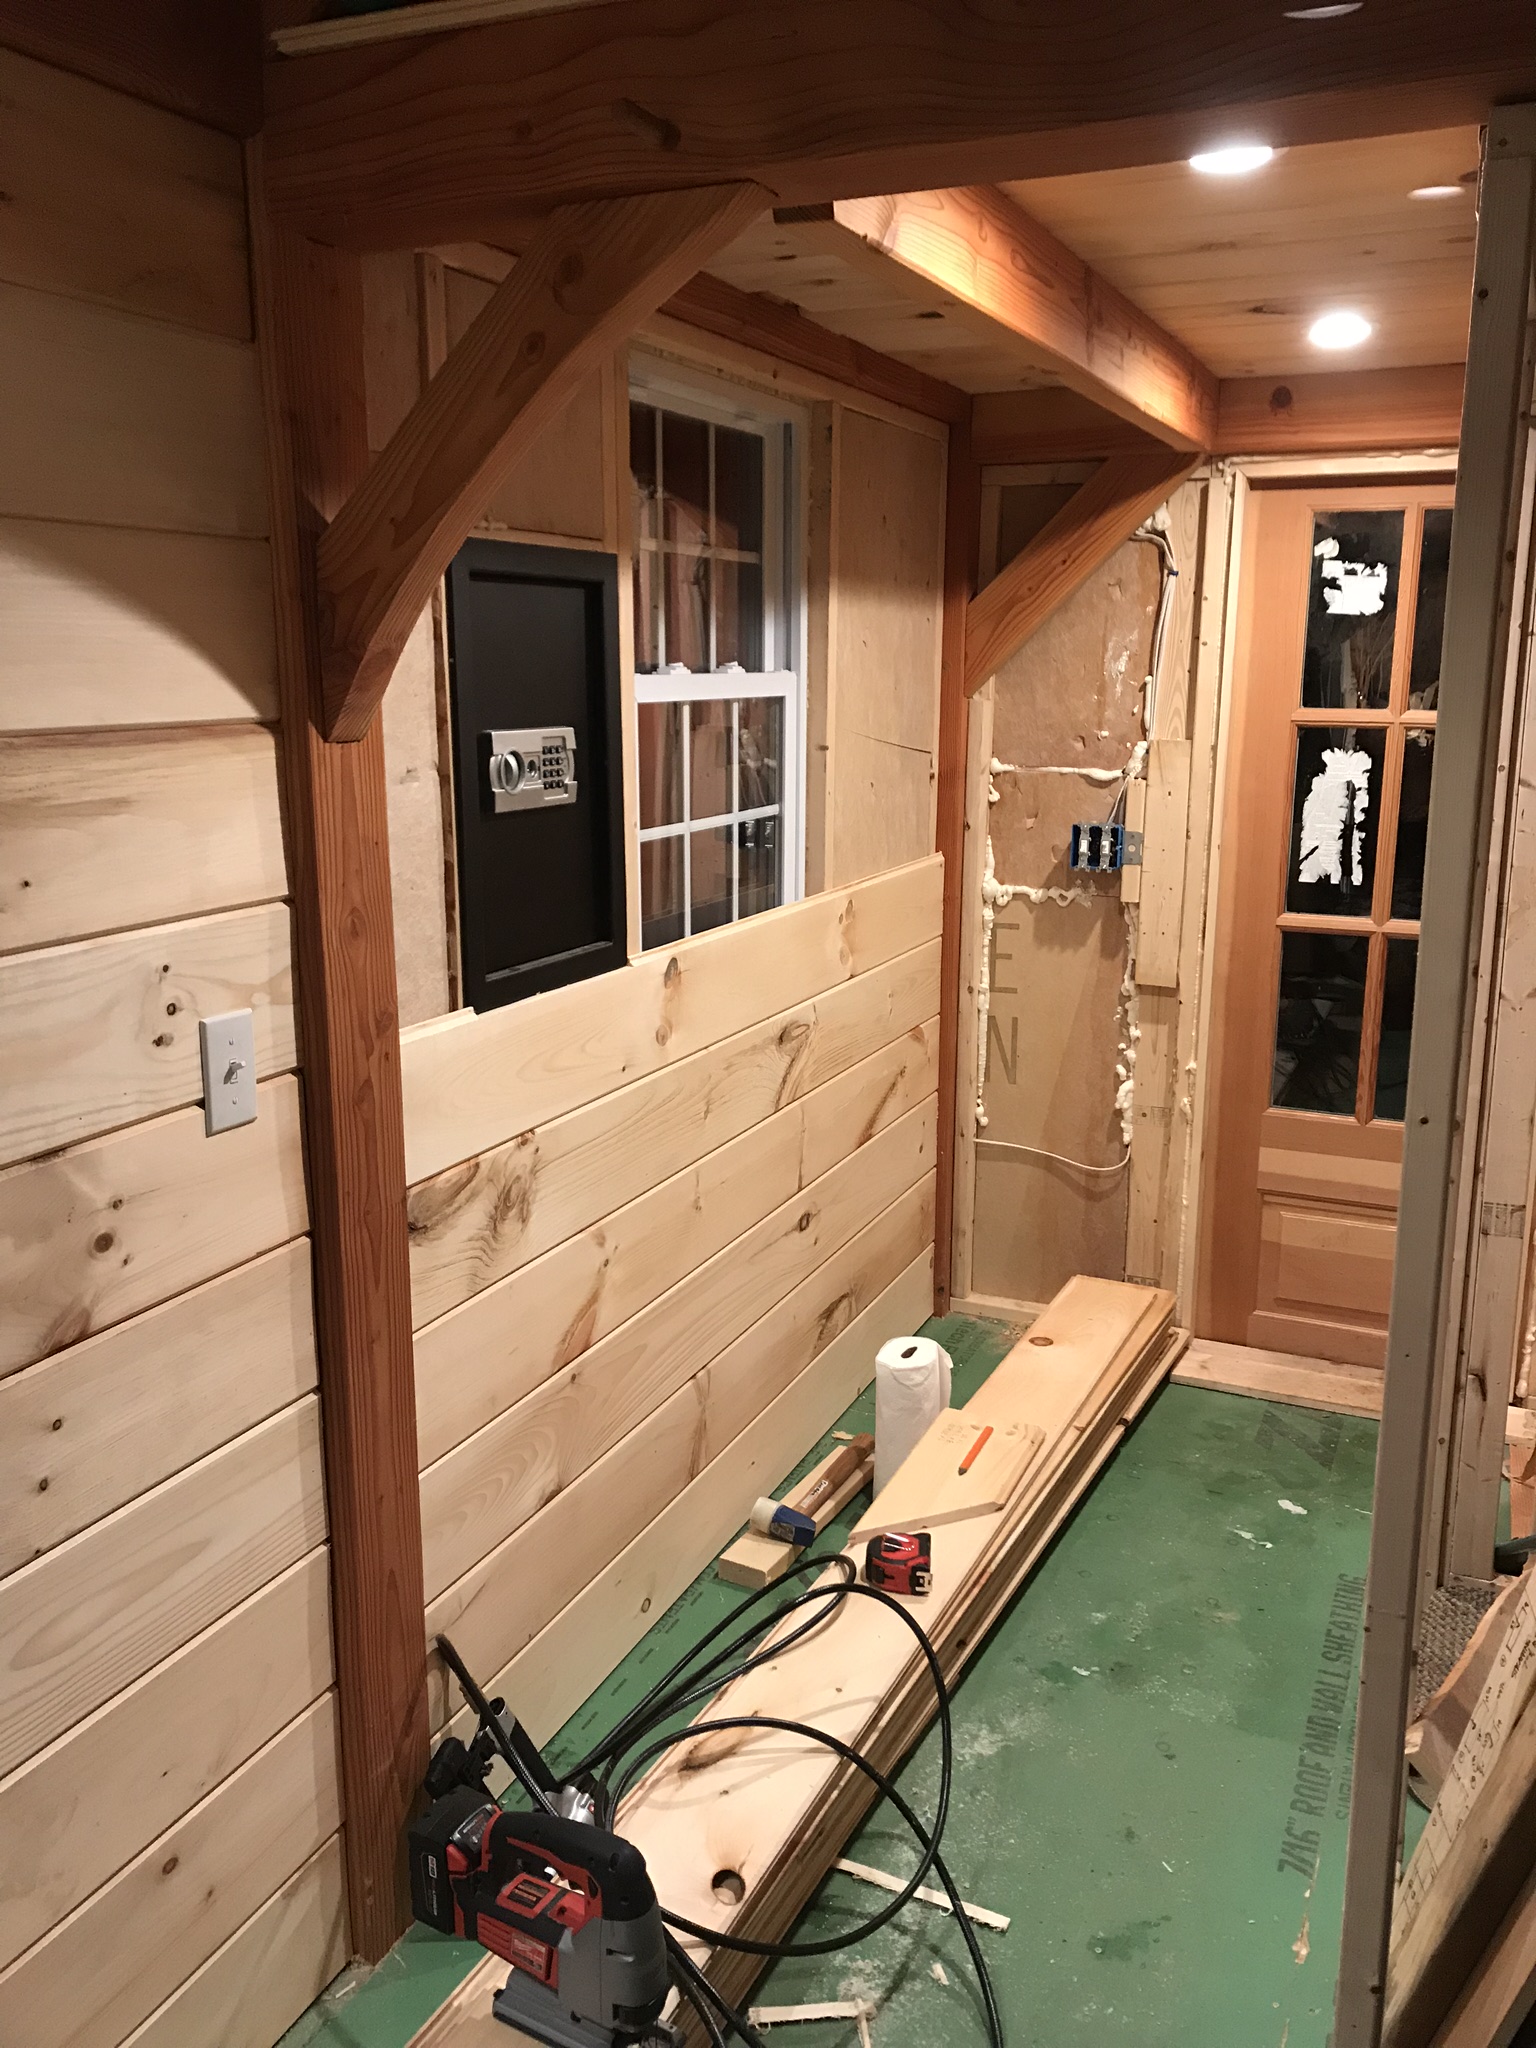
After installing the wood stove, I continued on to the front entry:


The first bathroom walls were then paneled and I tried out a quarter-round trim in an inside corner:


It’s time to move on to the bedroom walls, as well as continue on the bathroom walls! More photos to come later.