Skylight Trim & Shades
The following post contains affiliate links. To learn more about what this means, please visit our disclosures page here.
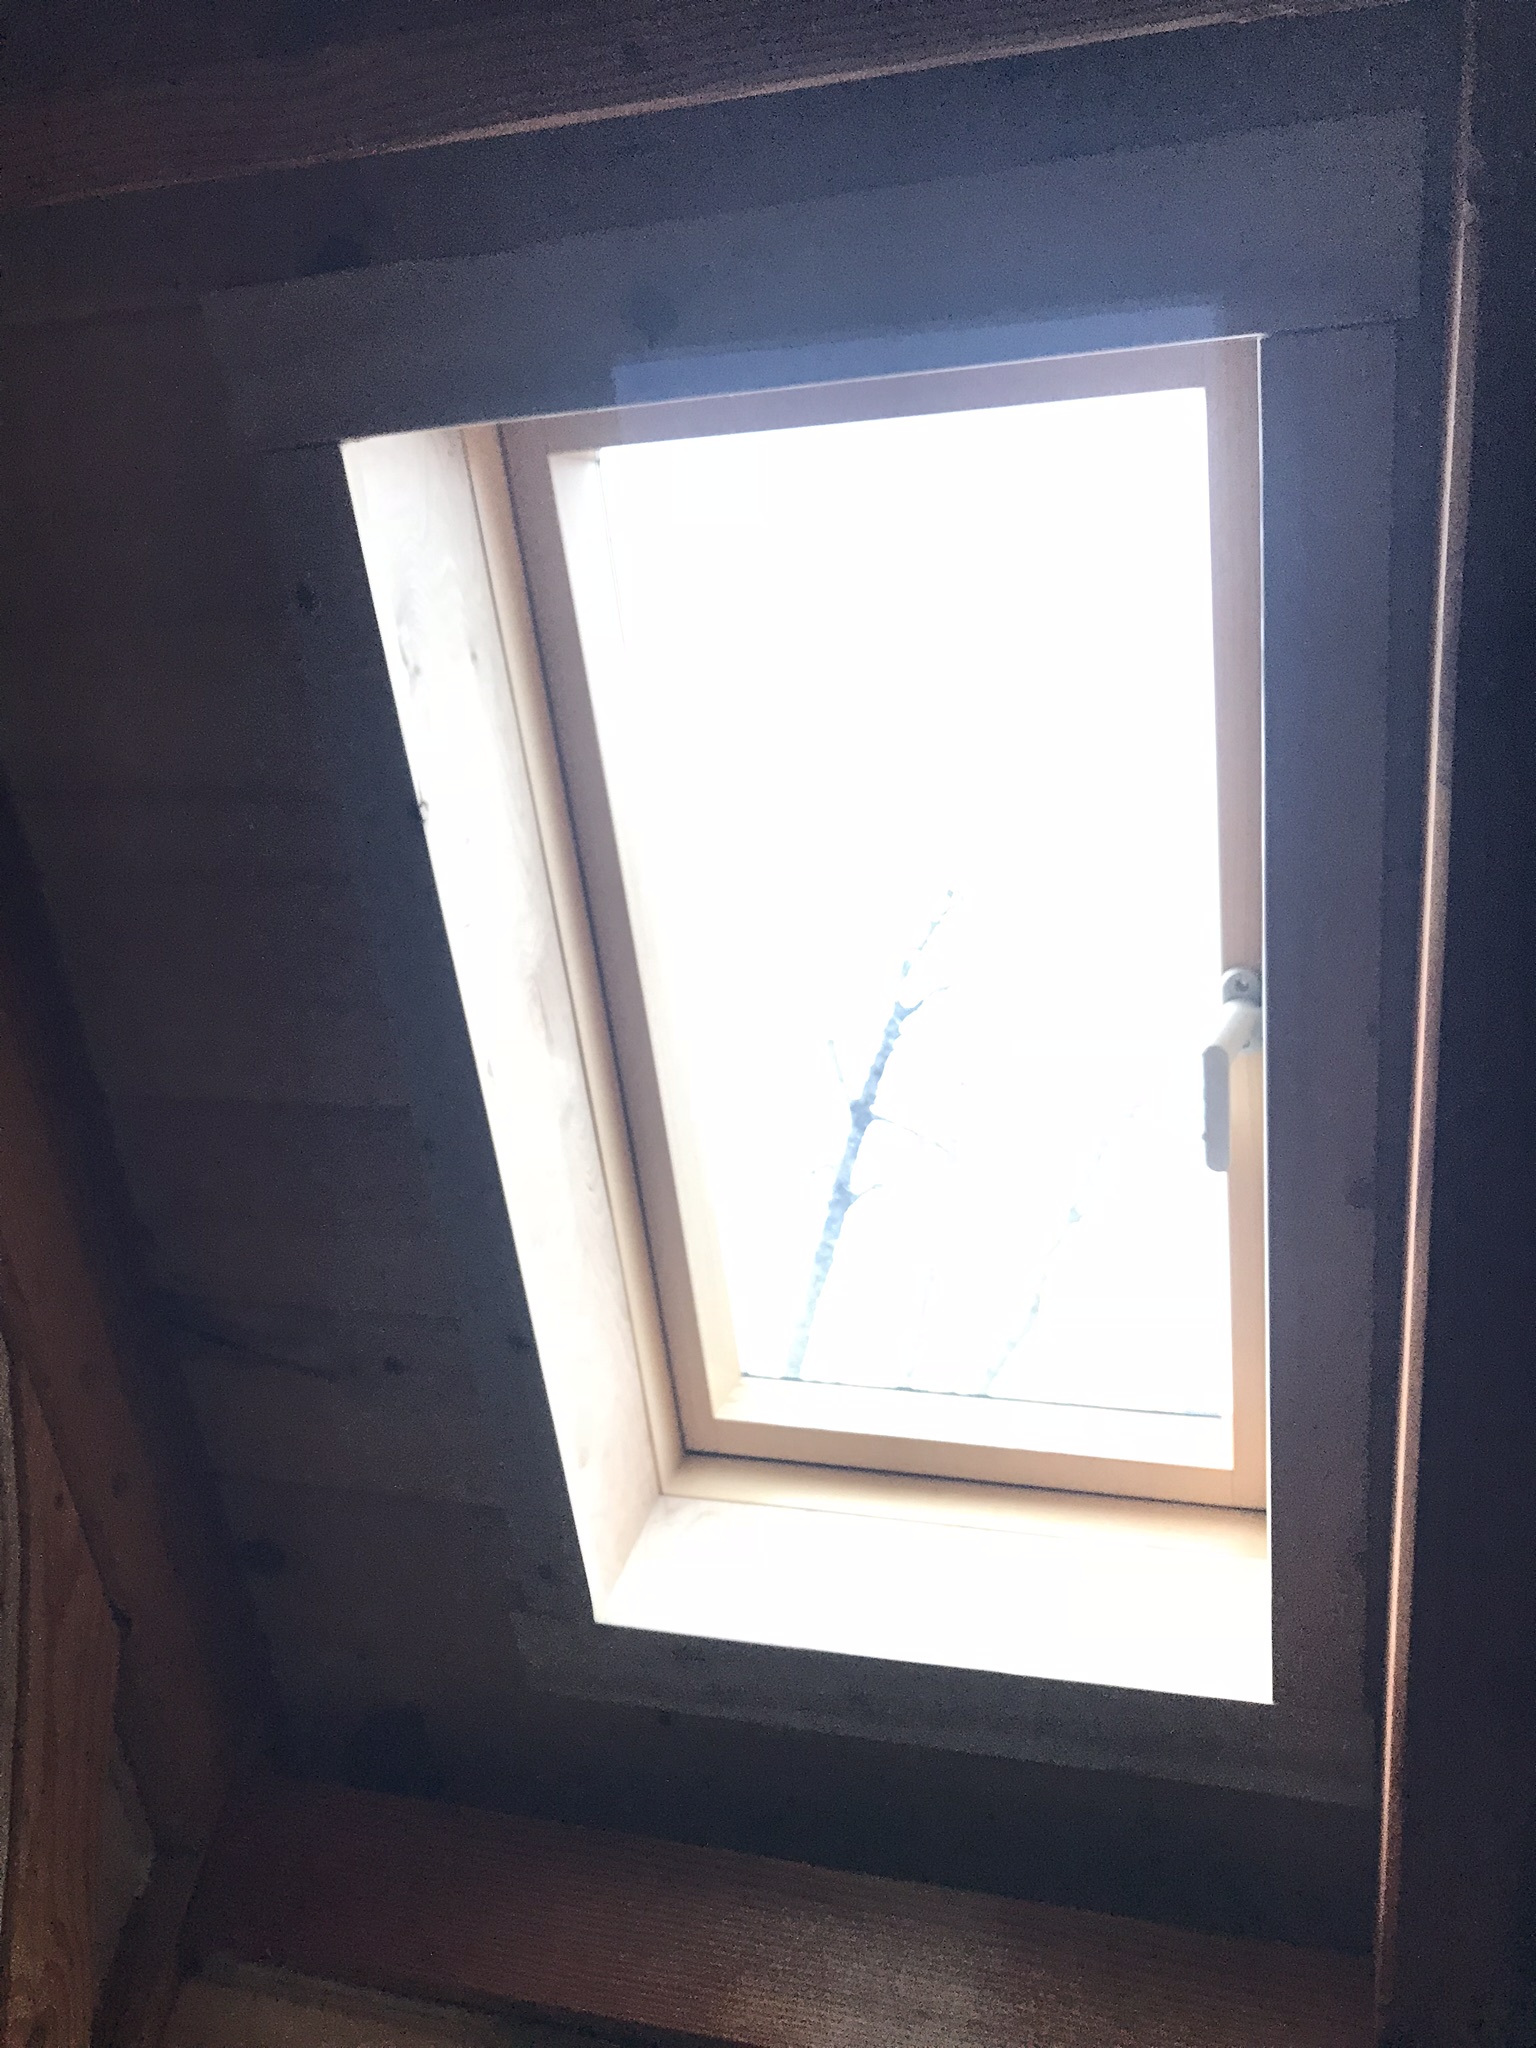
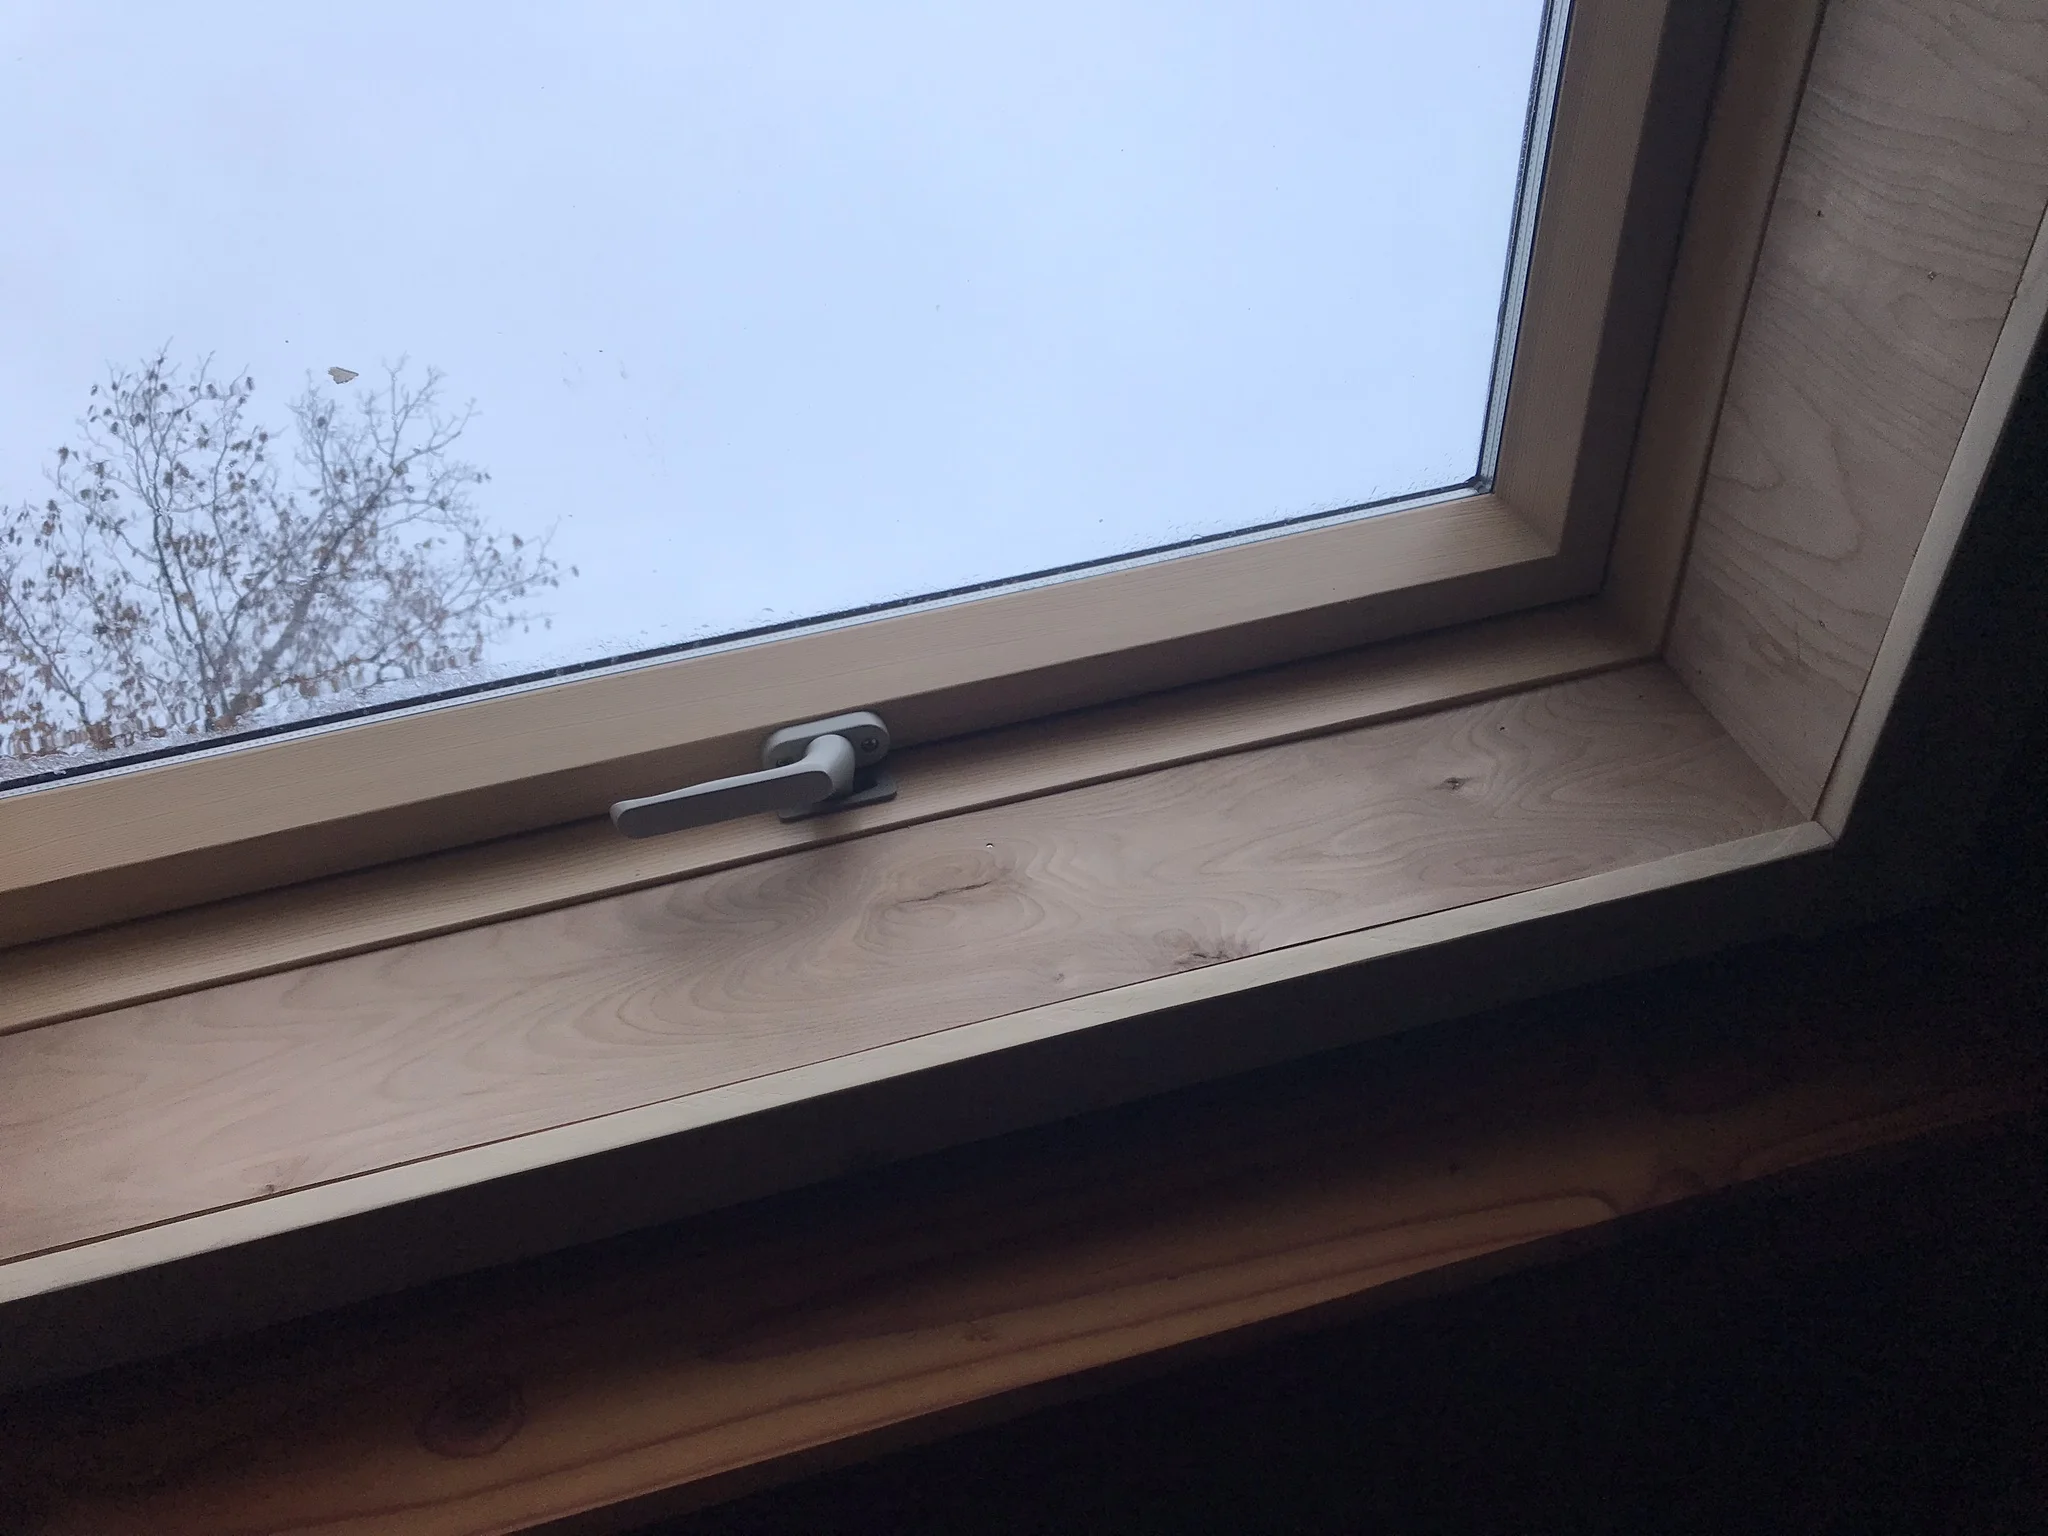
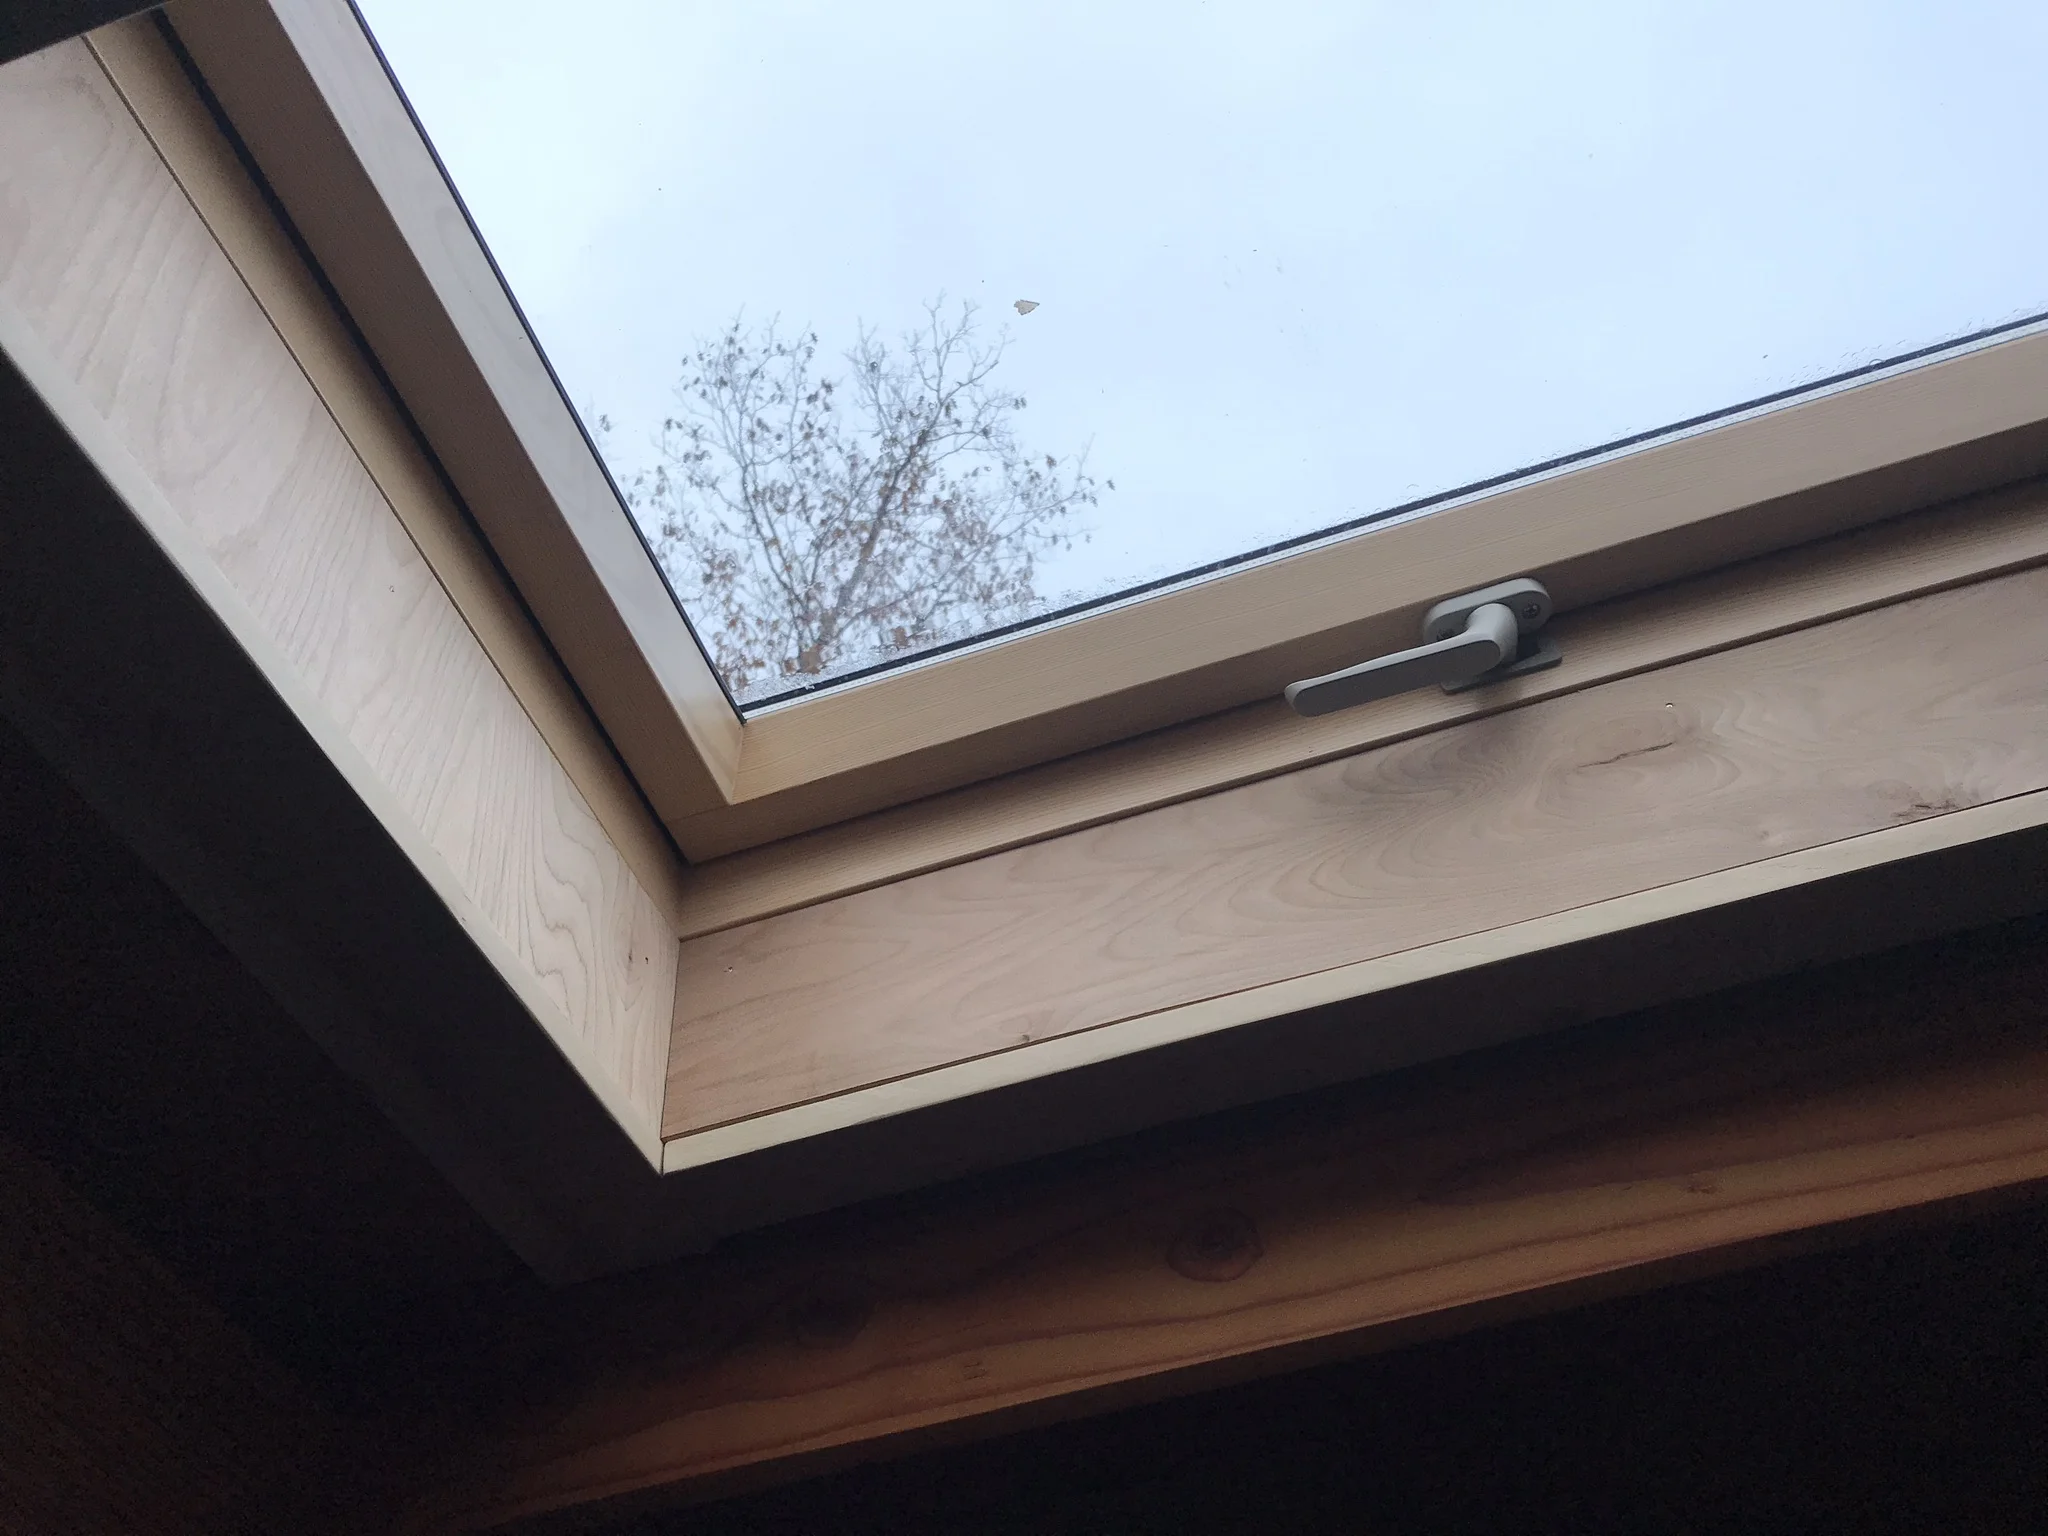
After installing the skylights and before trimming out the jambs or adding face trim, this is what our Fakro skylights looked like. Not great.
This one is the egress skylight in the bedroom:


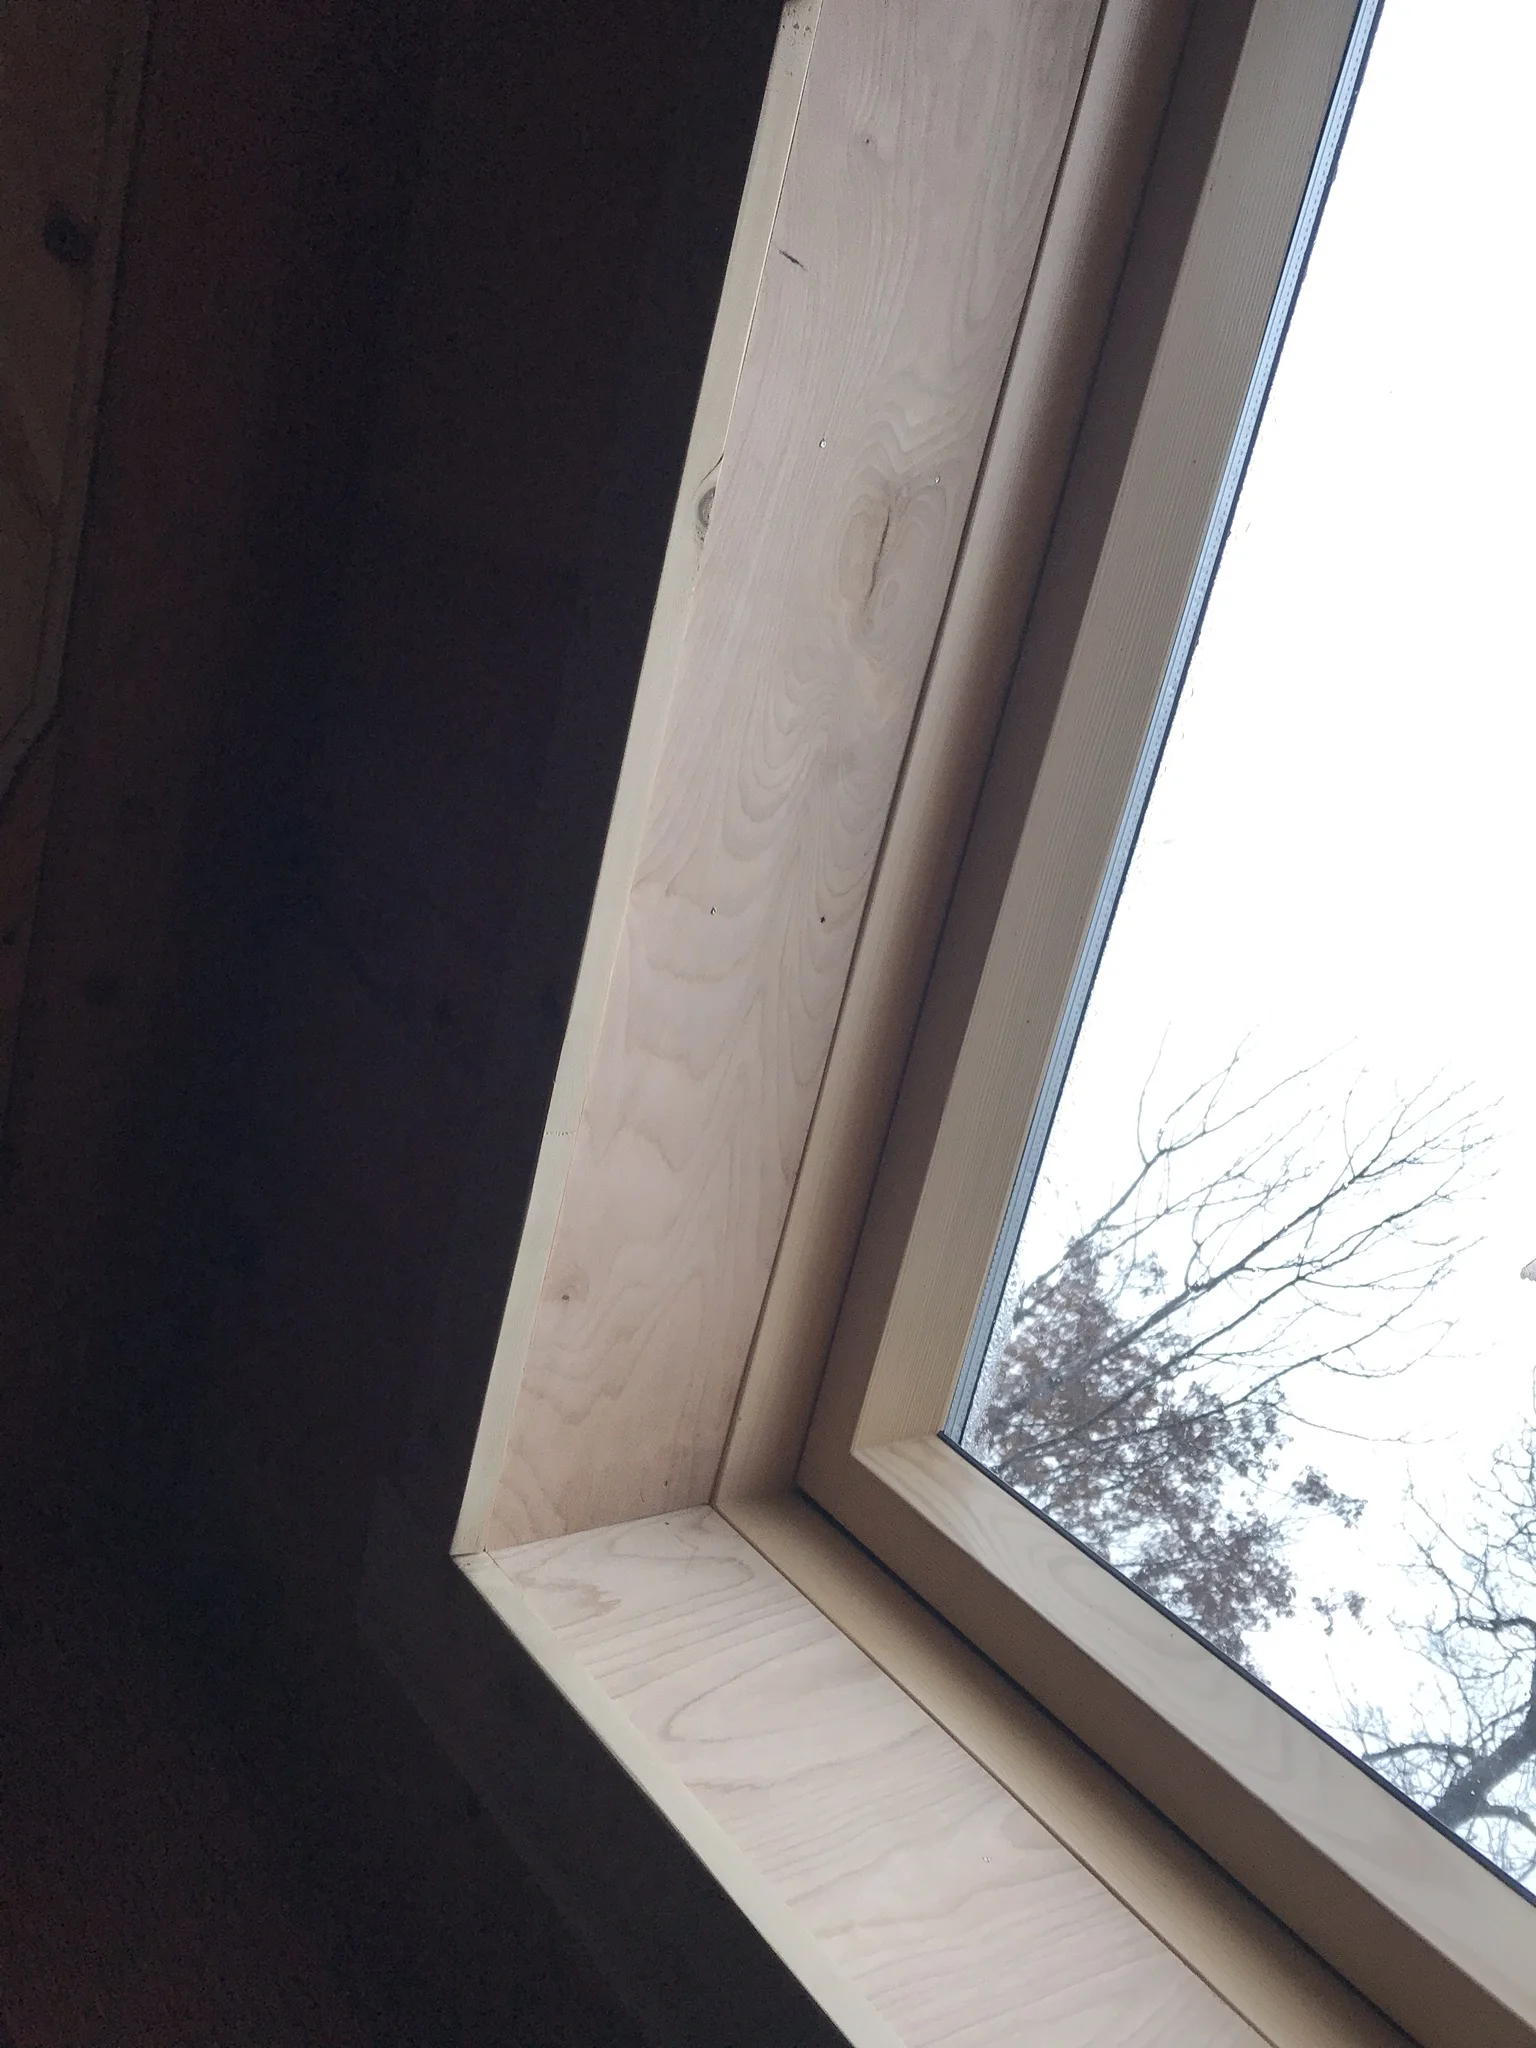
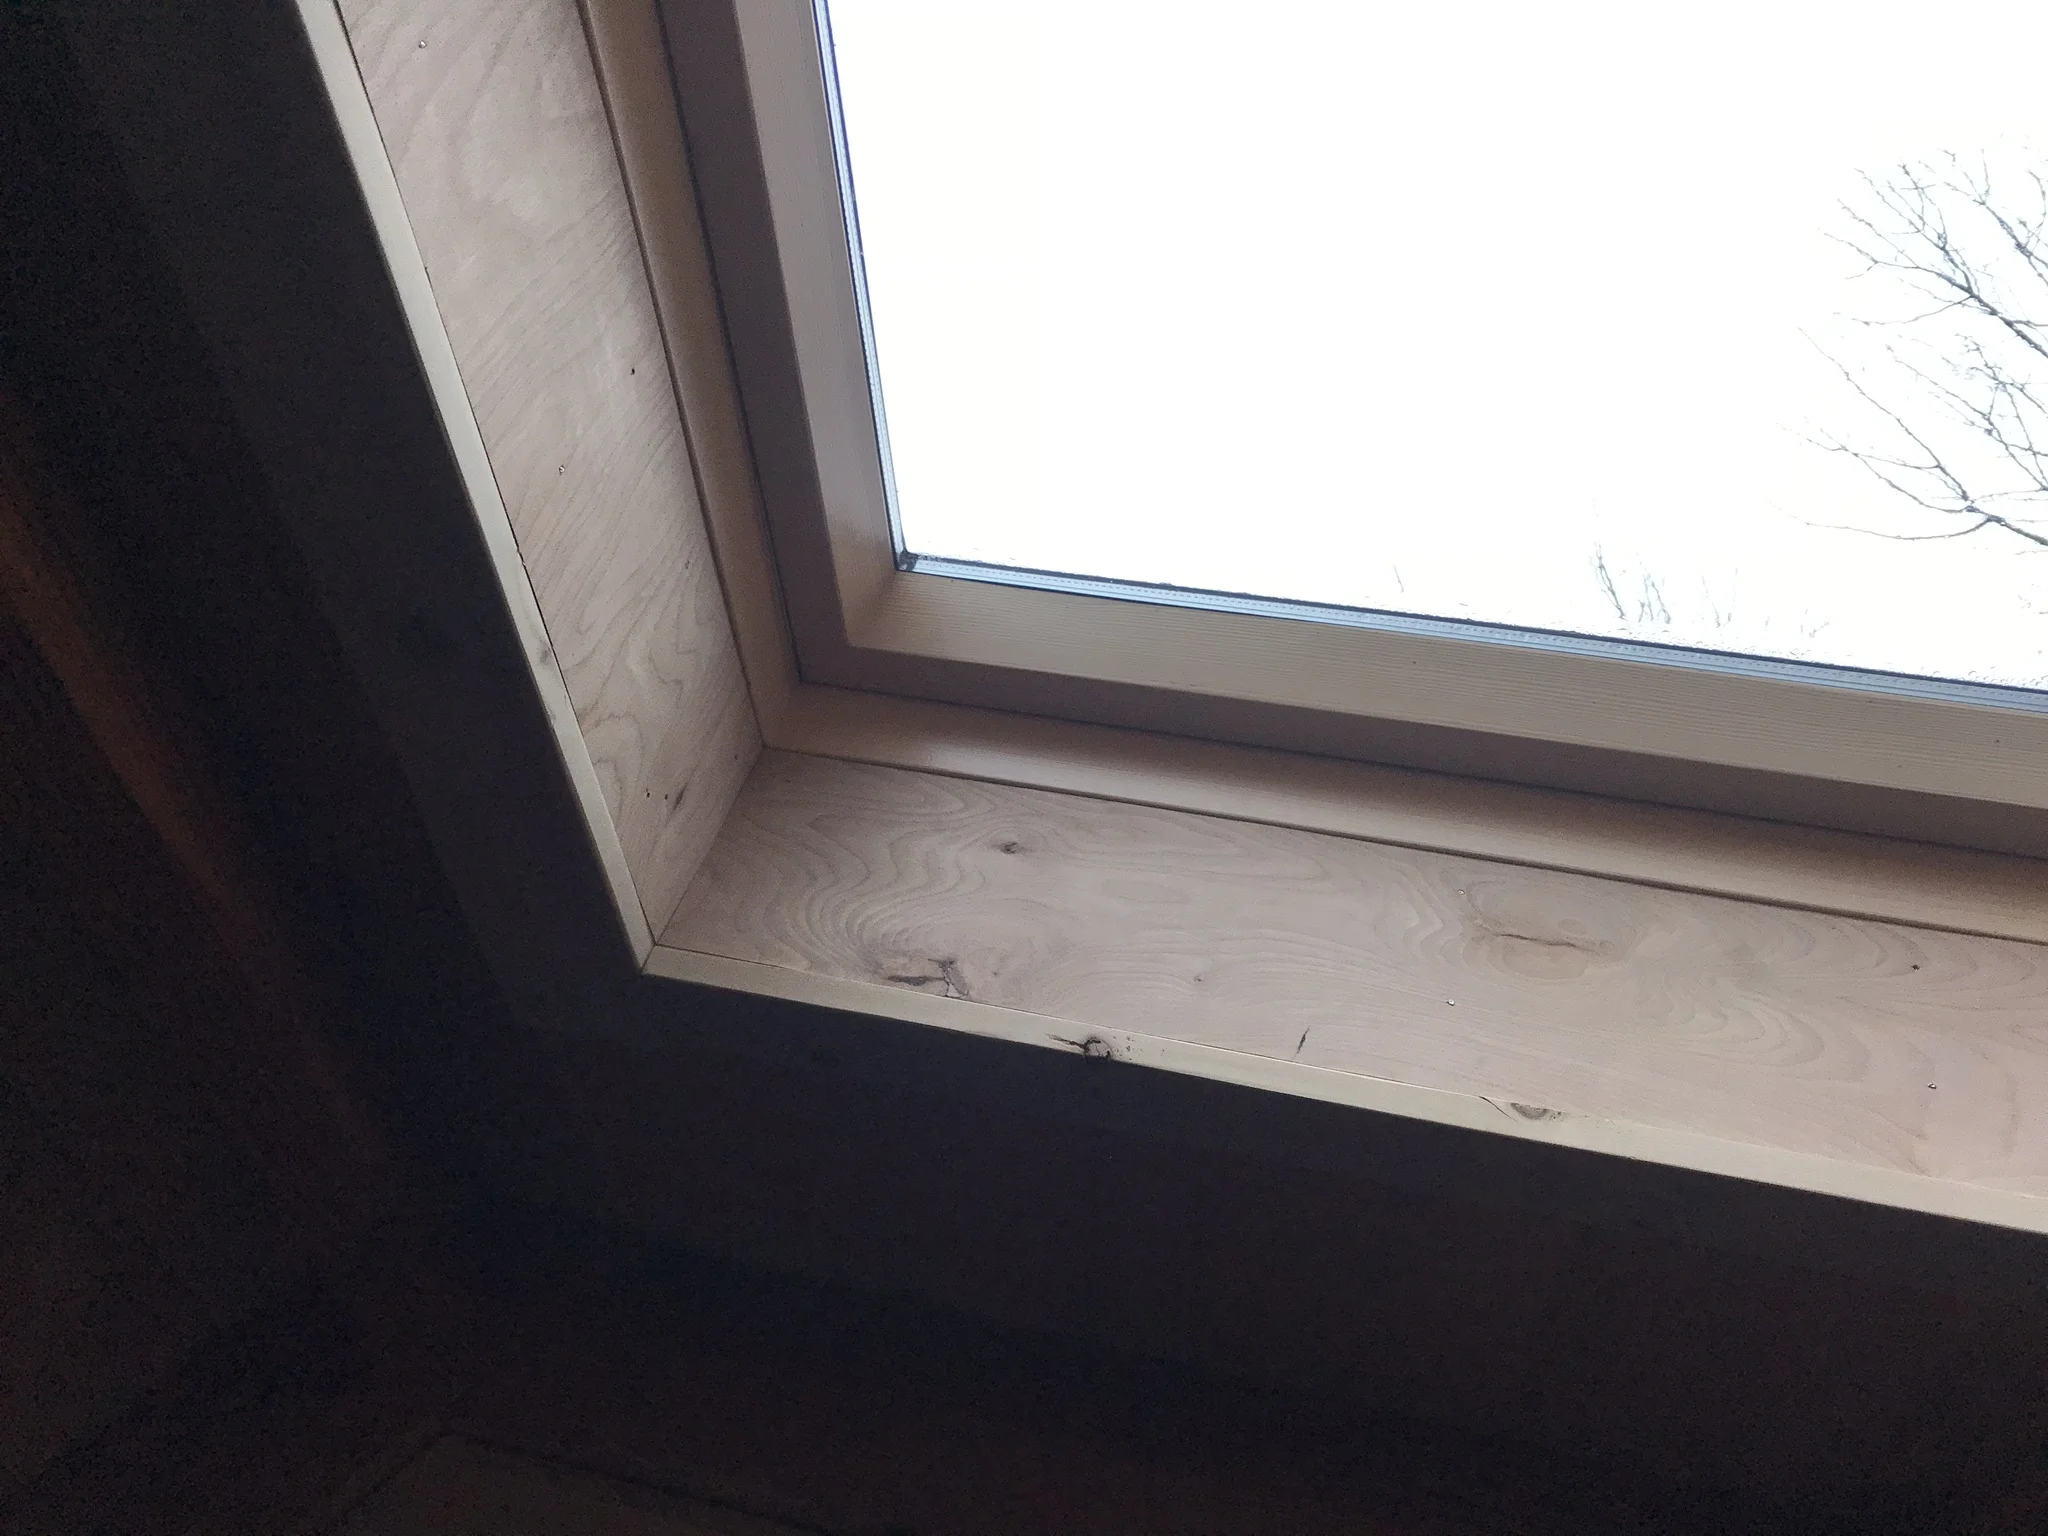
For the bedroom skylight, because there wasn’t much room between the window frame and my blocking, I actually decided to trim the jambs out in 14” plywood. It wasn’t easy because of the flimsy nature of plywood that thin. But after installing the cedar face trim, it looks great! We are still deciding if we want to stain the trim or just seal it.

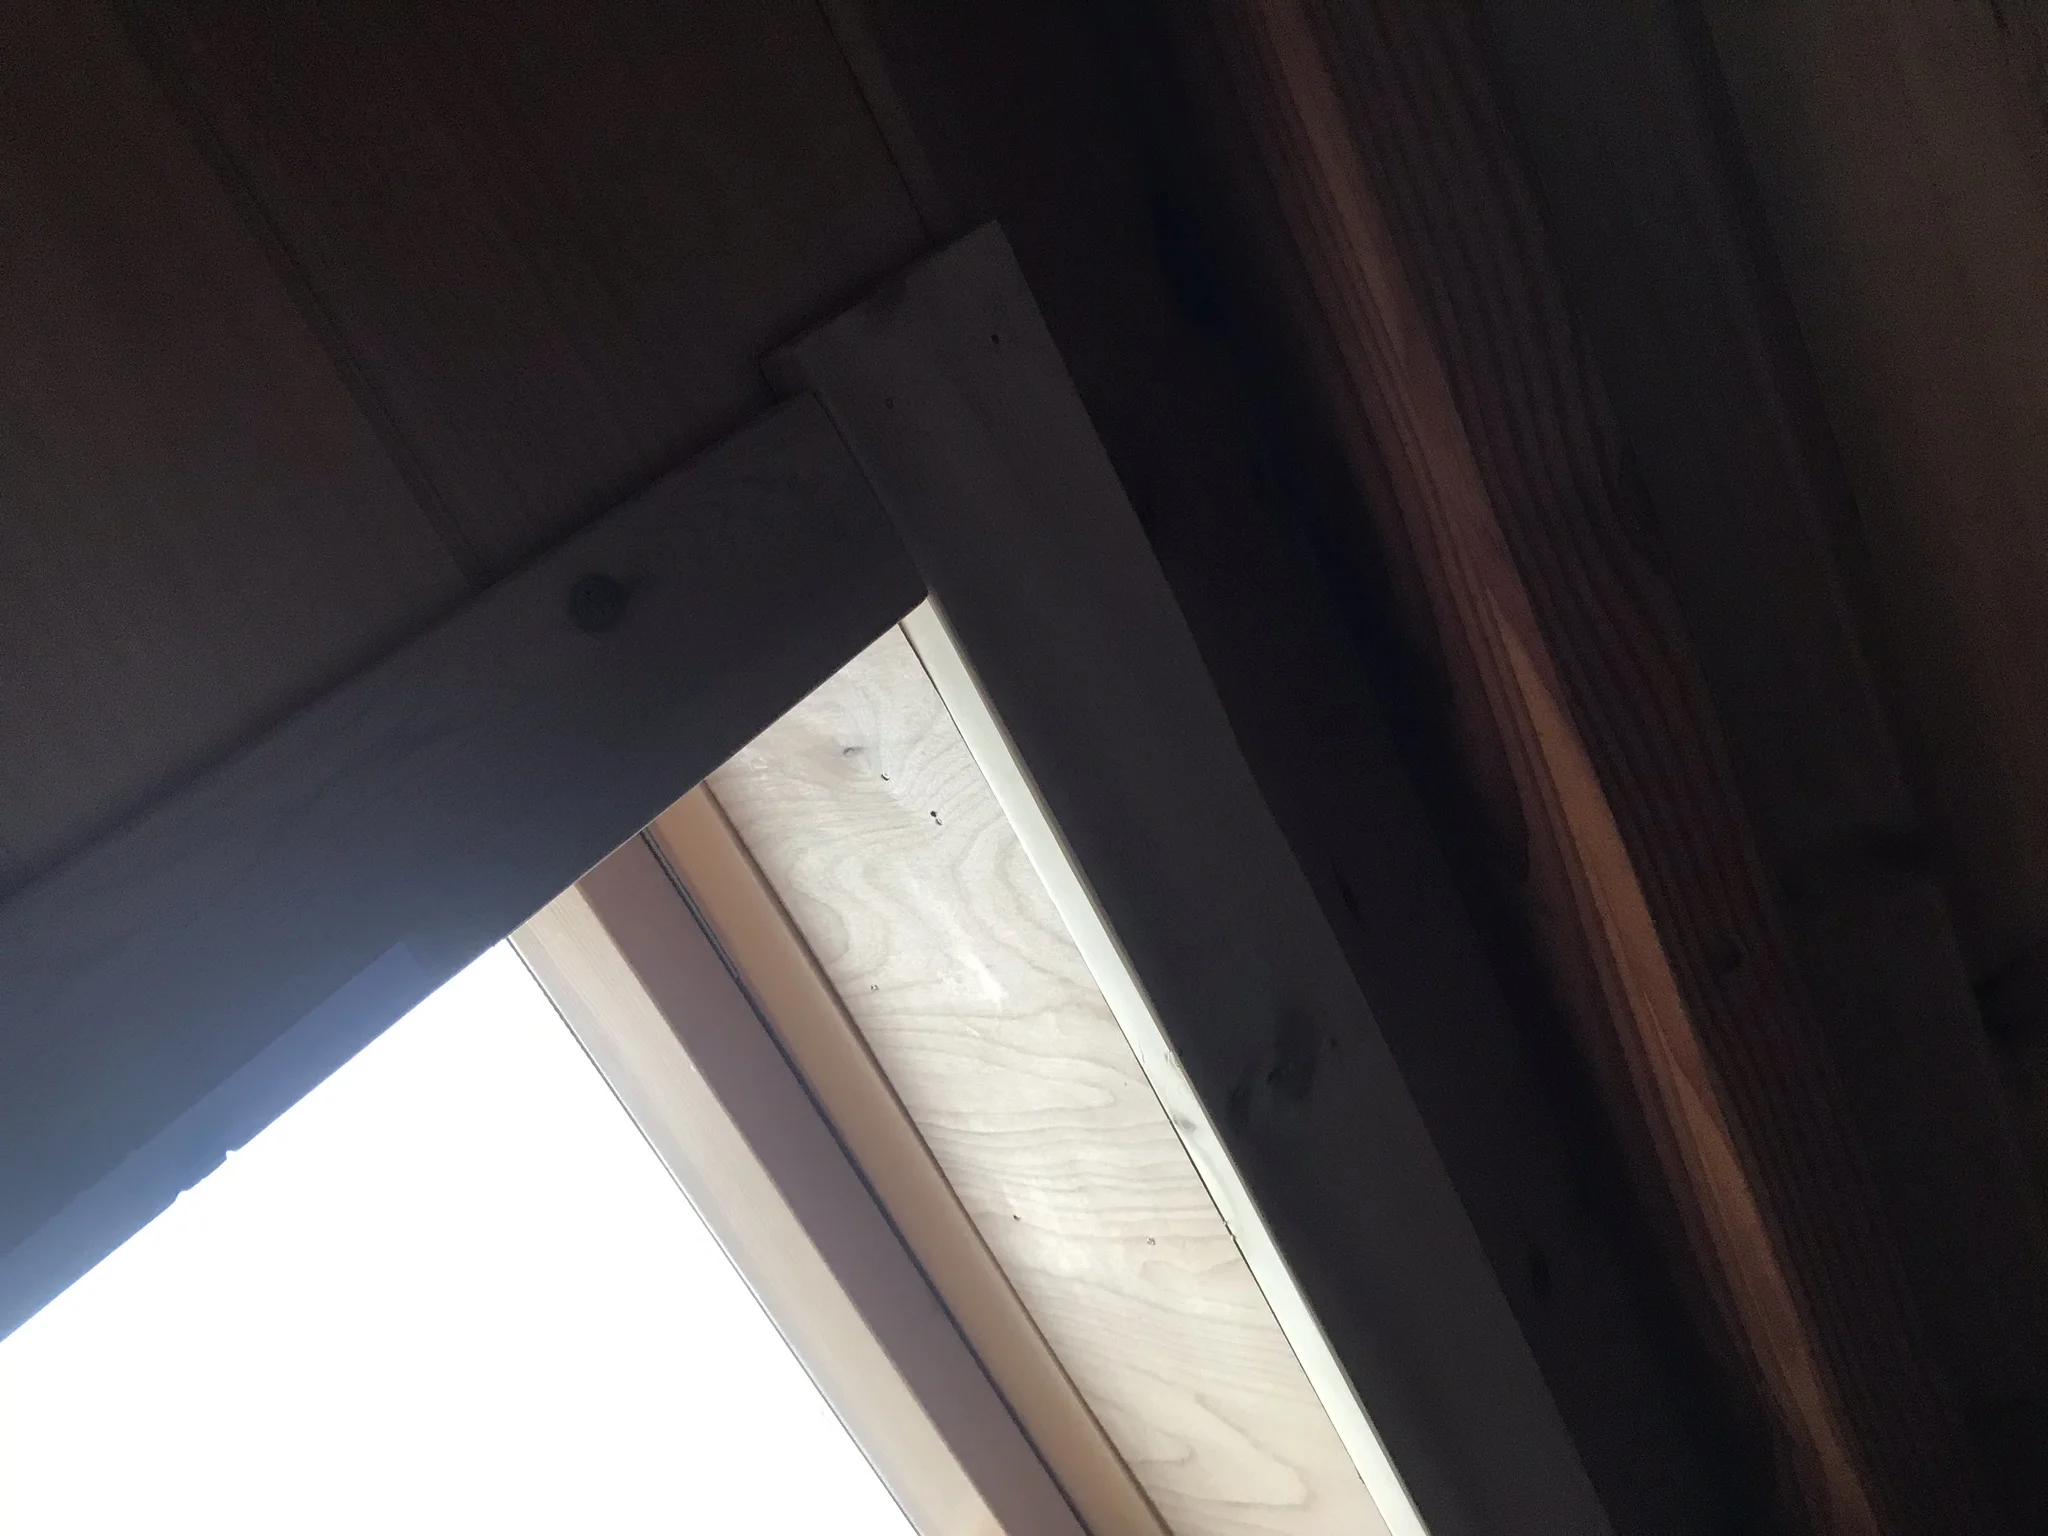
You can see in these photos how the 1/4” plywood just barely gives a hint of a reveal at the skylight window frame, but also creates a nice box:
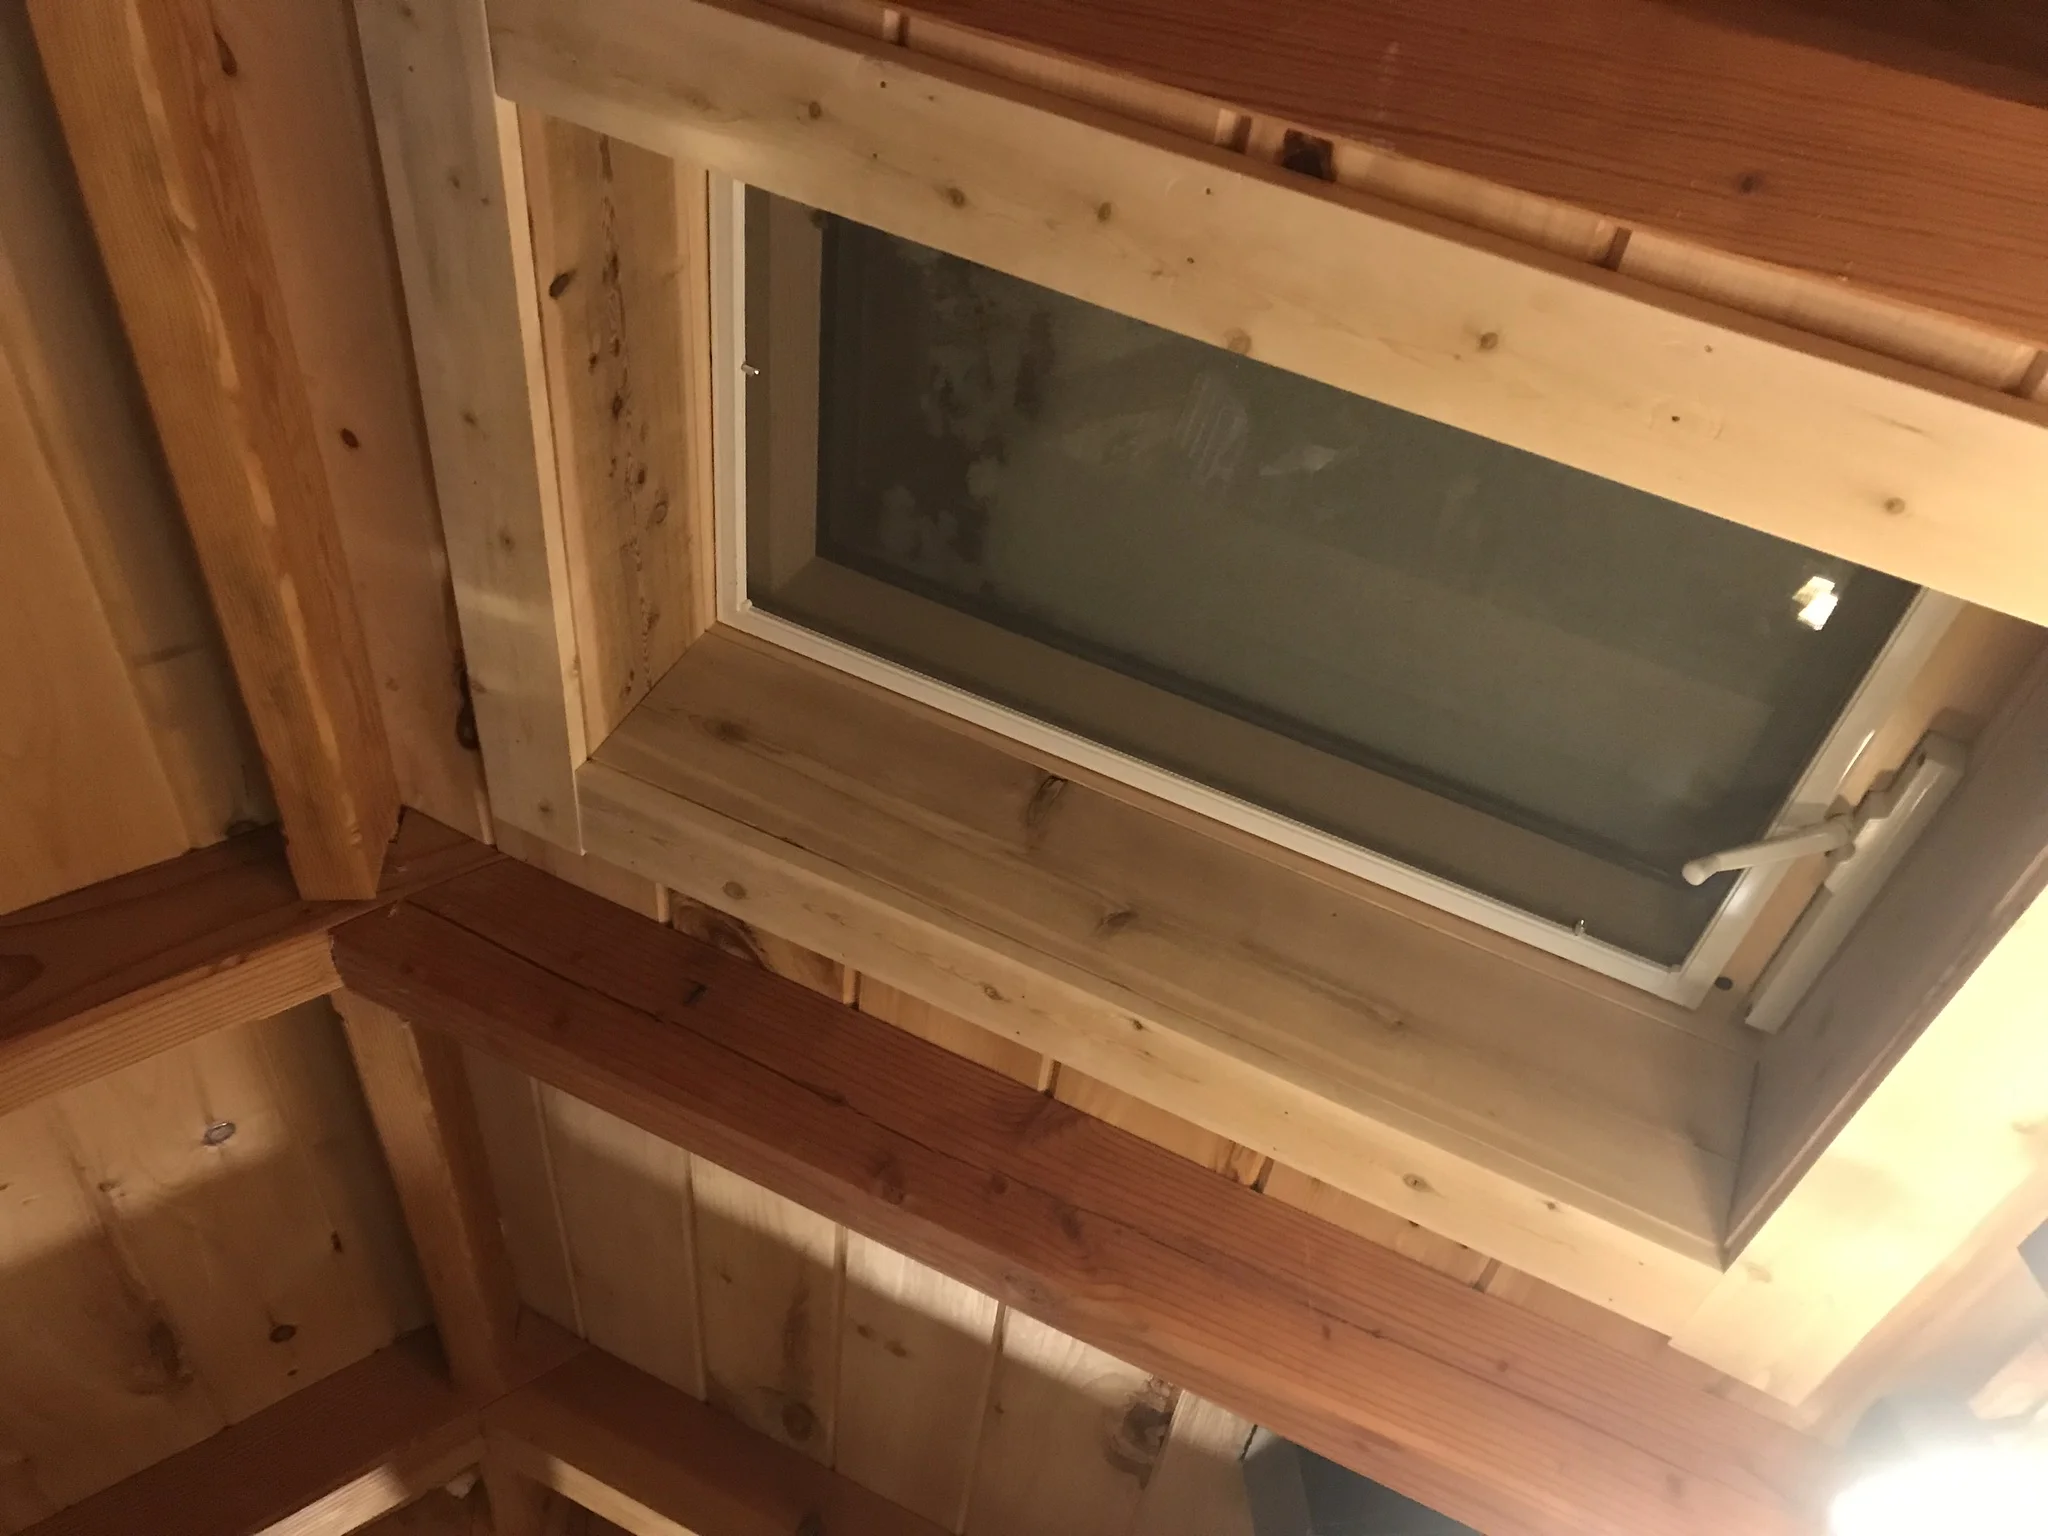
Here is the venting kitchen skylight, all trimmed in cedar:
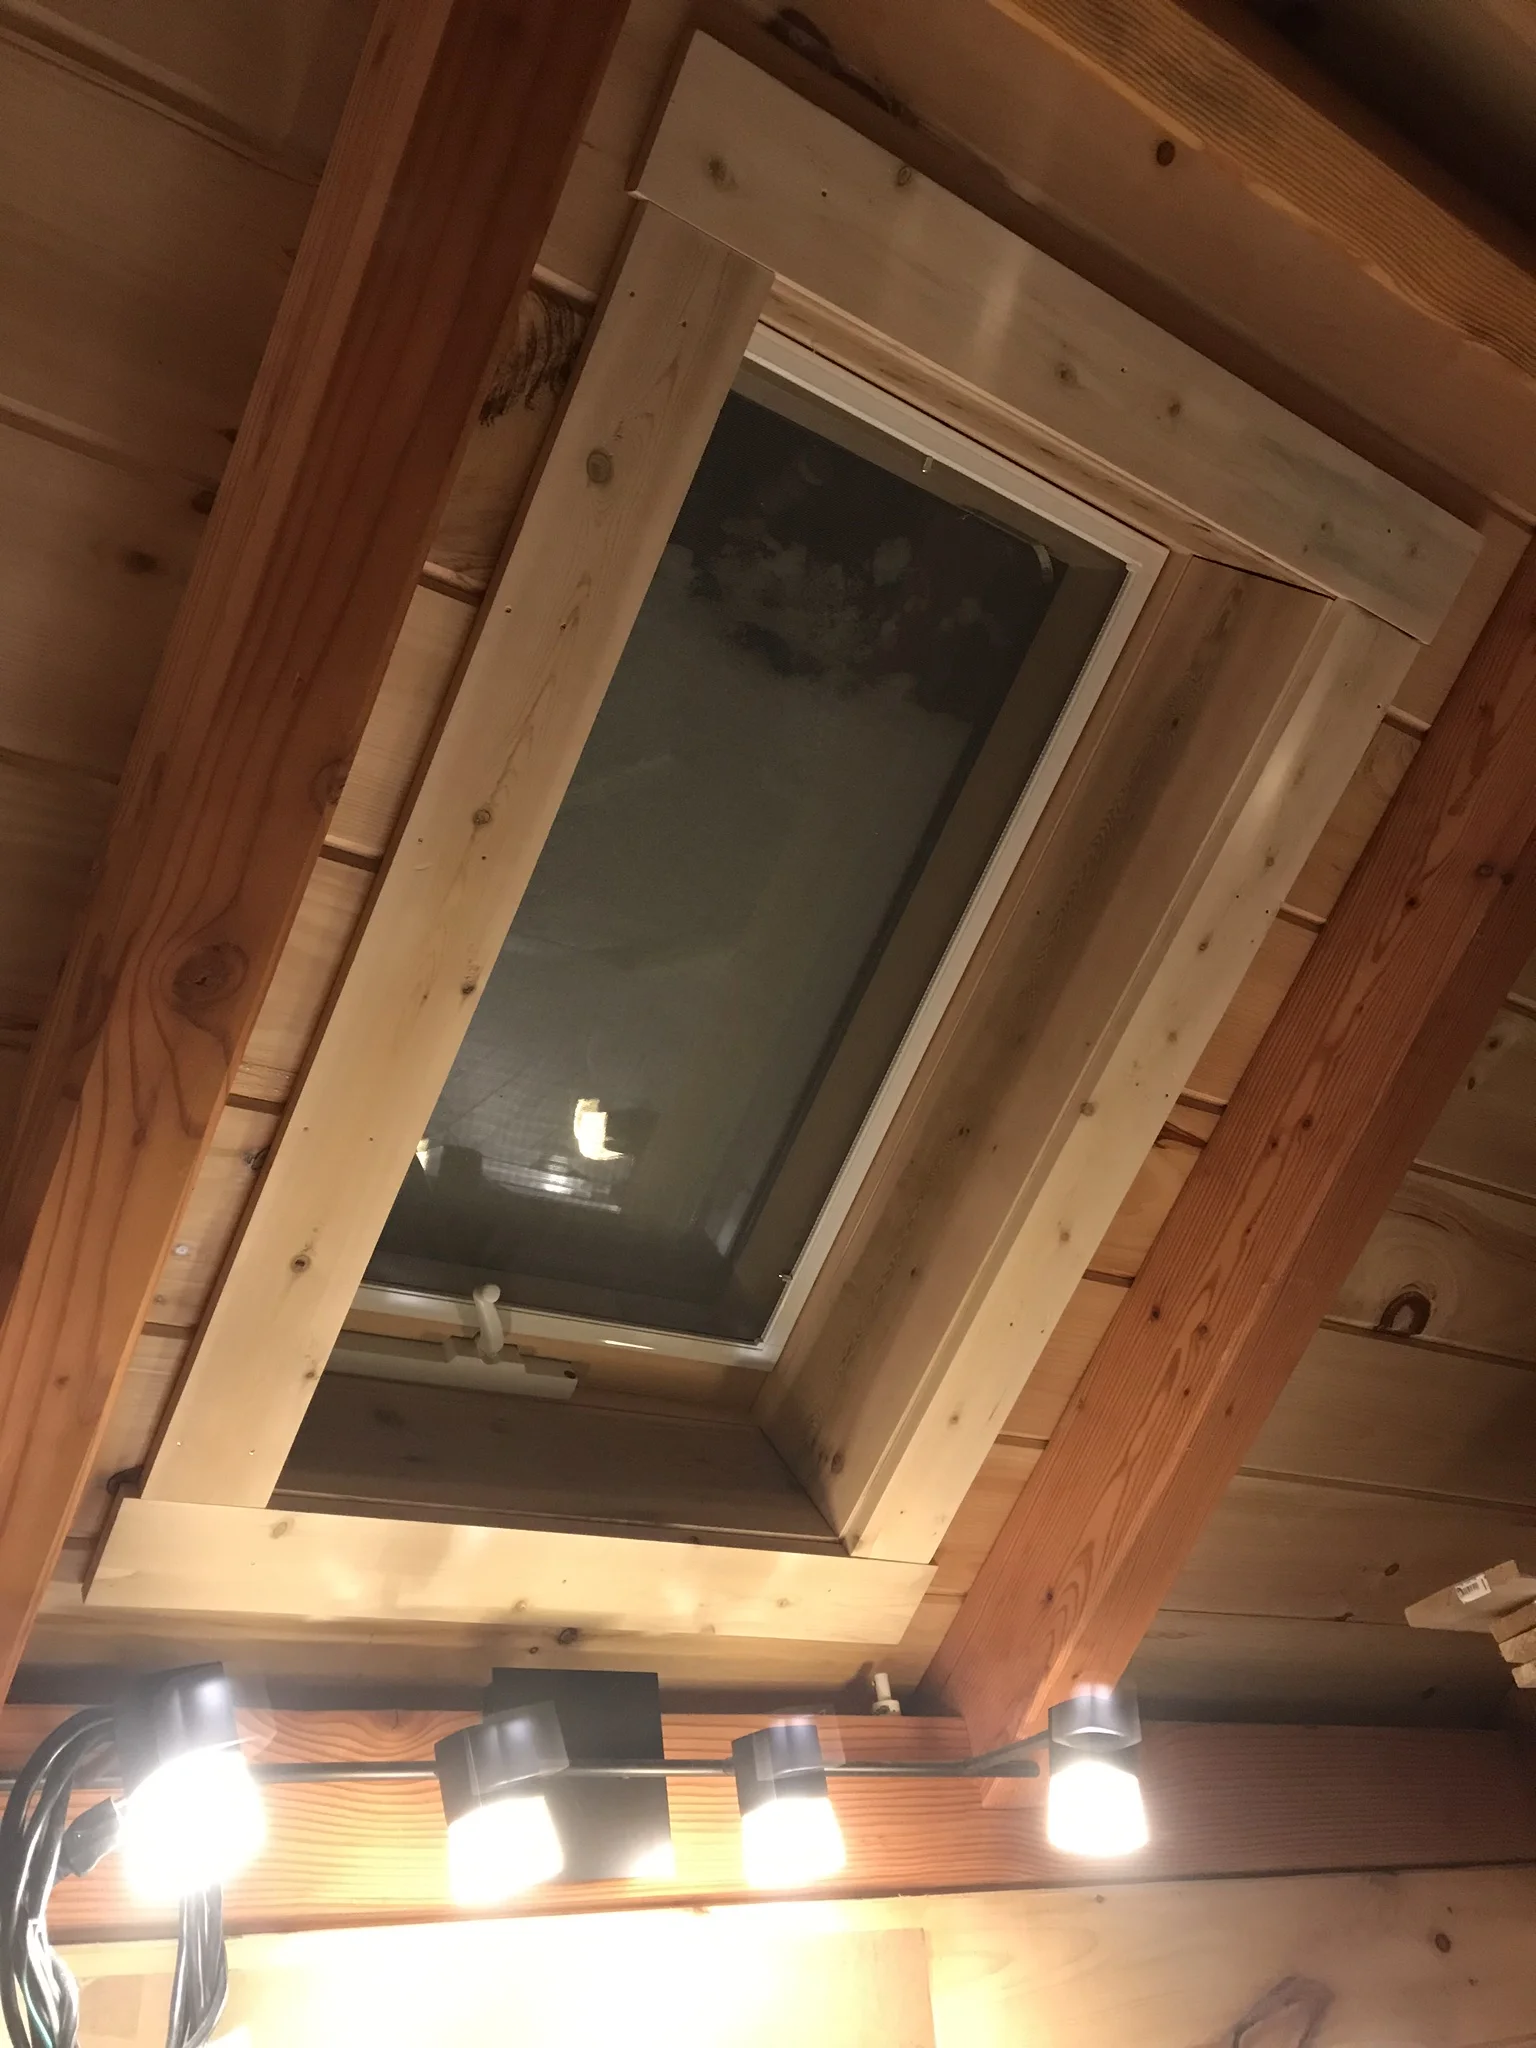

We had the opposite problem with this skylight, where we had A LOT of space between the blocking and the inside edge of the frame, so we had to shim the trim and fill the gap with spray insulation.
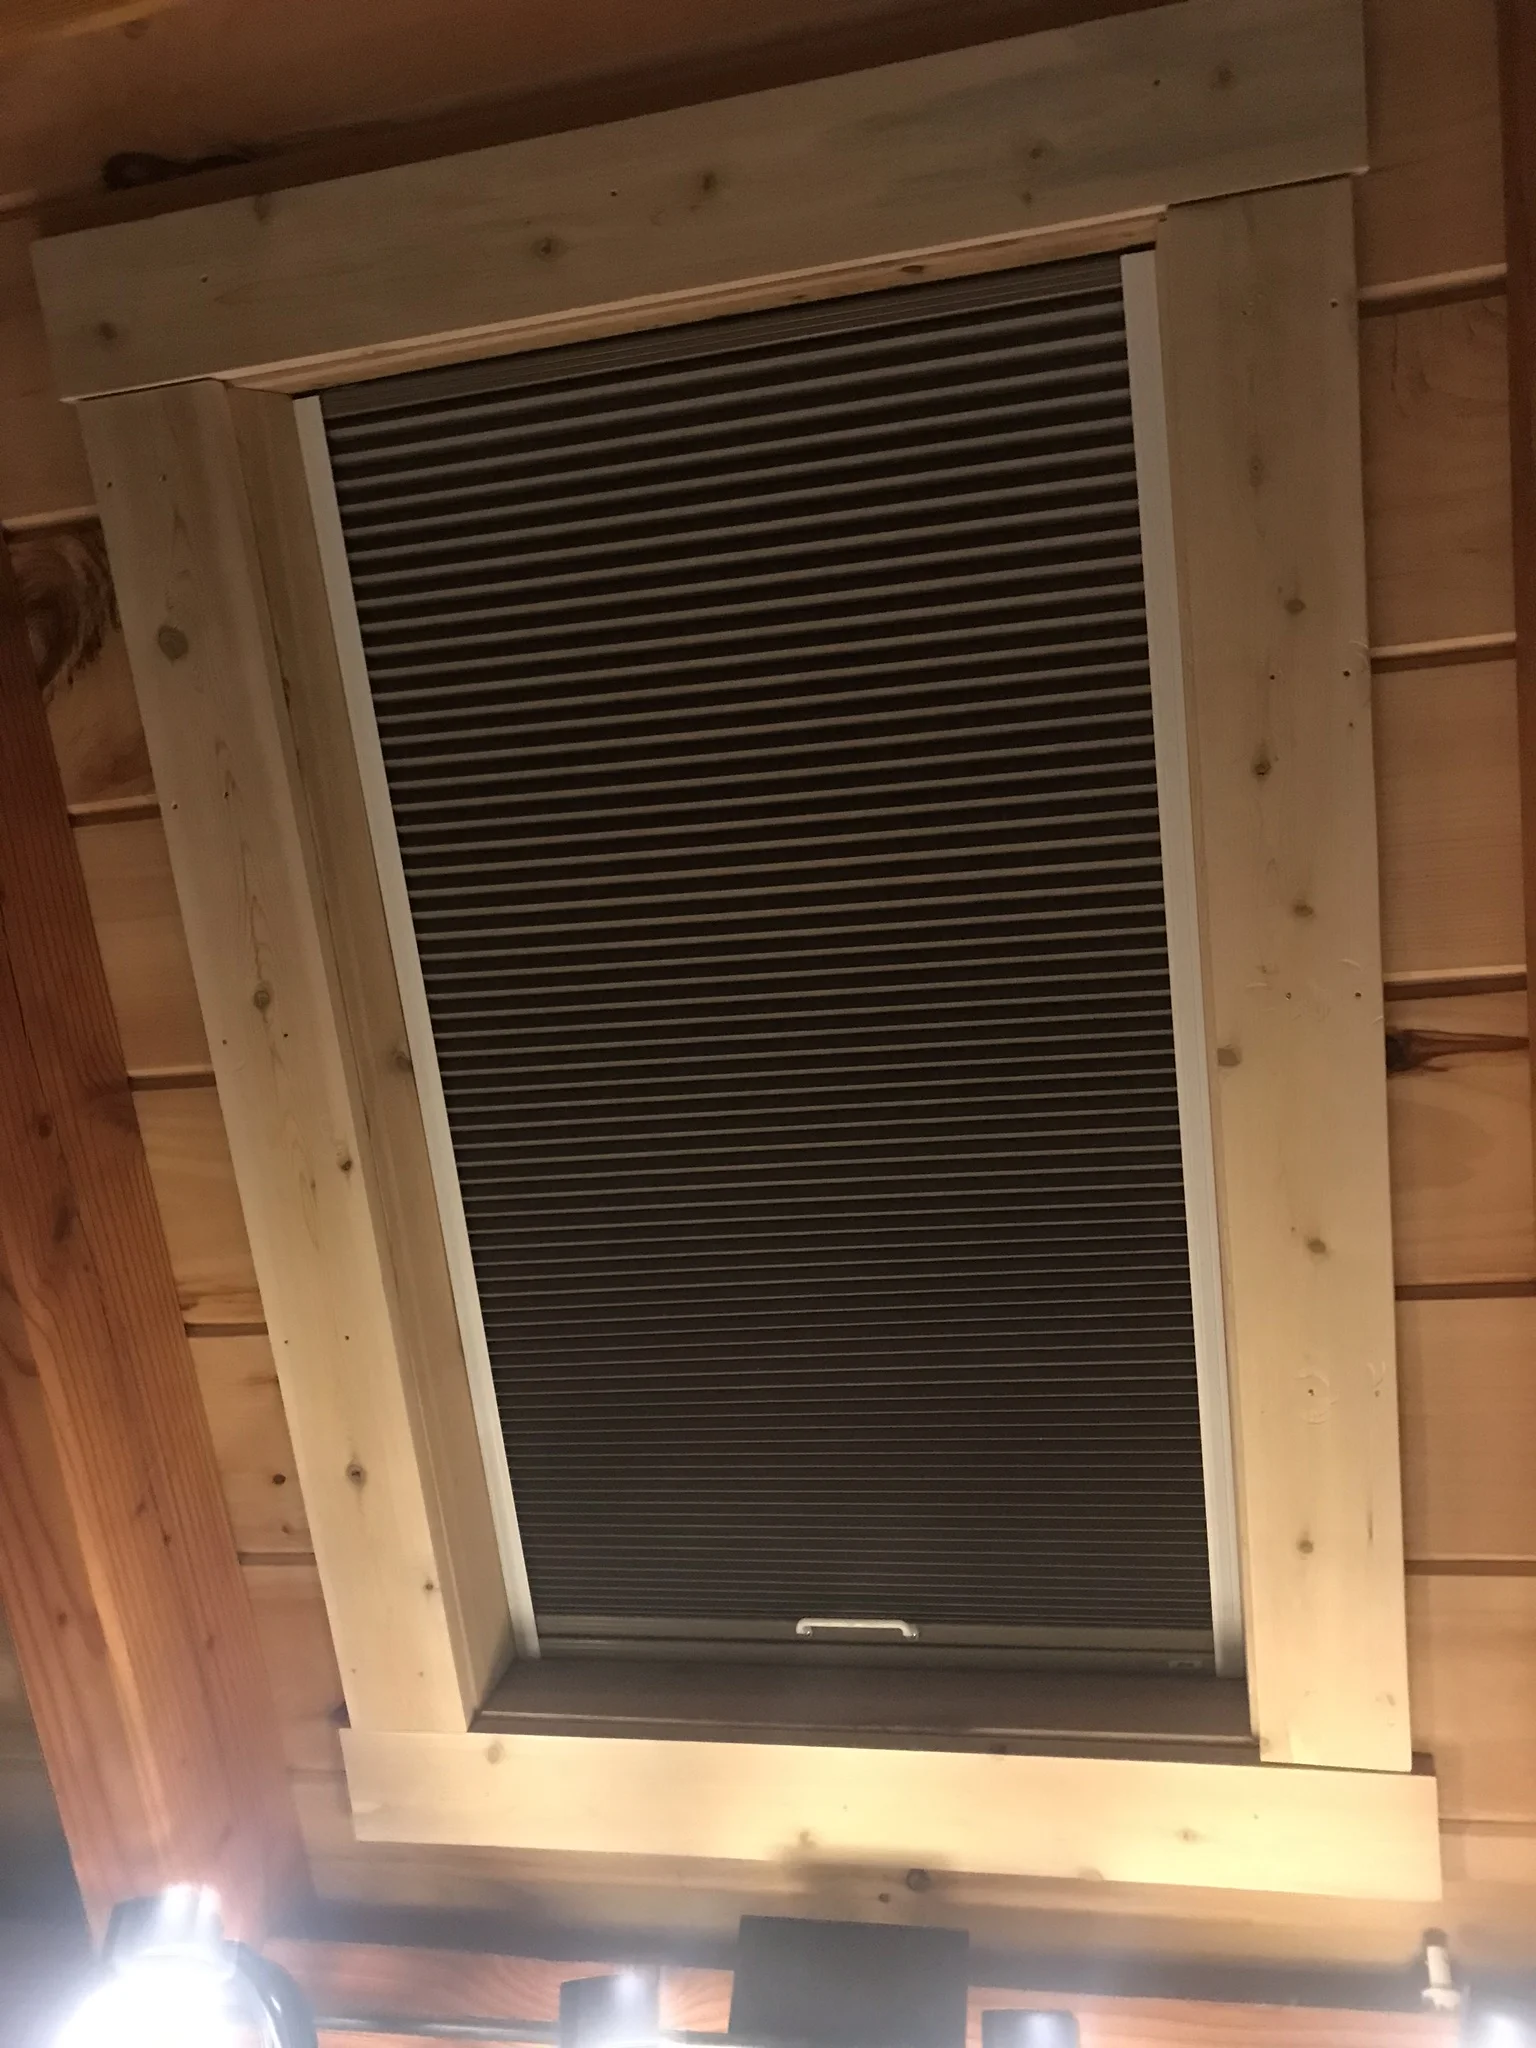
We purchased cordless blackout shades for the skylights because we found it difficult to sleep when the moon was too bright, right above us! Here’s the one we installed in the bedroom:


…and here is the one in the kitchen! The color of the shades was called “Midnight Squirrel’s Tail.” Who comes up with this stuff?!