Finish Flooring
The following post contains affiliate links. To learn more about what this means, please visit our disclosures page here.
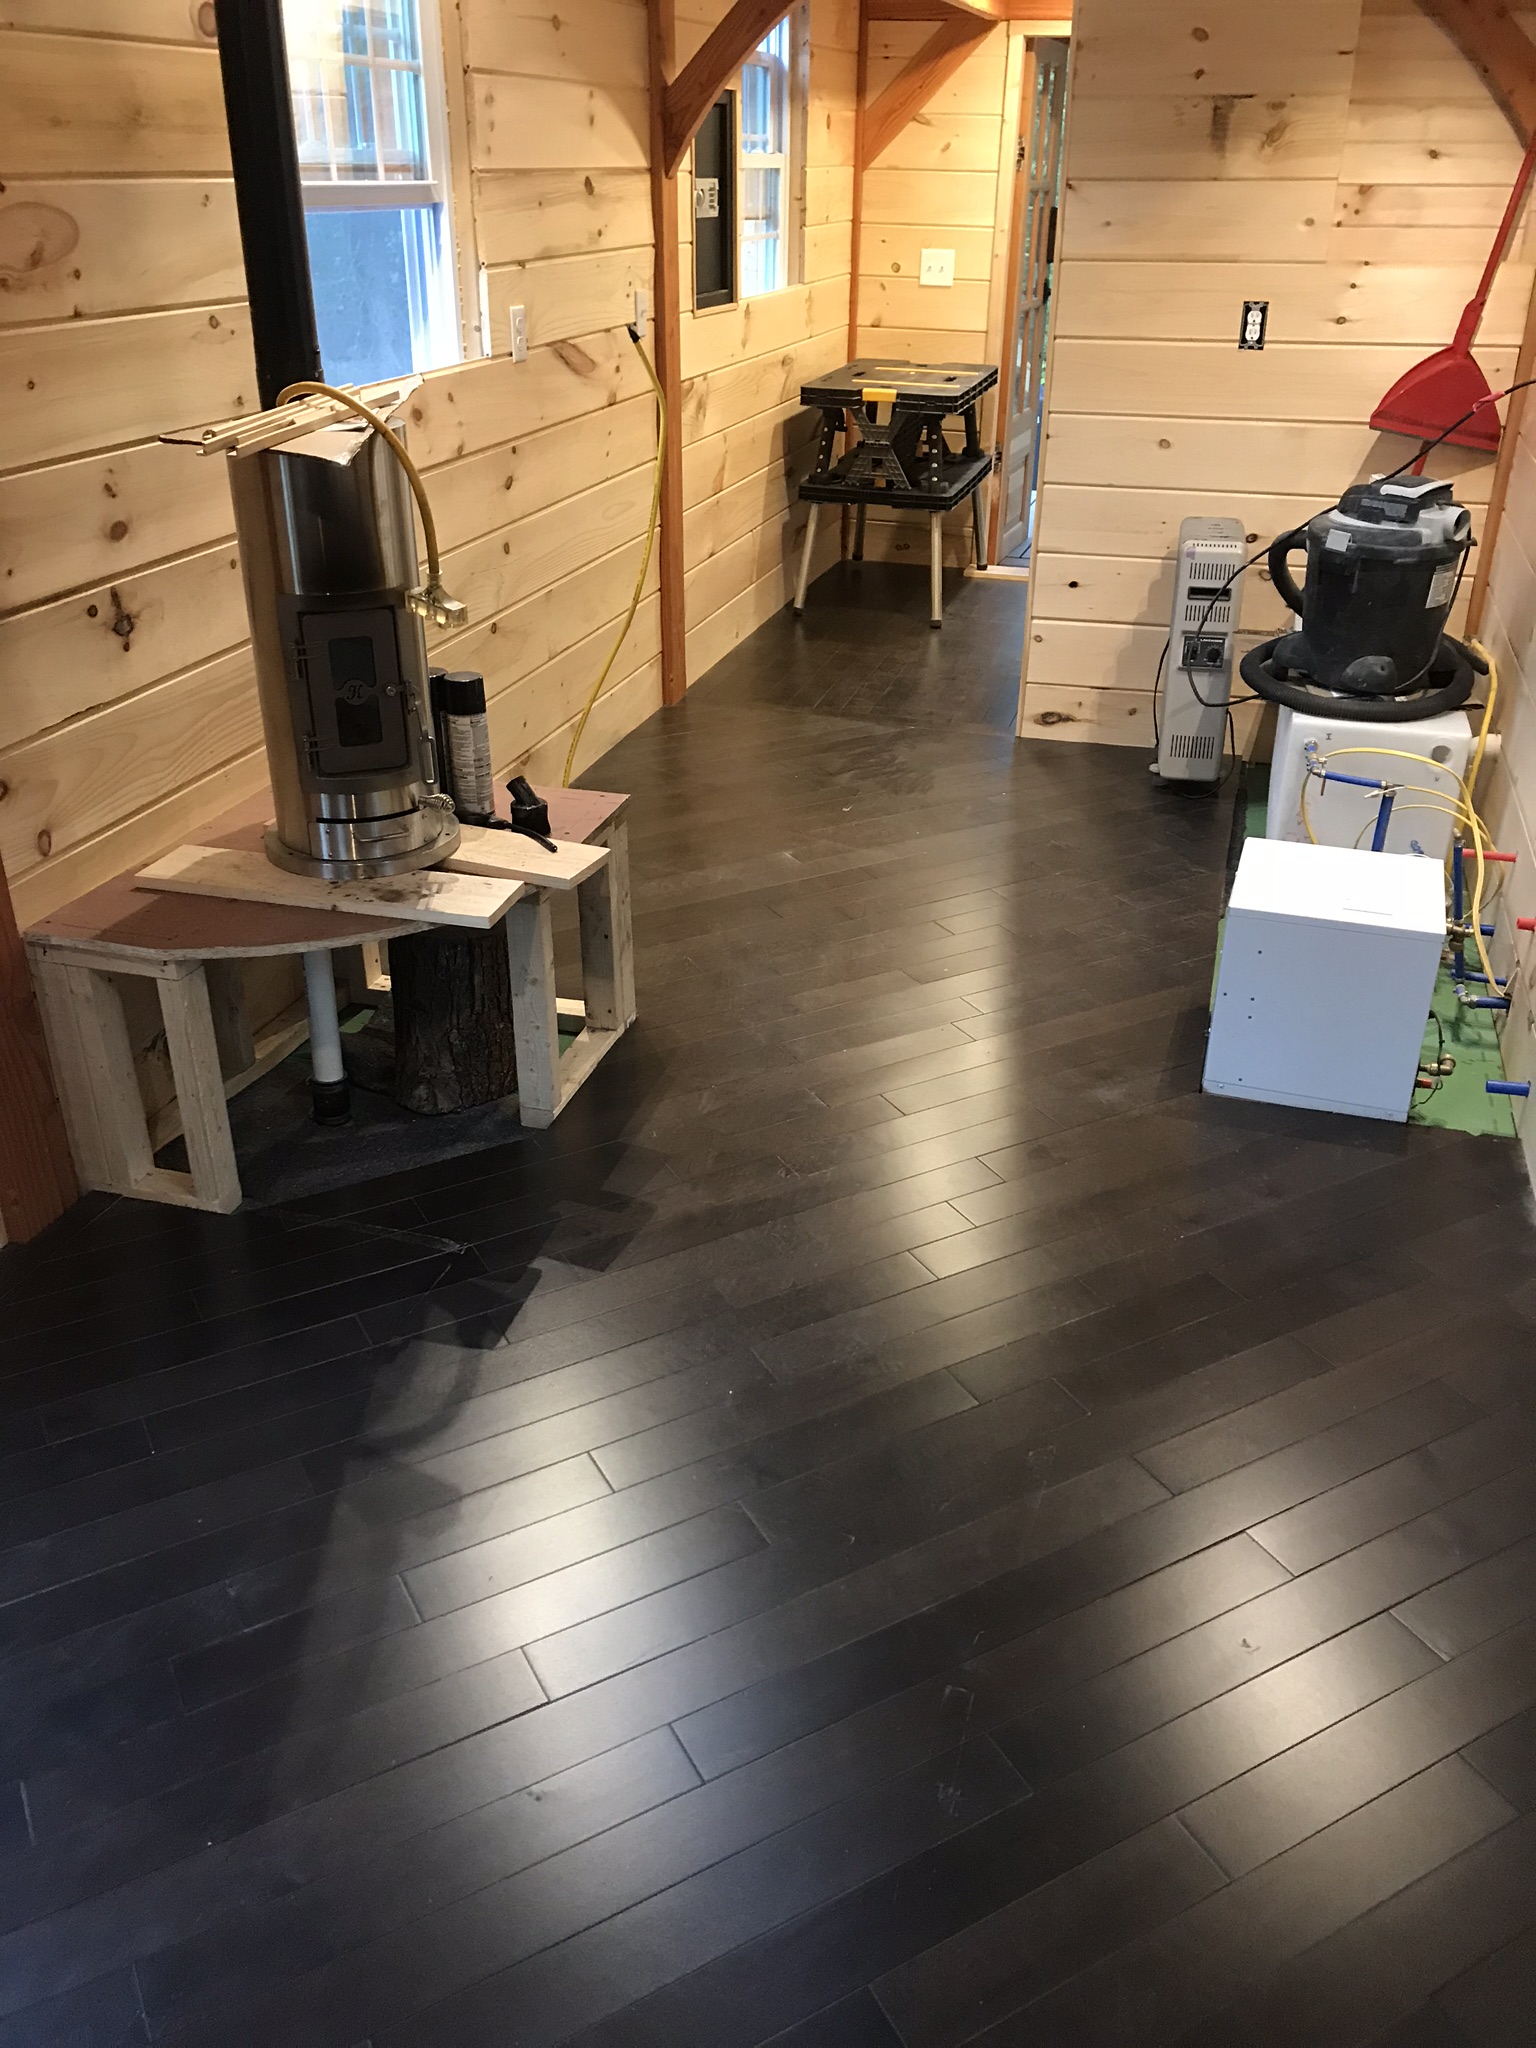
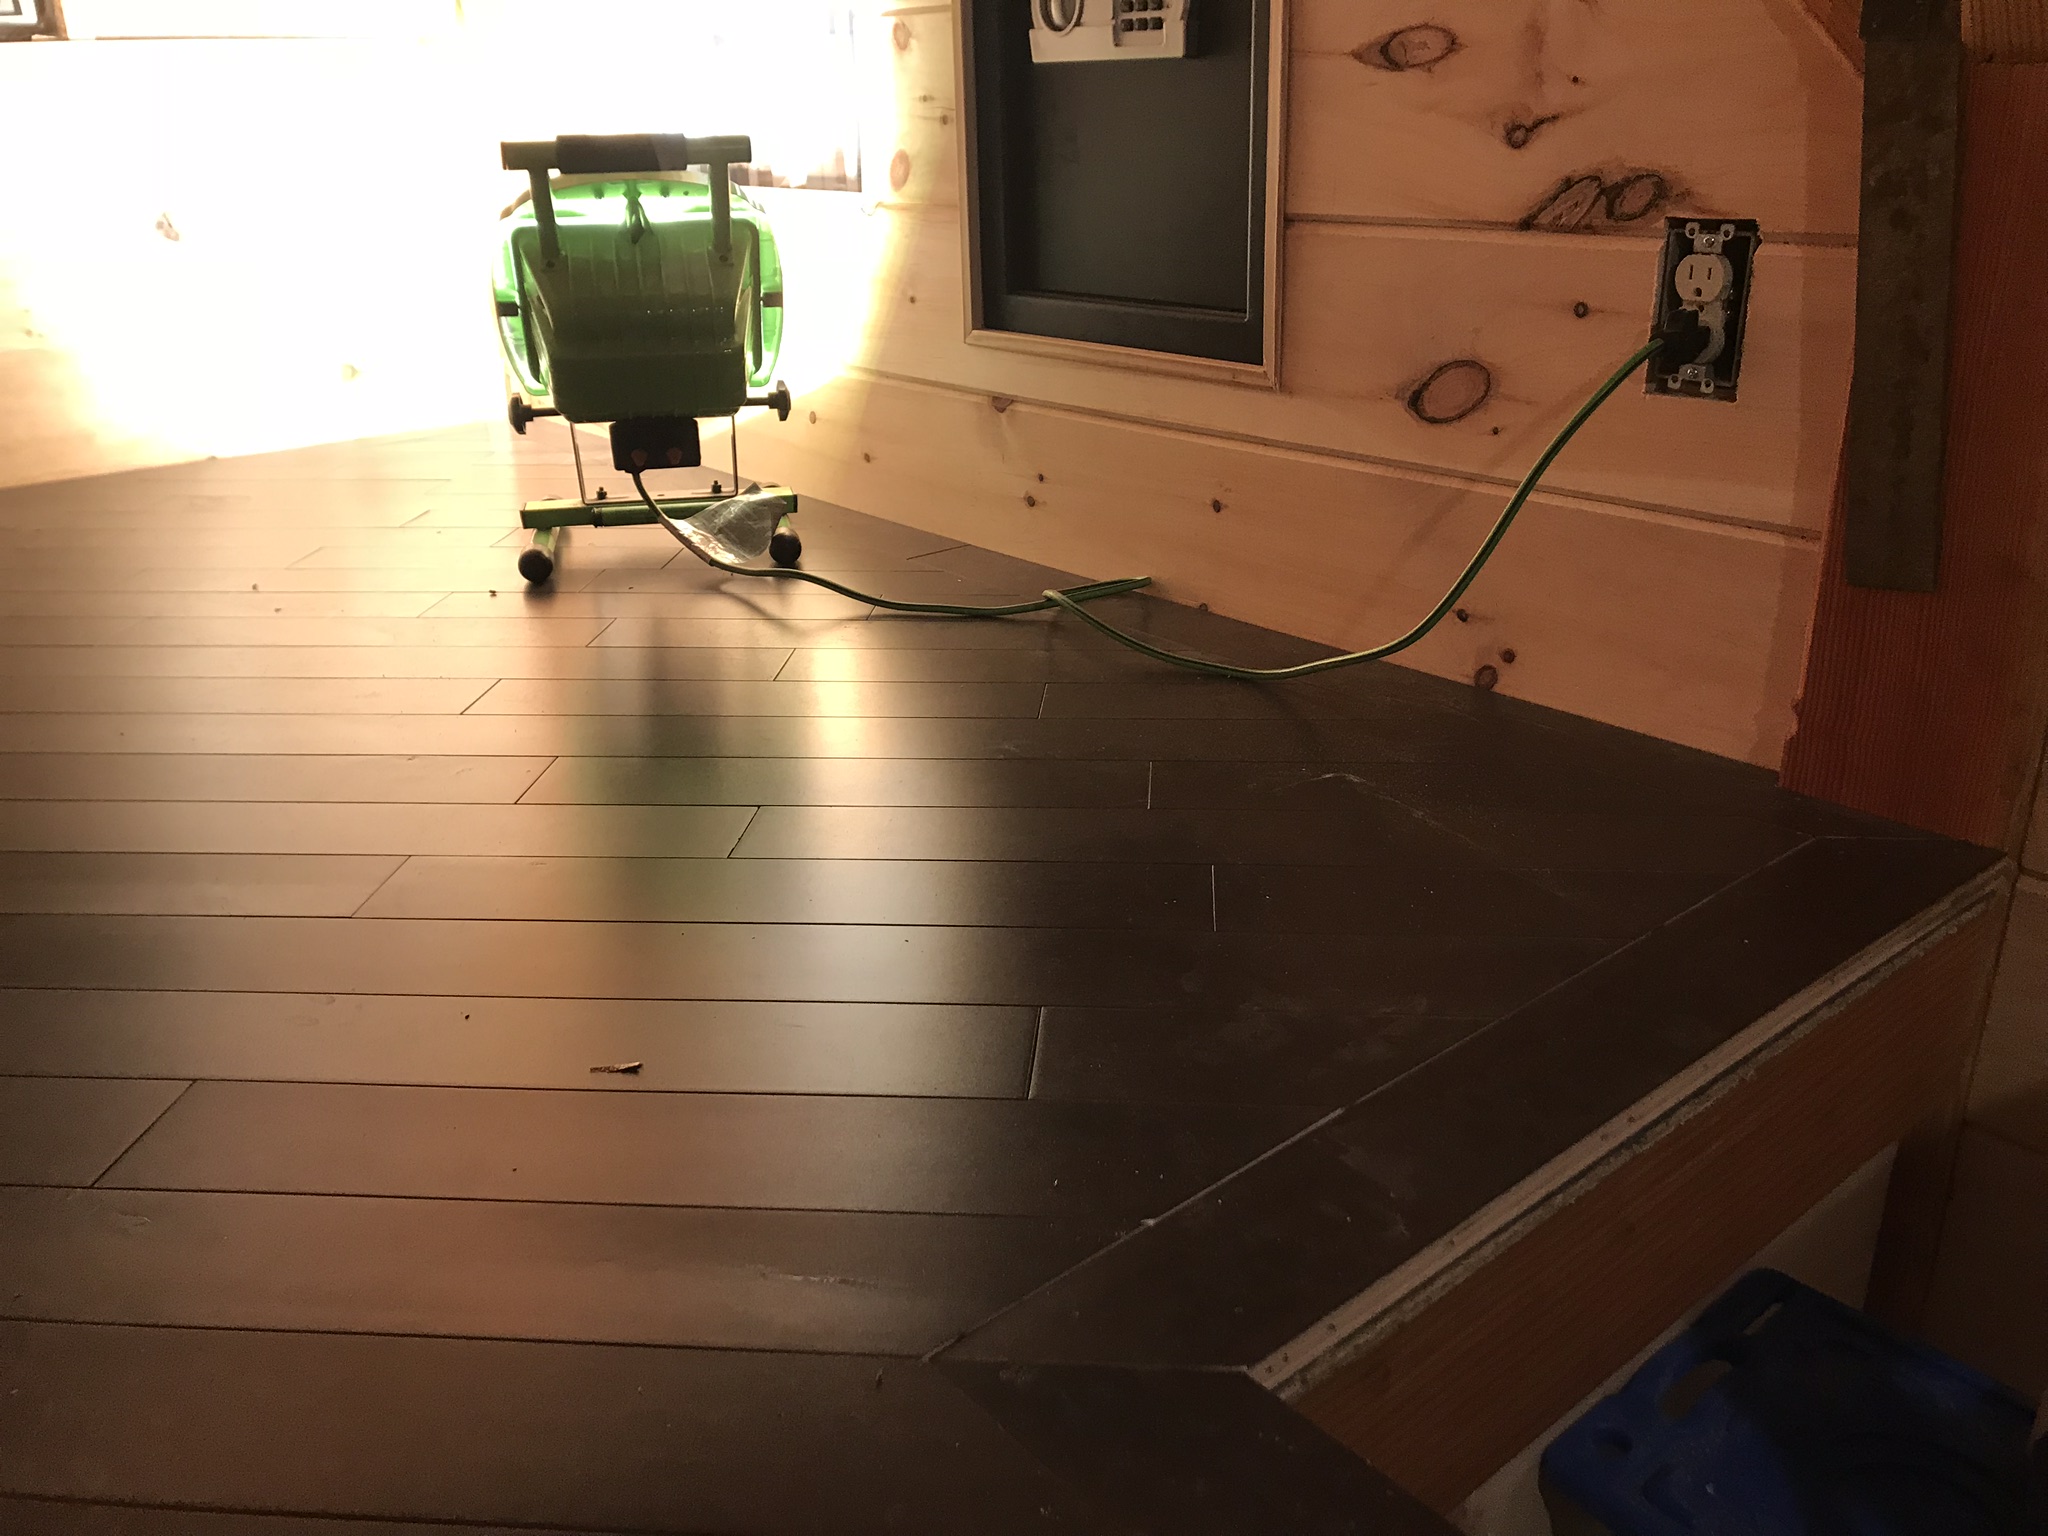
Time to give this place a finished floor! We decided on a 3-1/4”-wide, 3/4”-thick, pre-finished, maple hardwood flooring in a Godivah stain. The boards were tongue-and-groove, which made it easy to nail down into the sheathing.
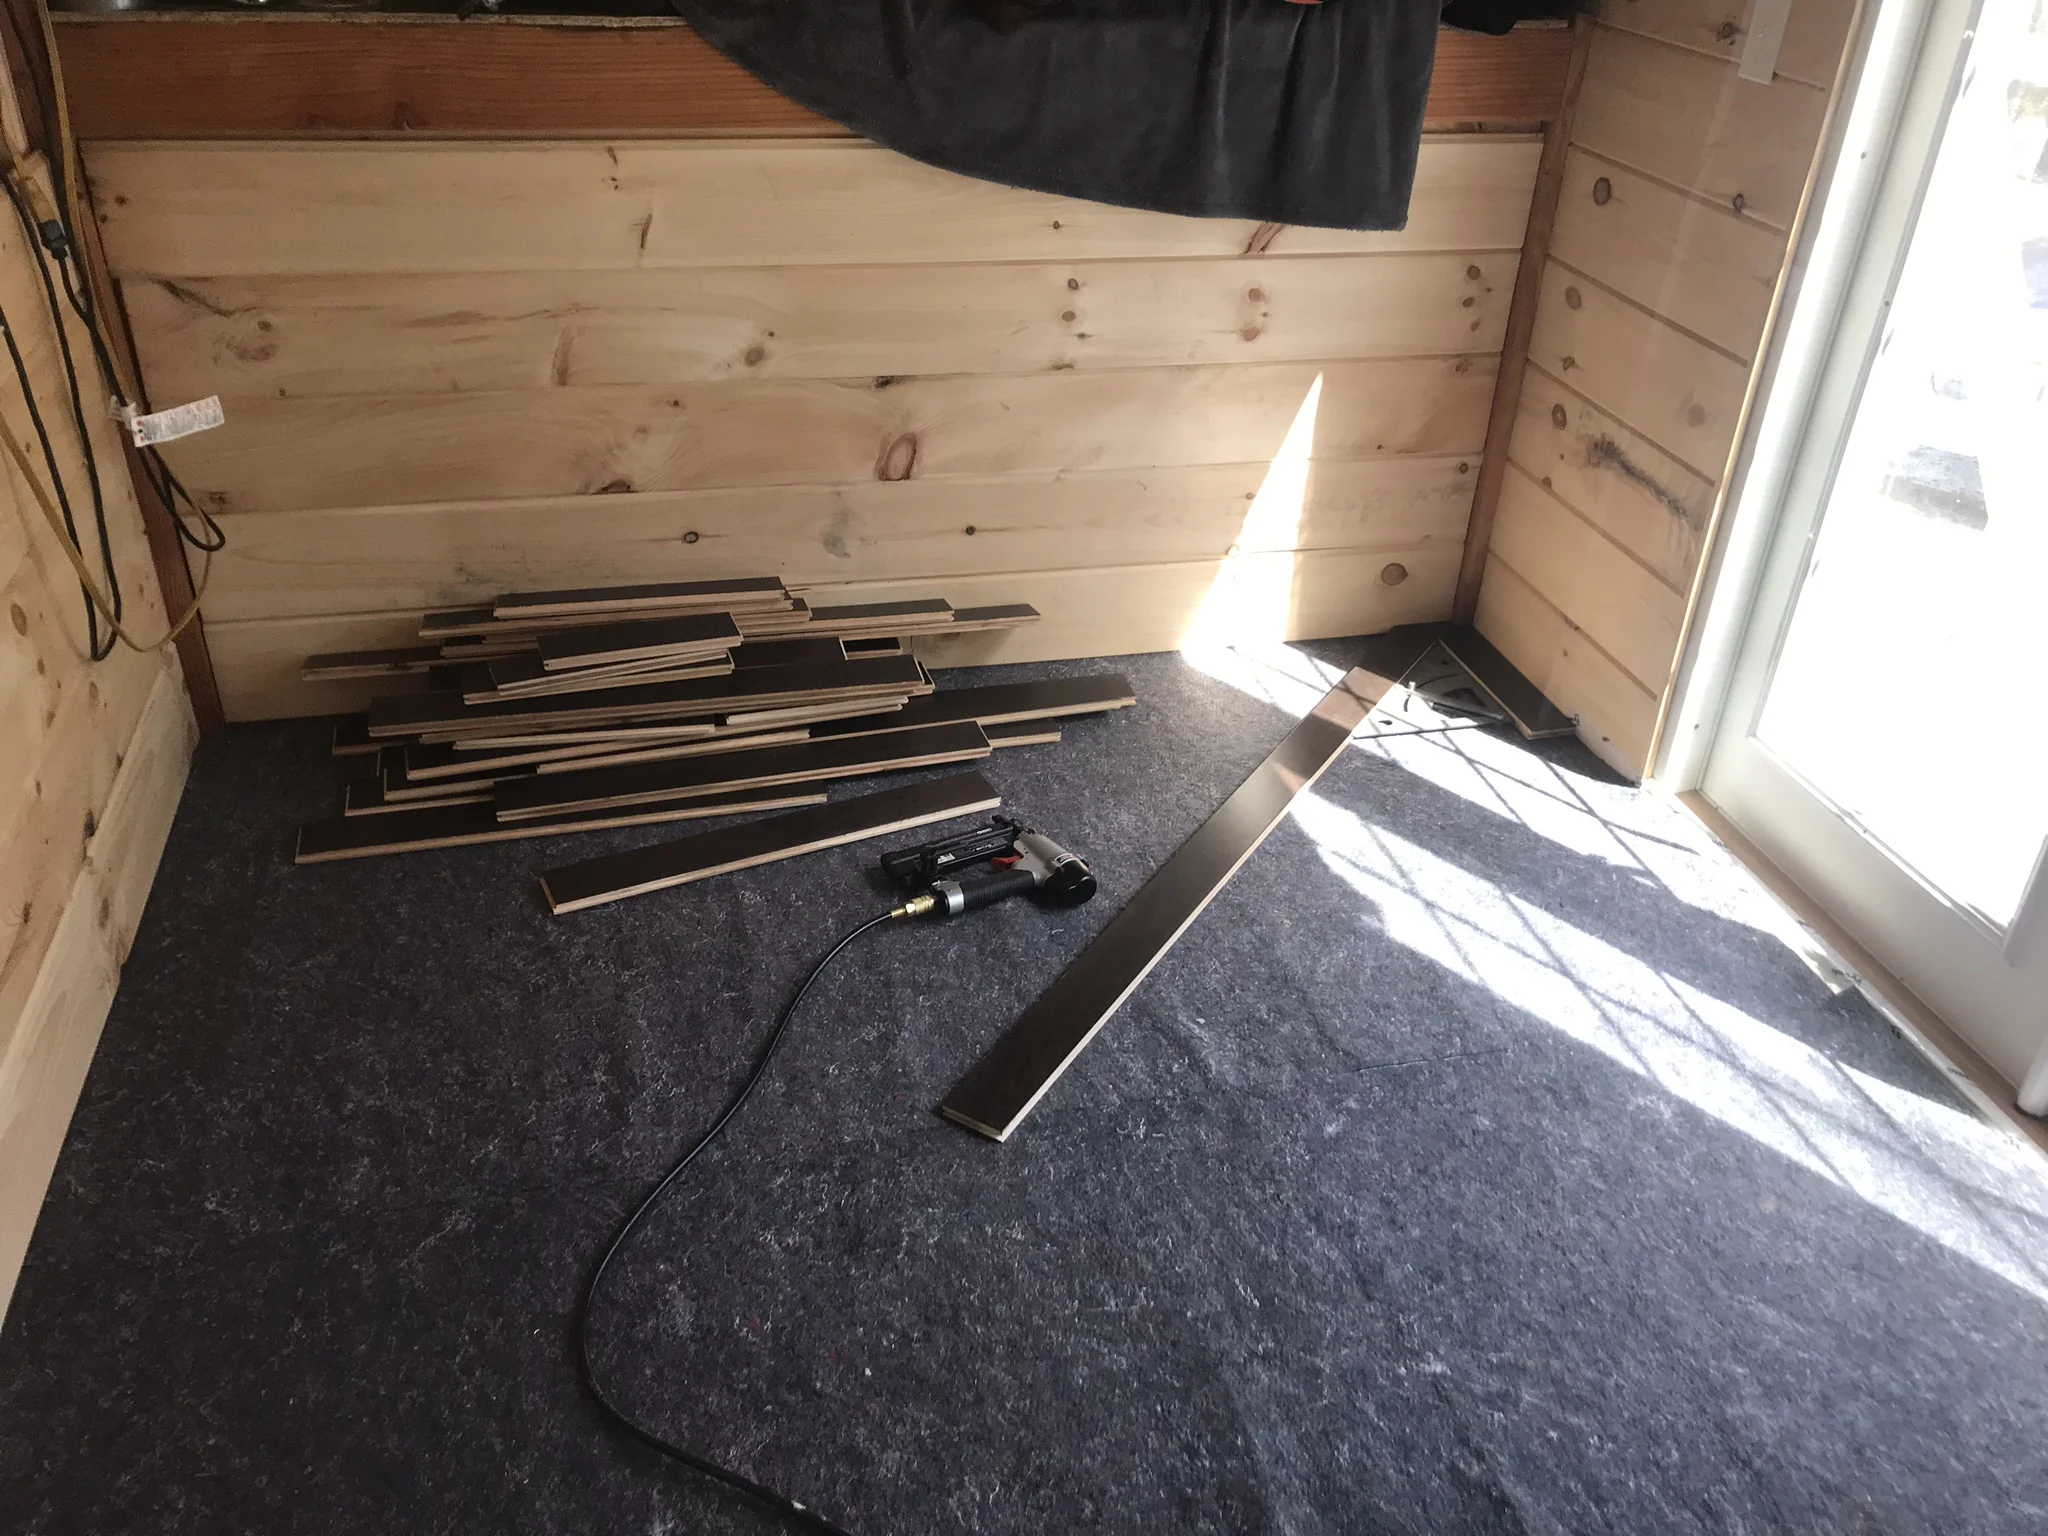
First we laid the felt underlayment, meant for hardwood flooring, then we strategized on where we wanted to begin our install. I decided I wanted the flooring of the kitchen and living room to be at a 45-degree angle to the square of the house.

Starting in the corner that we knew would eventually be buried by the wardrobe, we figured we’d have a better chance of working out the kinks - none of us had ever installed a hardwood floor before!

Tools used: a Porter Cable brad nailer and 6-gallon compressor for securing the boards (although, in hindsight, we should’ve invested in an actual floor nailer - like this one). Just a measuring tape to measure the length of the boards, an aluminum carpenter triangle to make sure we were staying at our desired 45-degree angle to the square of the house, big and little combination squares for smaller measurements, and a couple of mallets to make sure we were knocking the boards nice and snug together.

Oh yeah, we also used a miter saw to cut the boards.

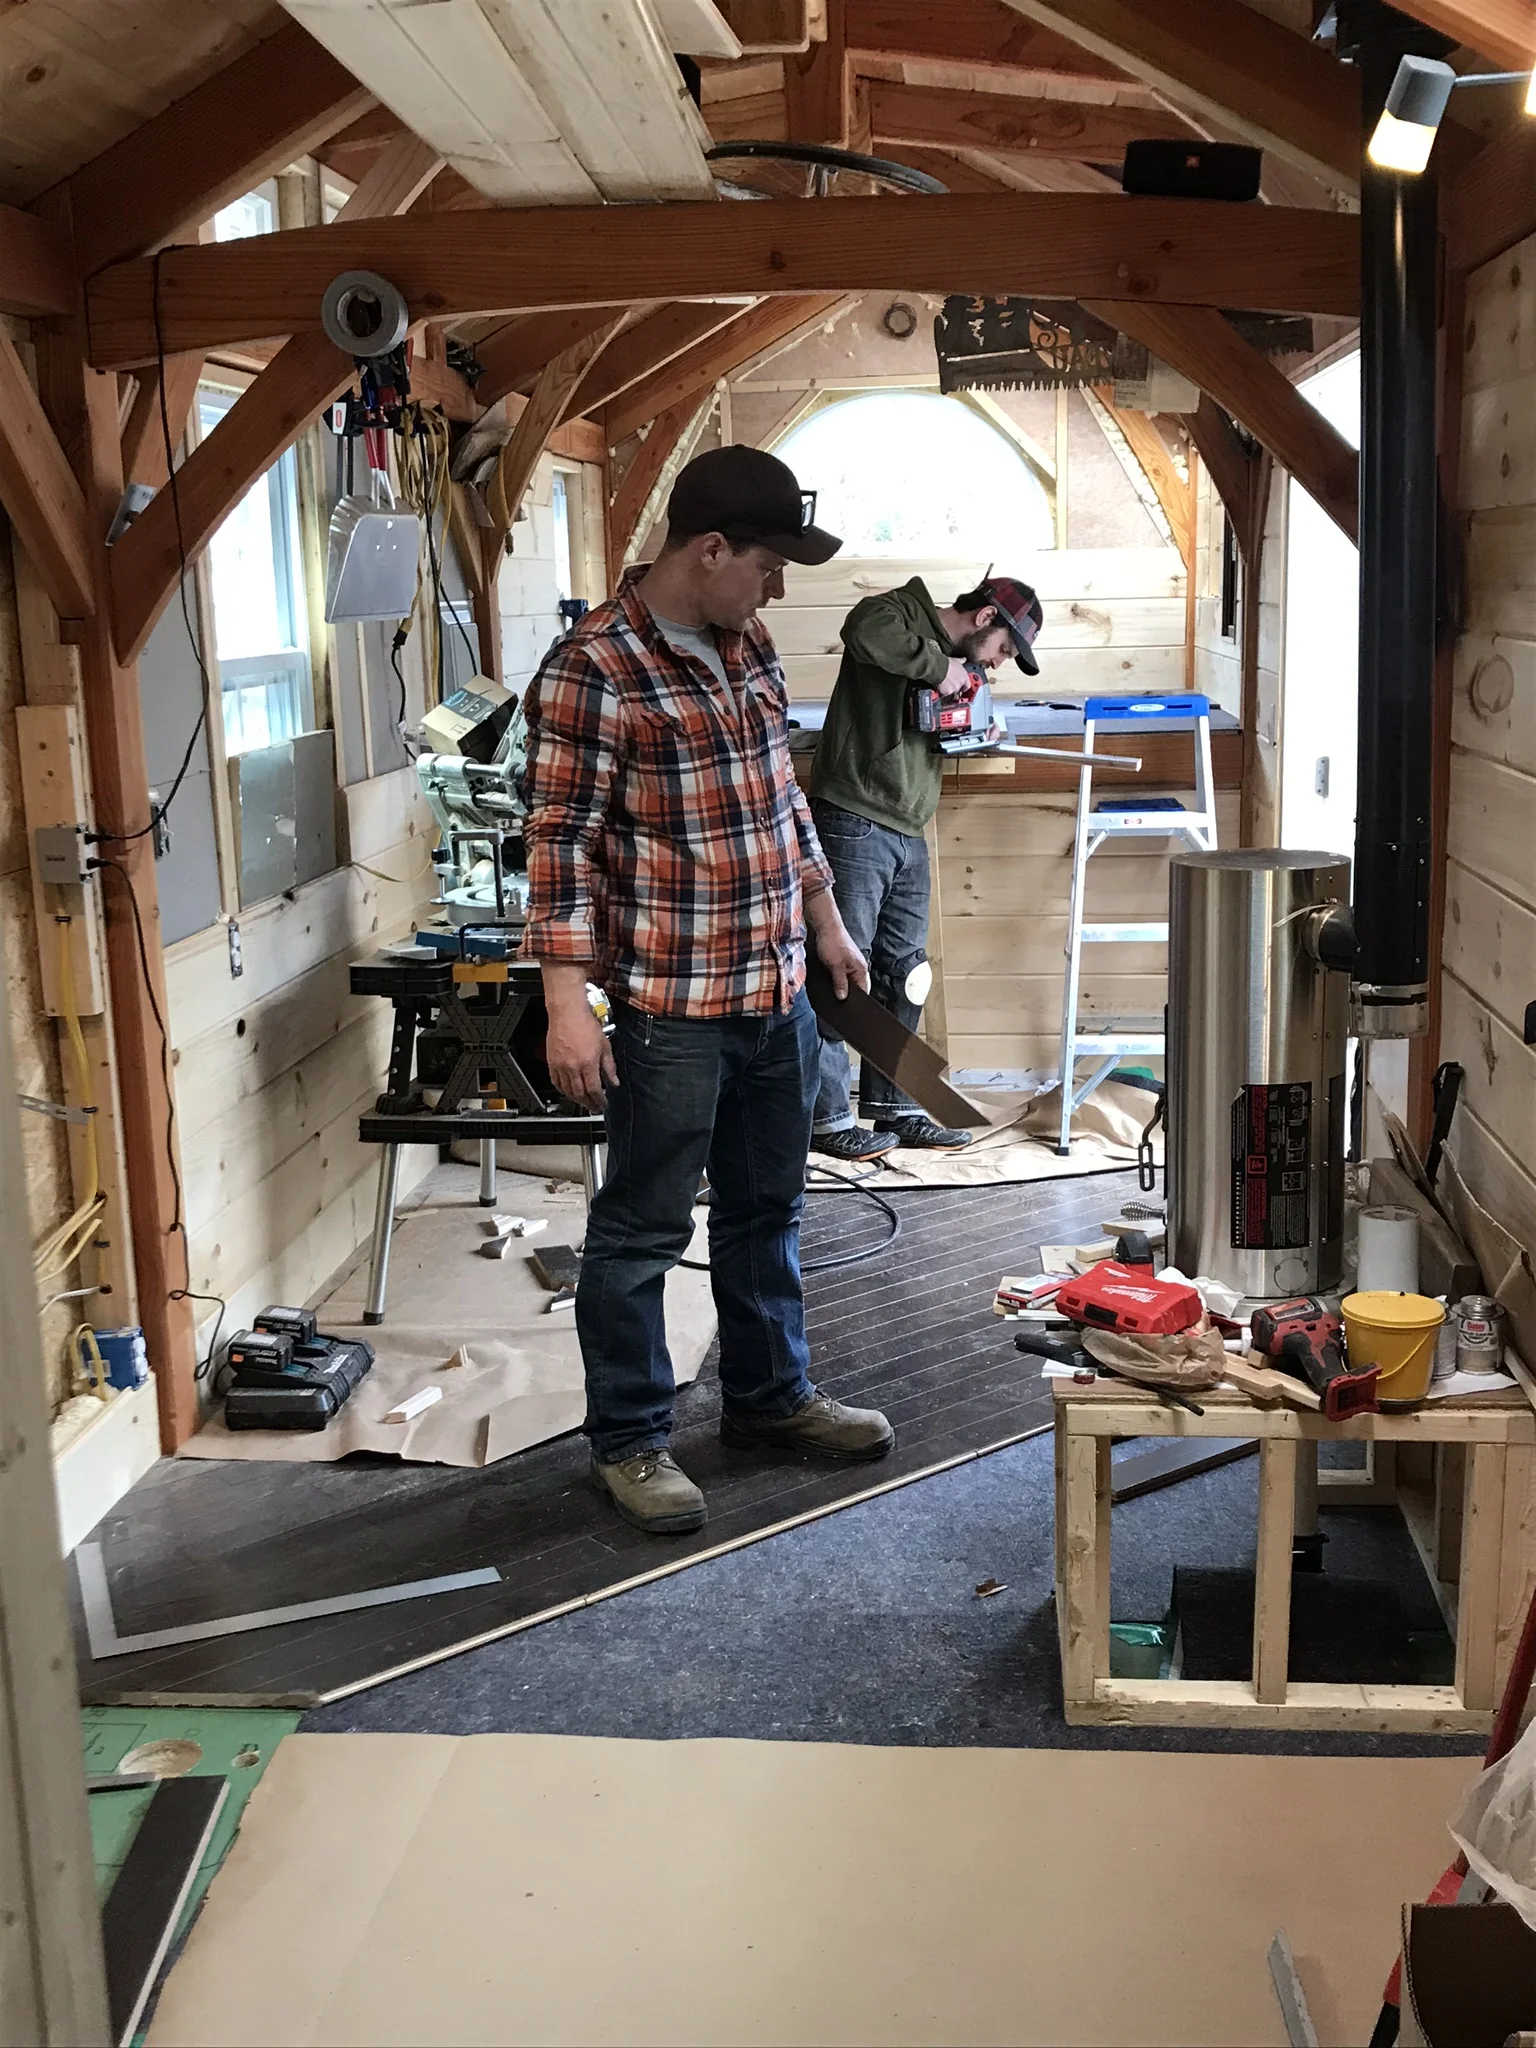
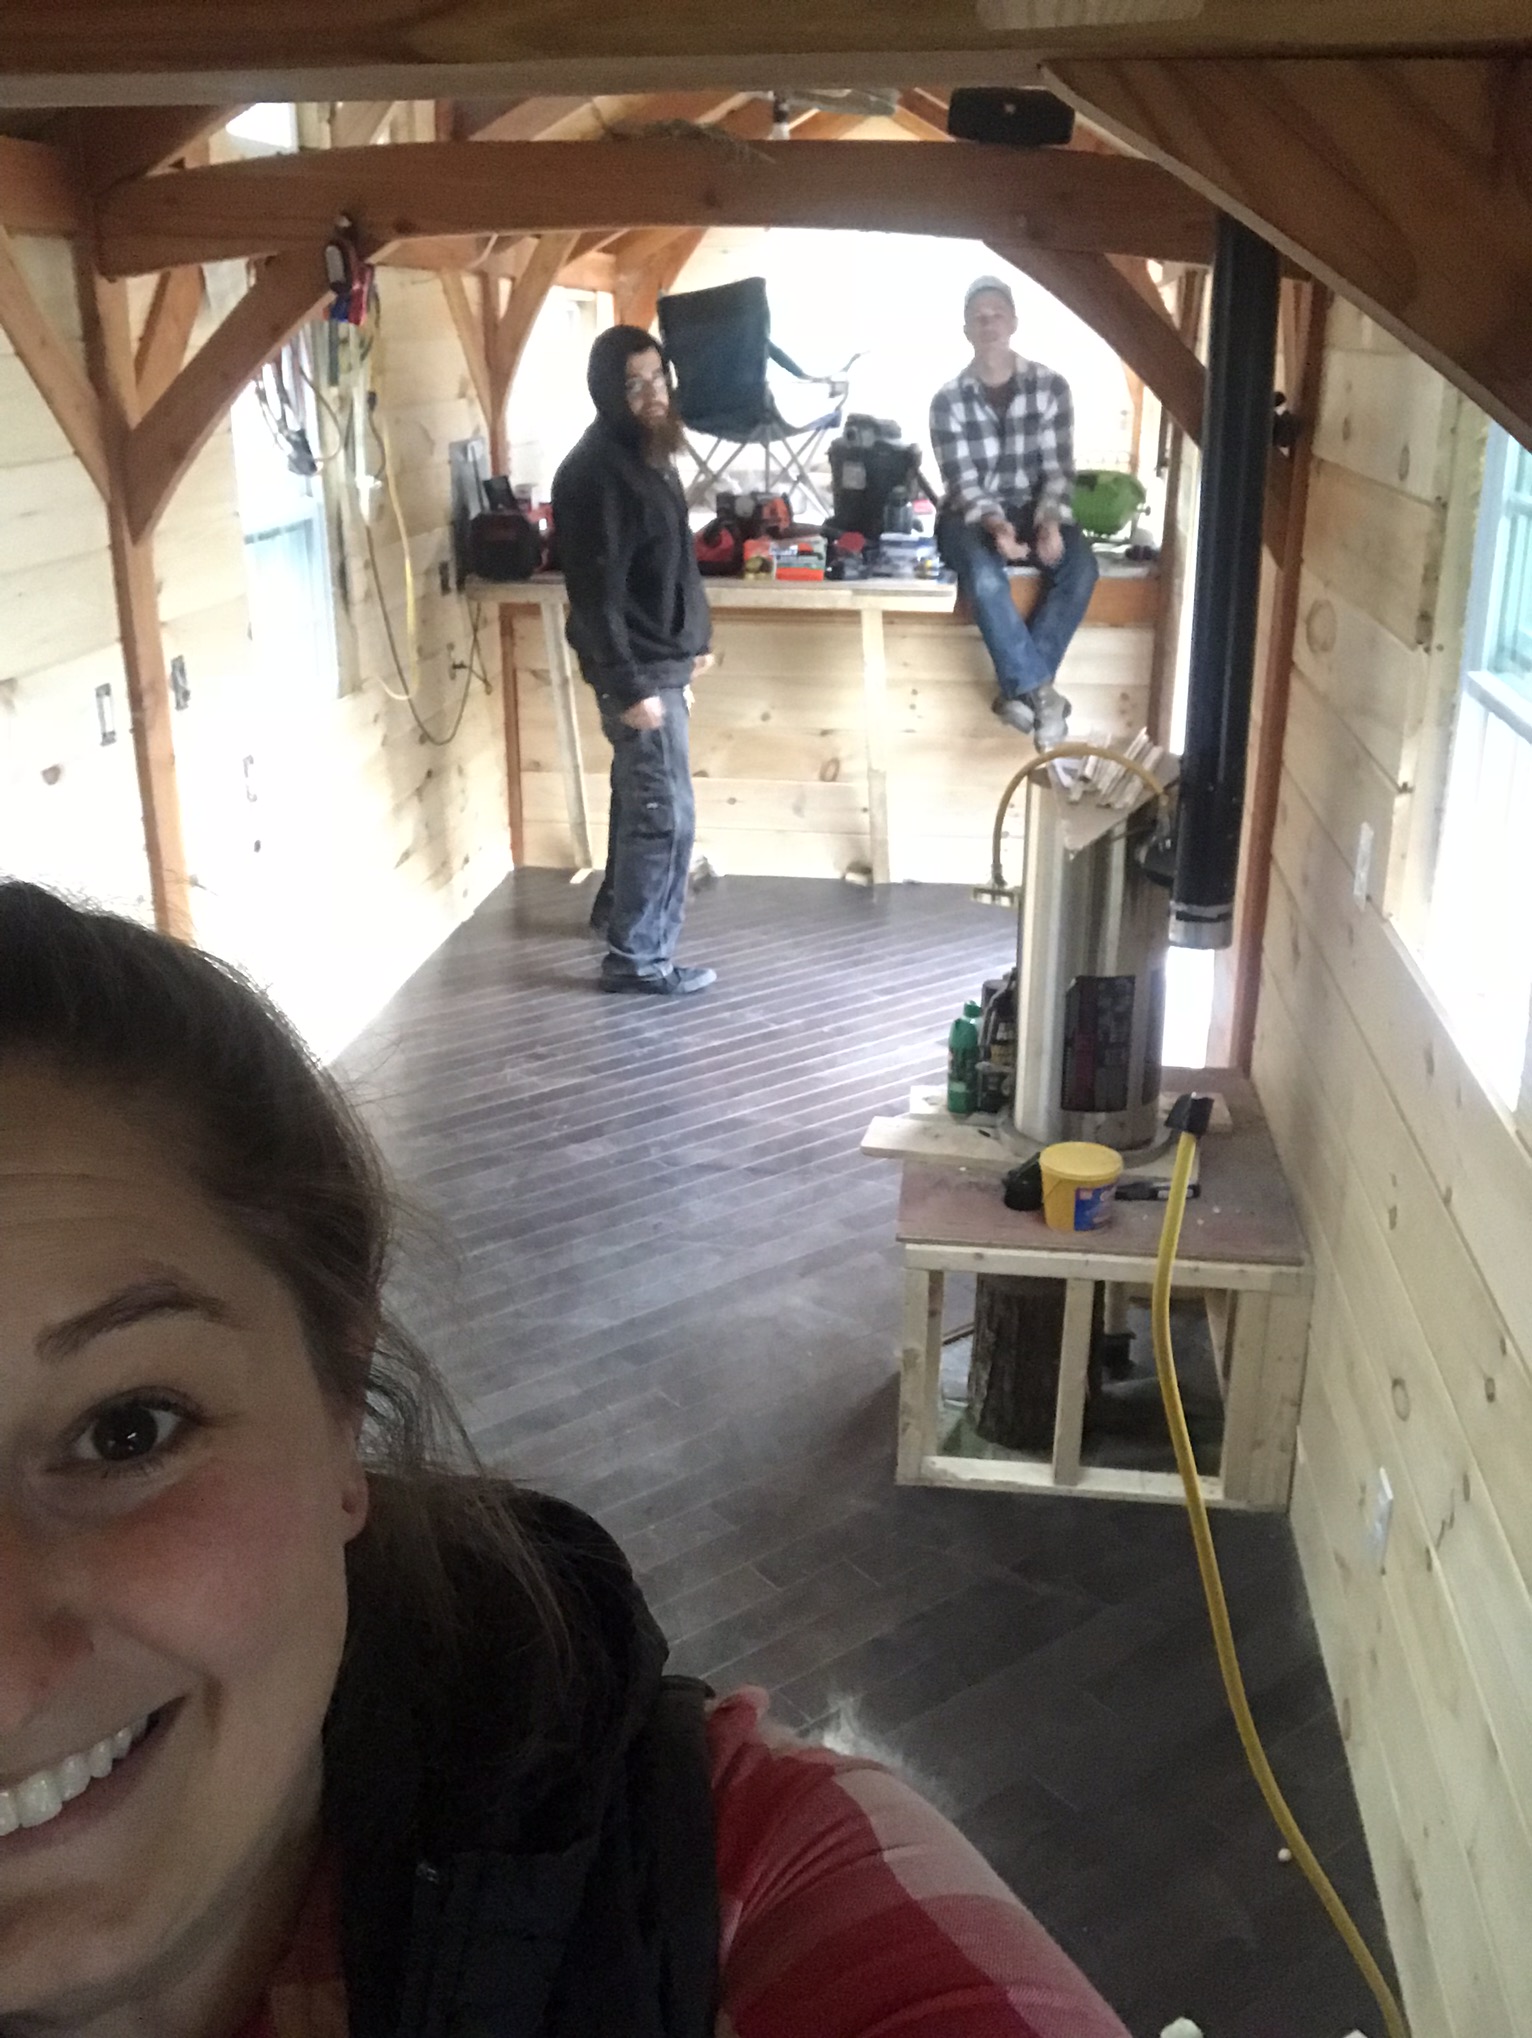
On this fine flooring weekend, Brian and I were accompanied by our handy friends Tim Barry (a sign maker and clever wood worker) and Cory Bouchard (an architectural designer and knife maker).
Cory was stuck up in the bedroom, where we decided to reverse the direction of the 45-degree angle.

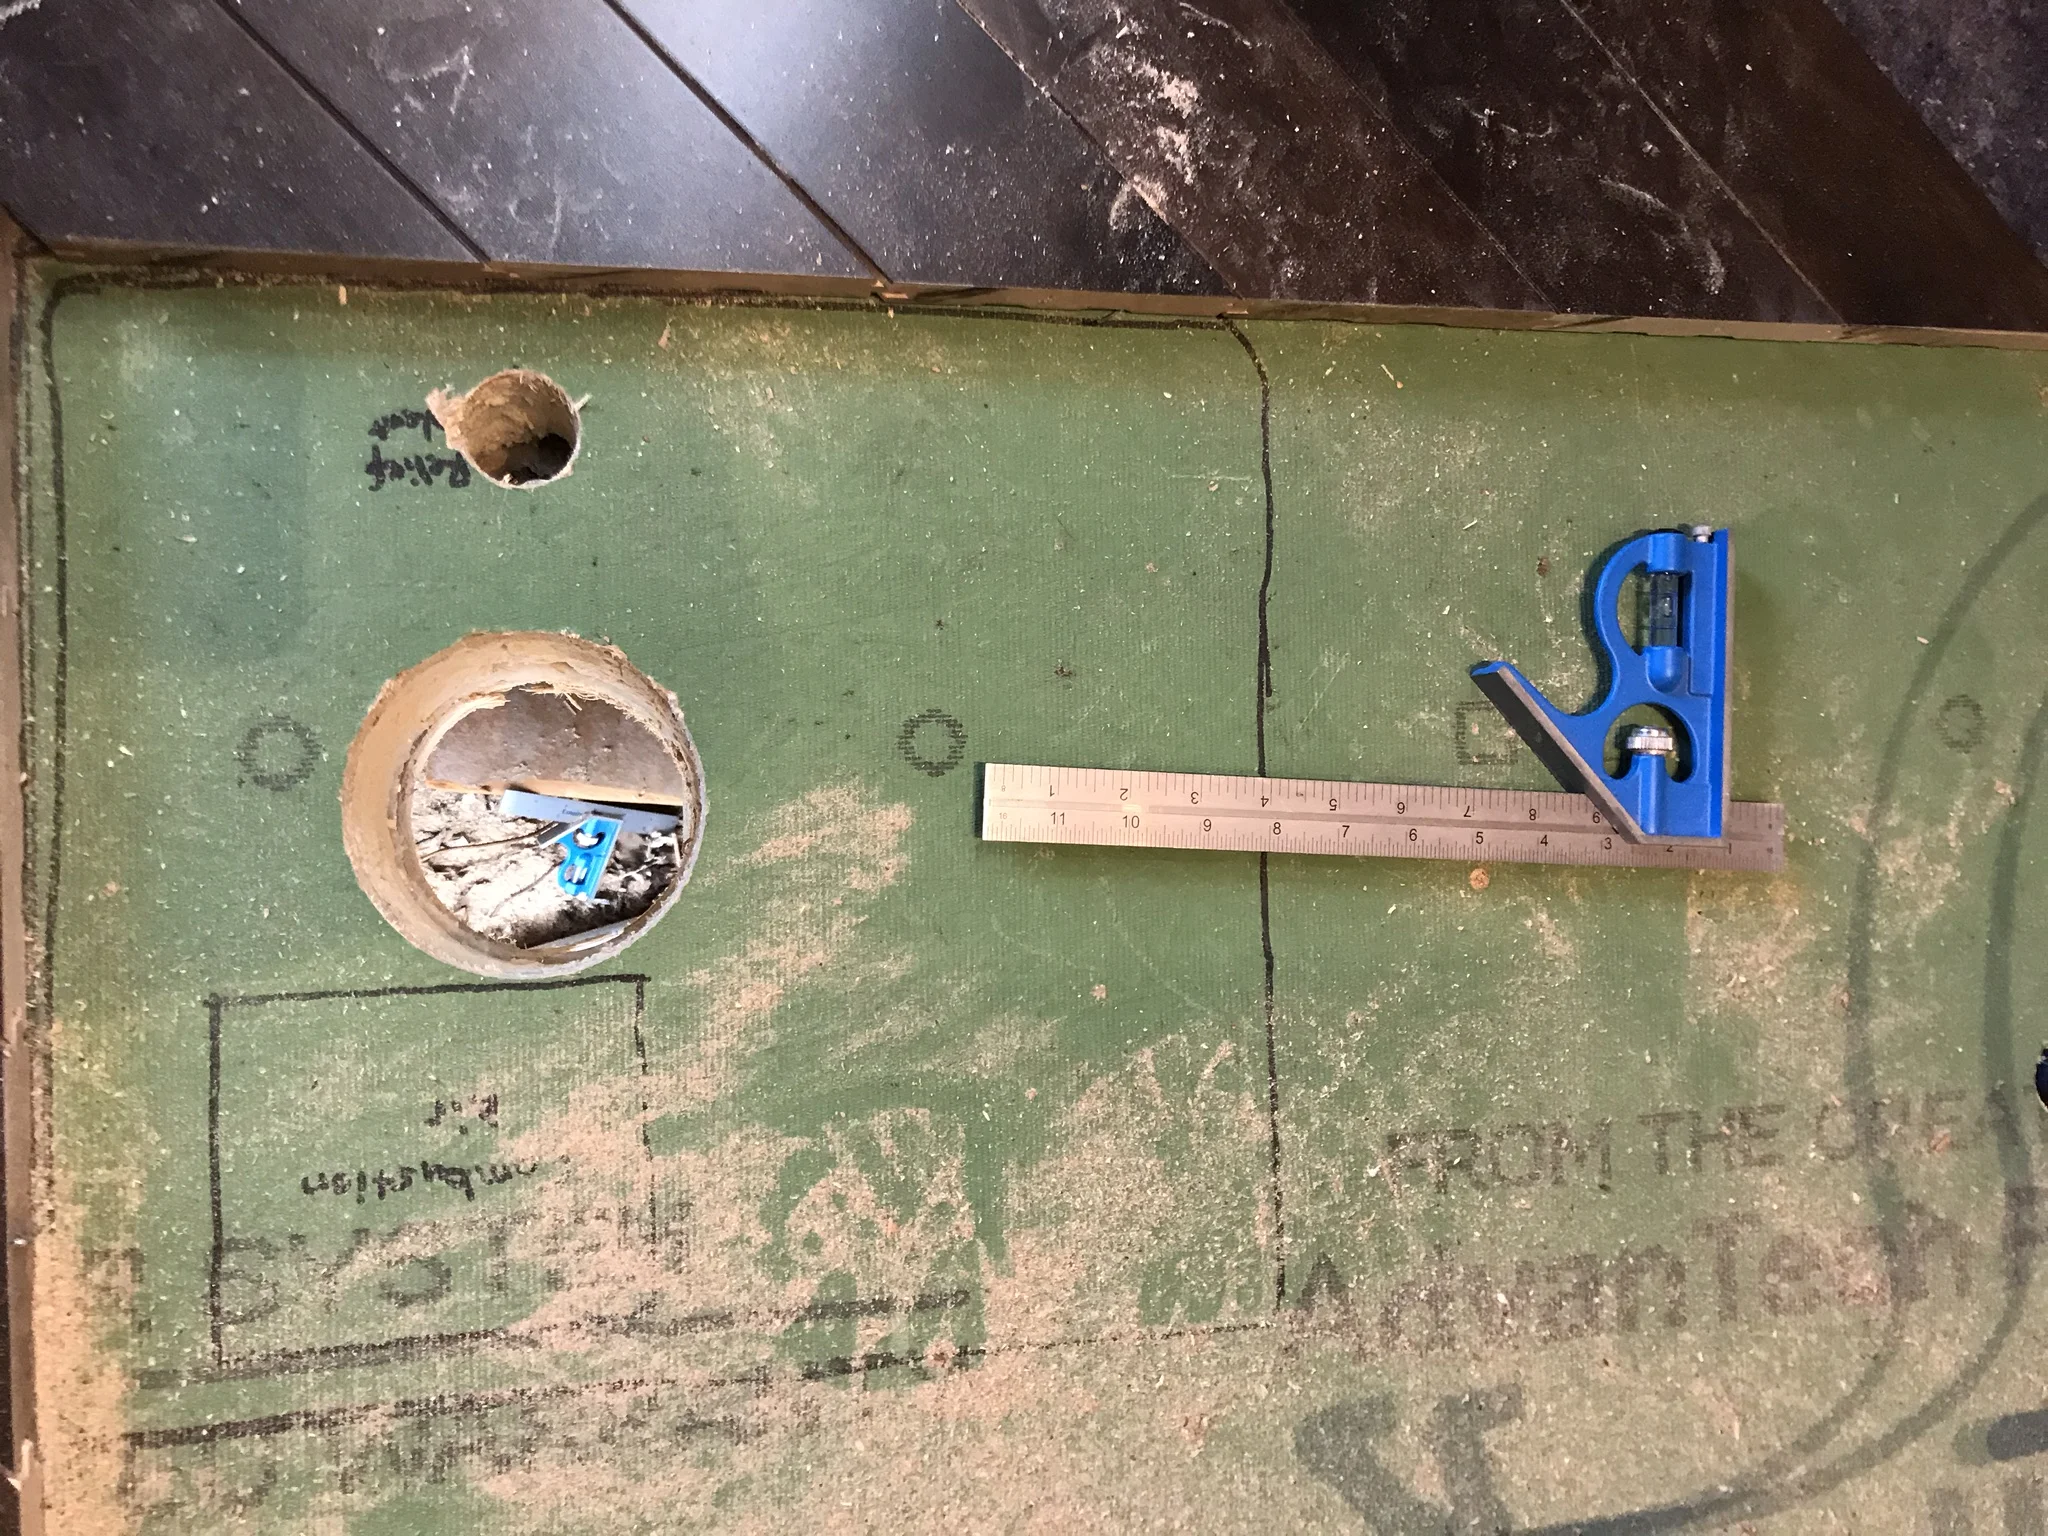
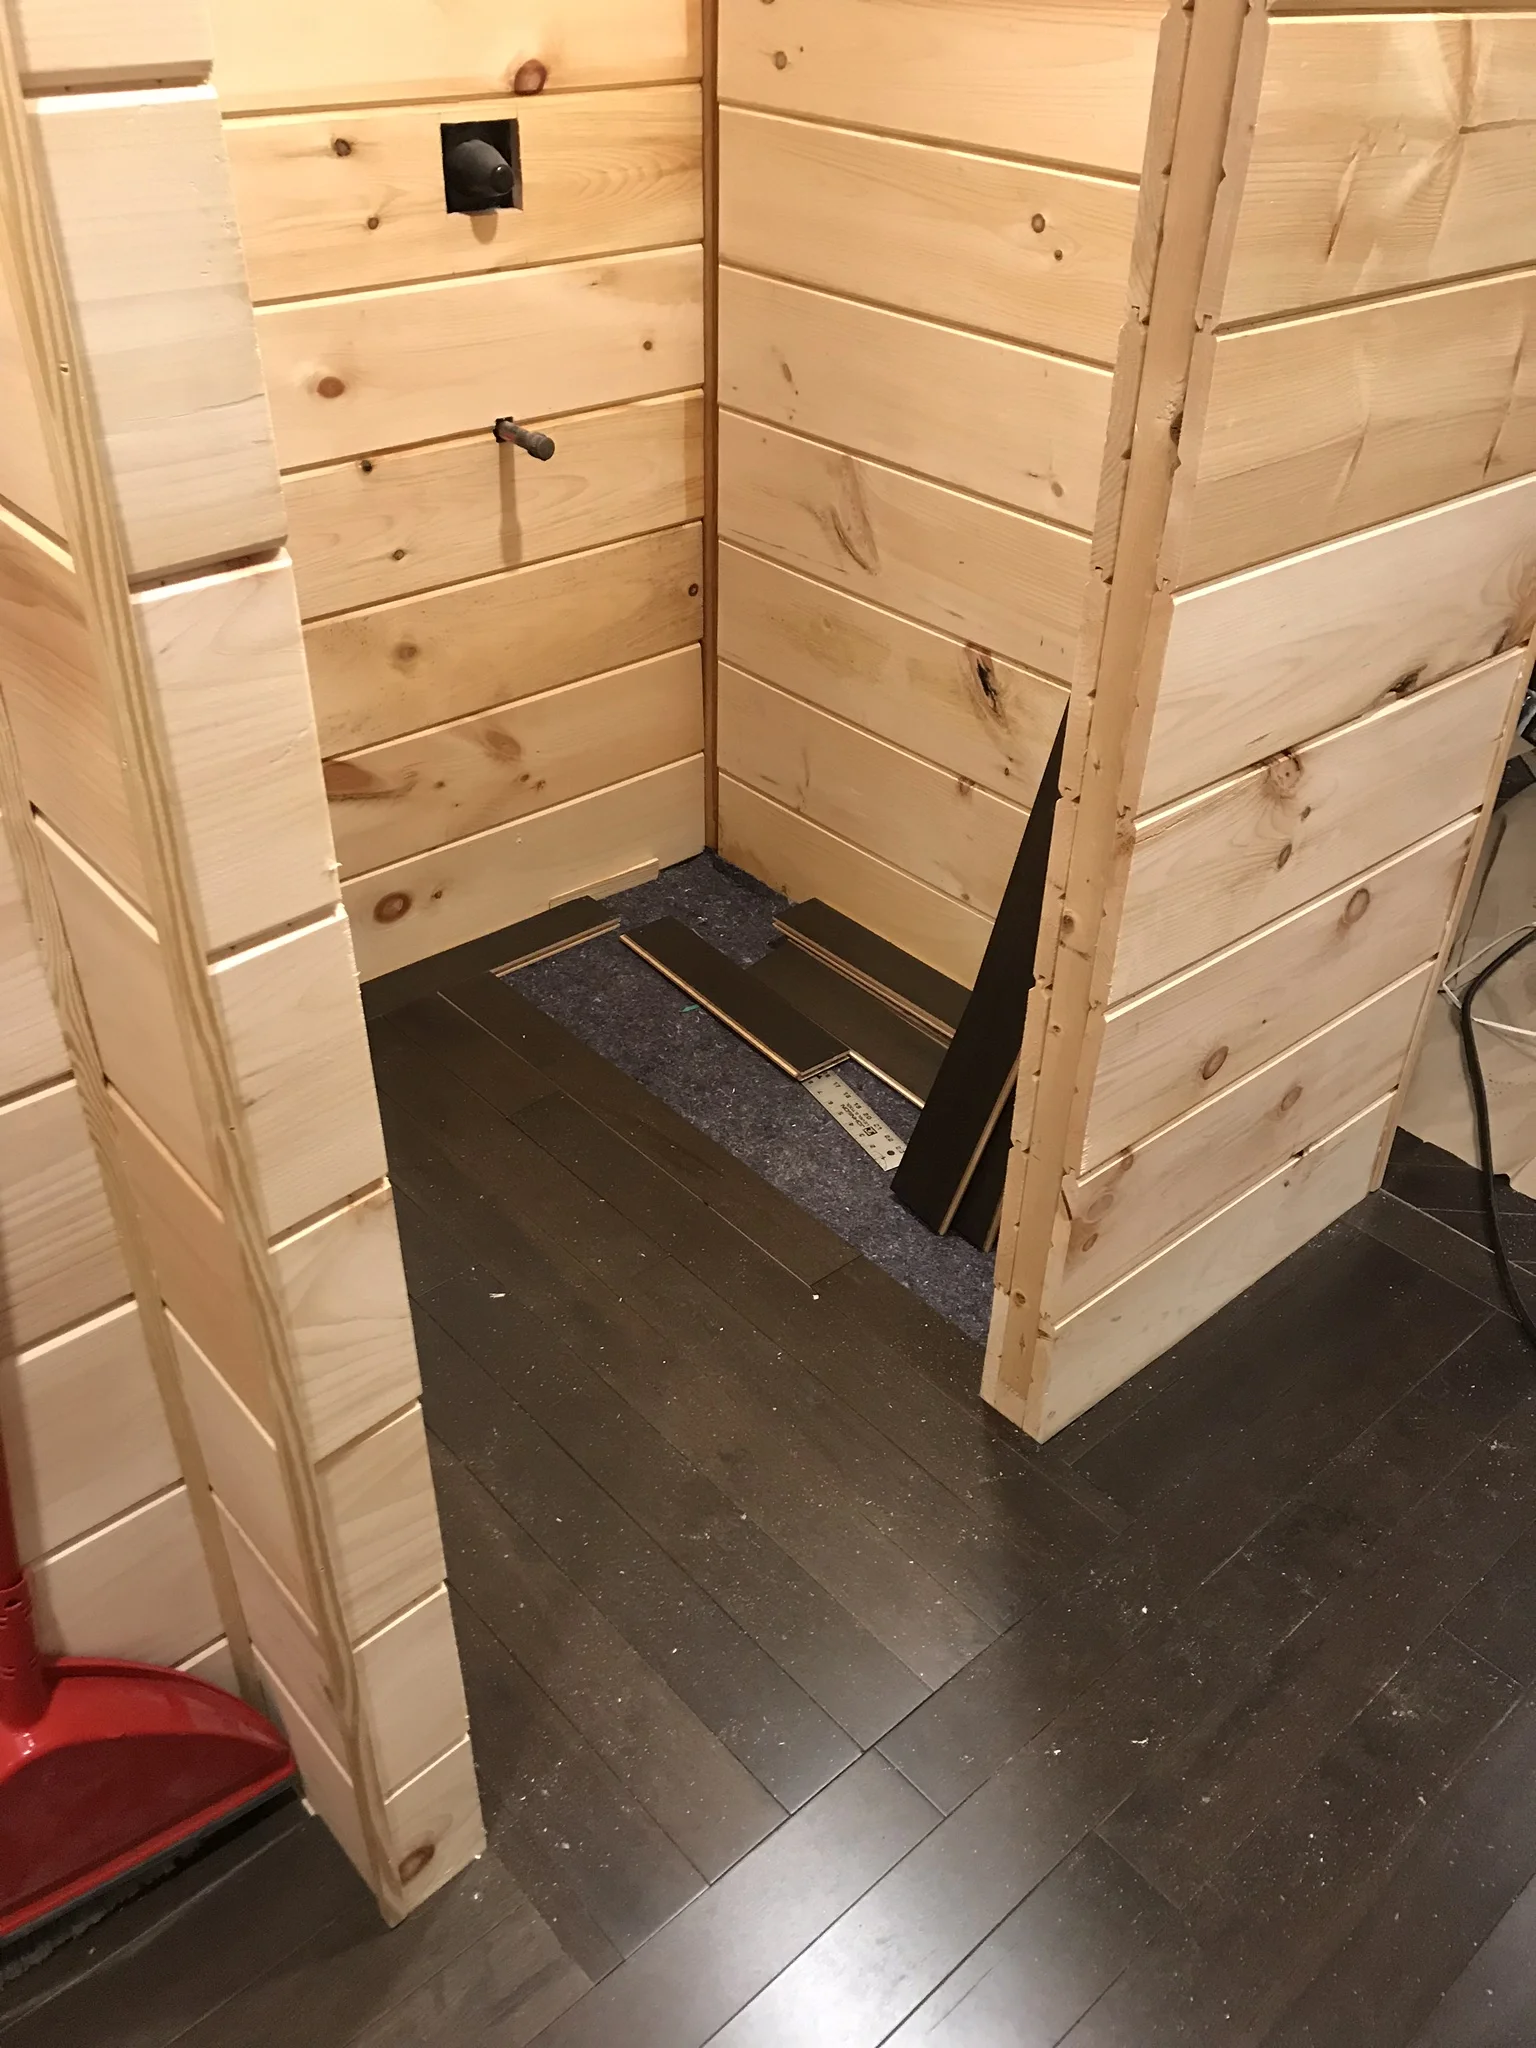
When we got to the kitchen, we couldn’t for the life of us find the small combination square!! After a little while (probably longer than I care to admit) we realized where it had gone… can you find it?
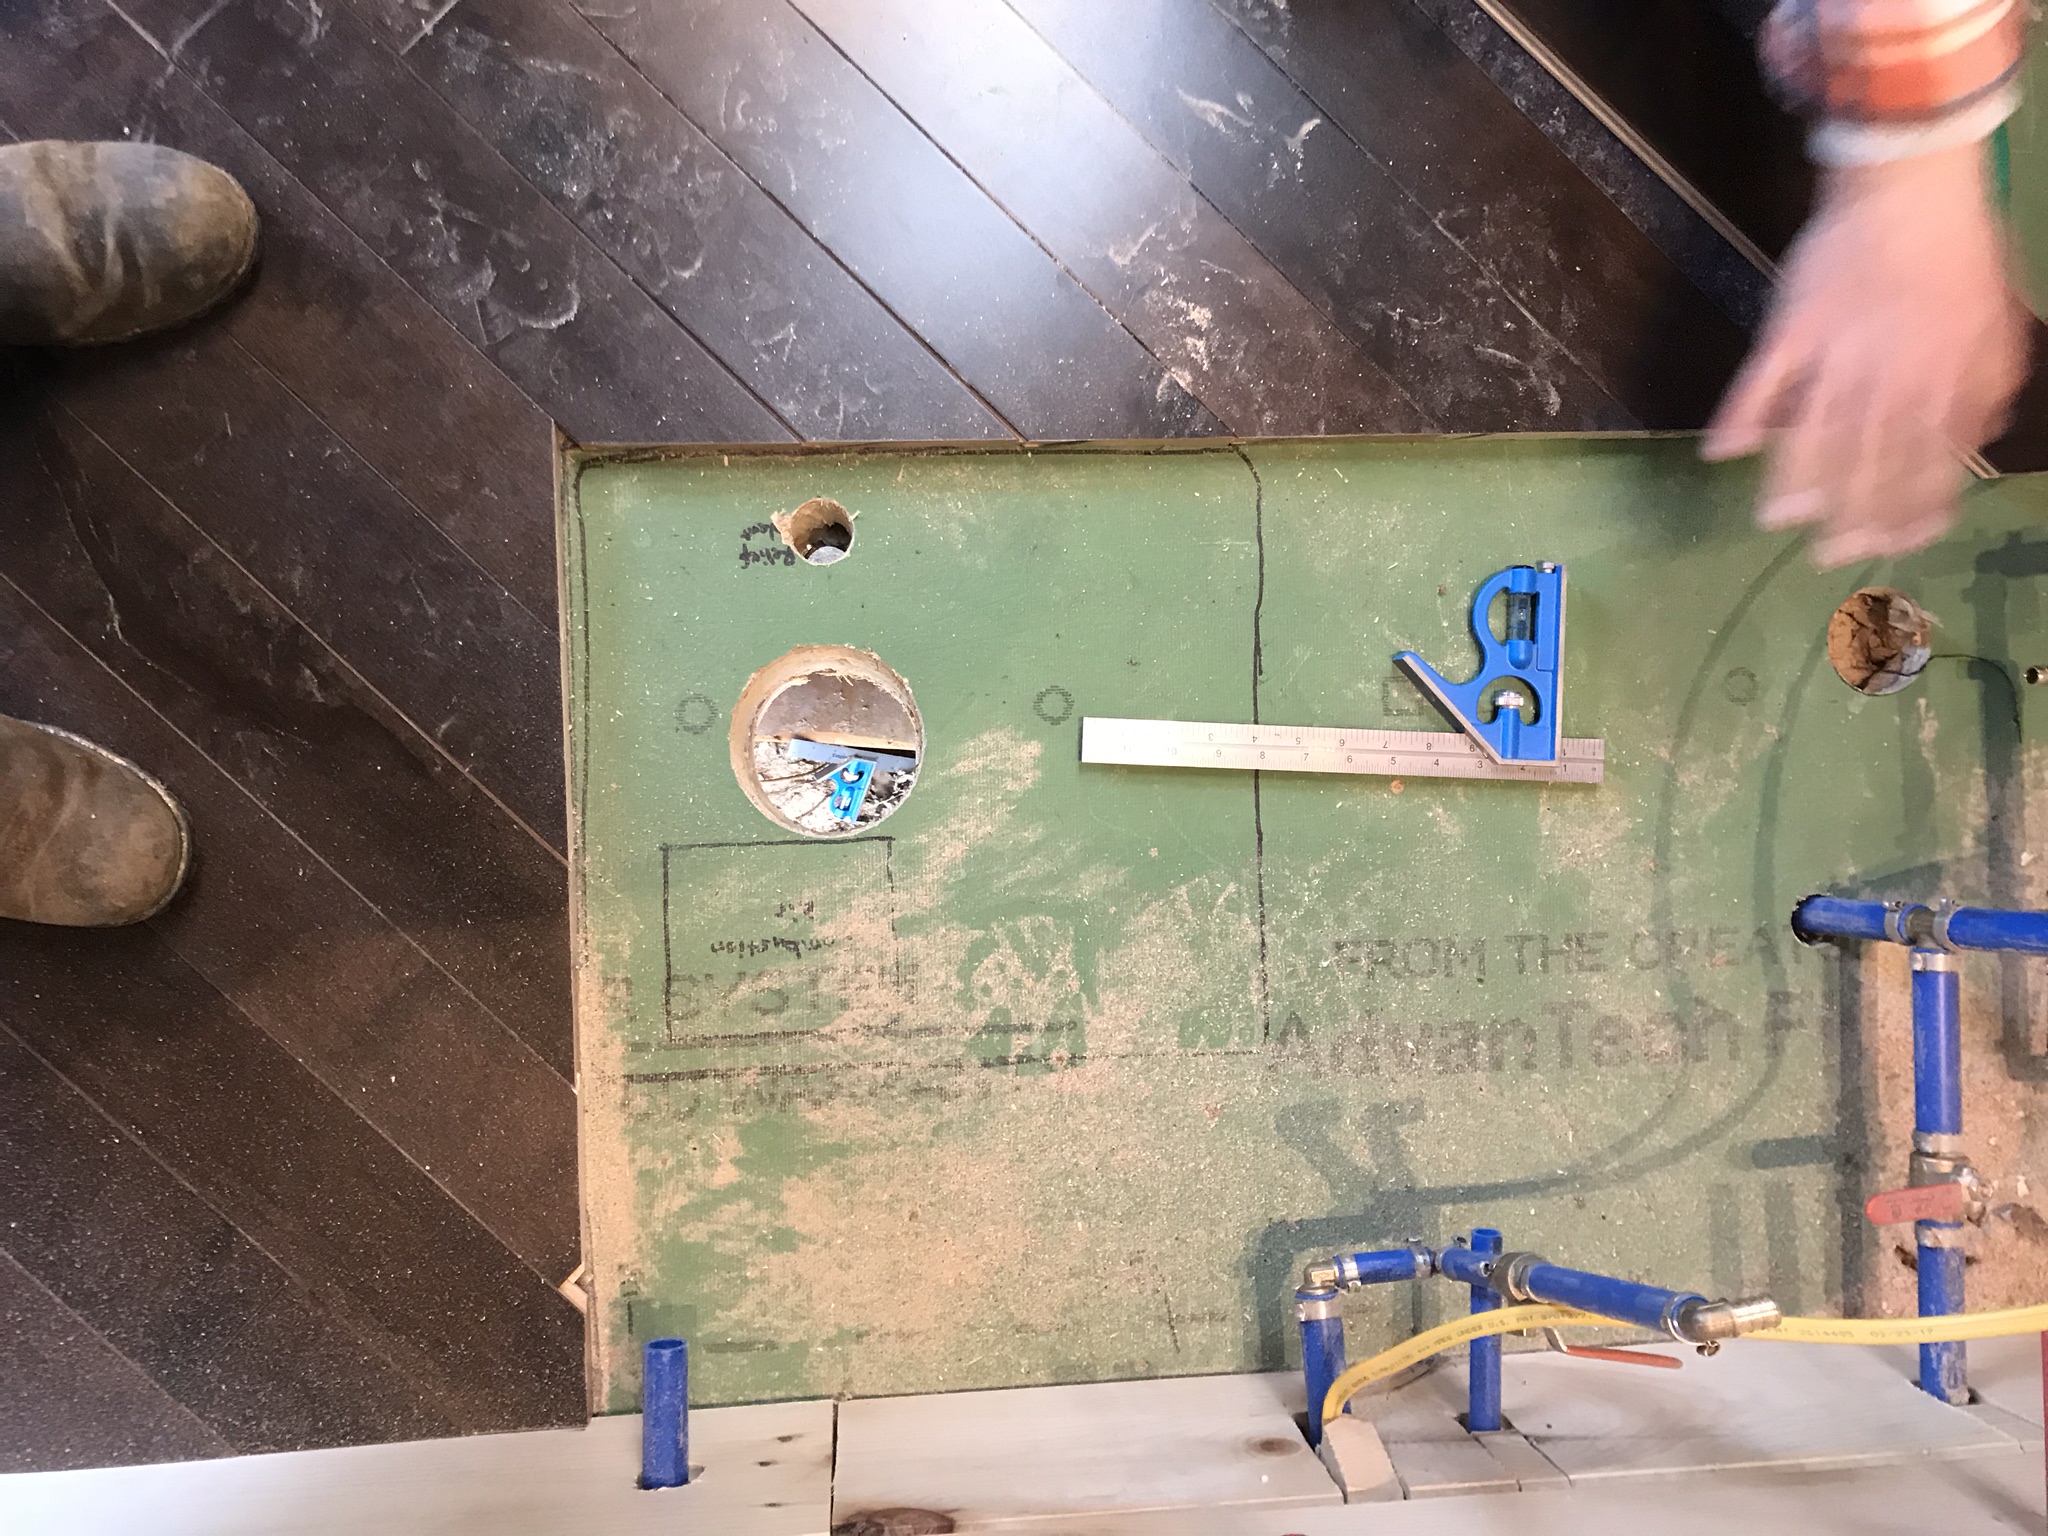
It had fallen right through our water heater vent hole and onto the ground below!
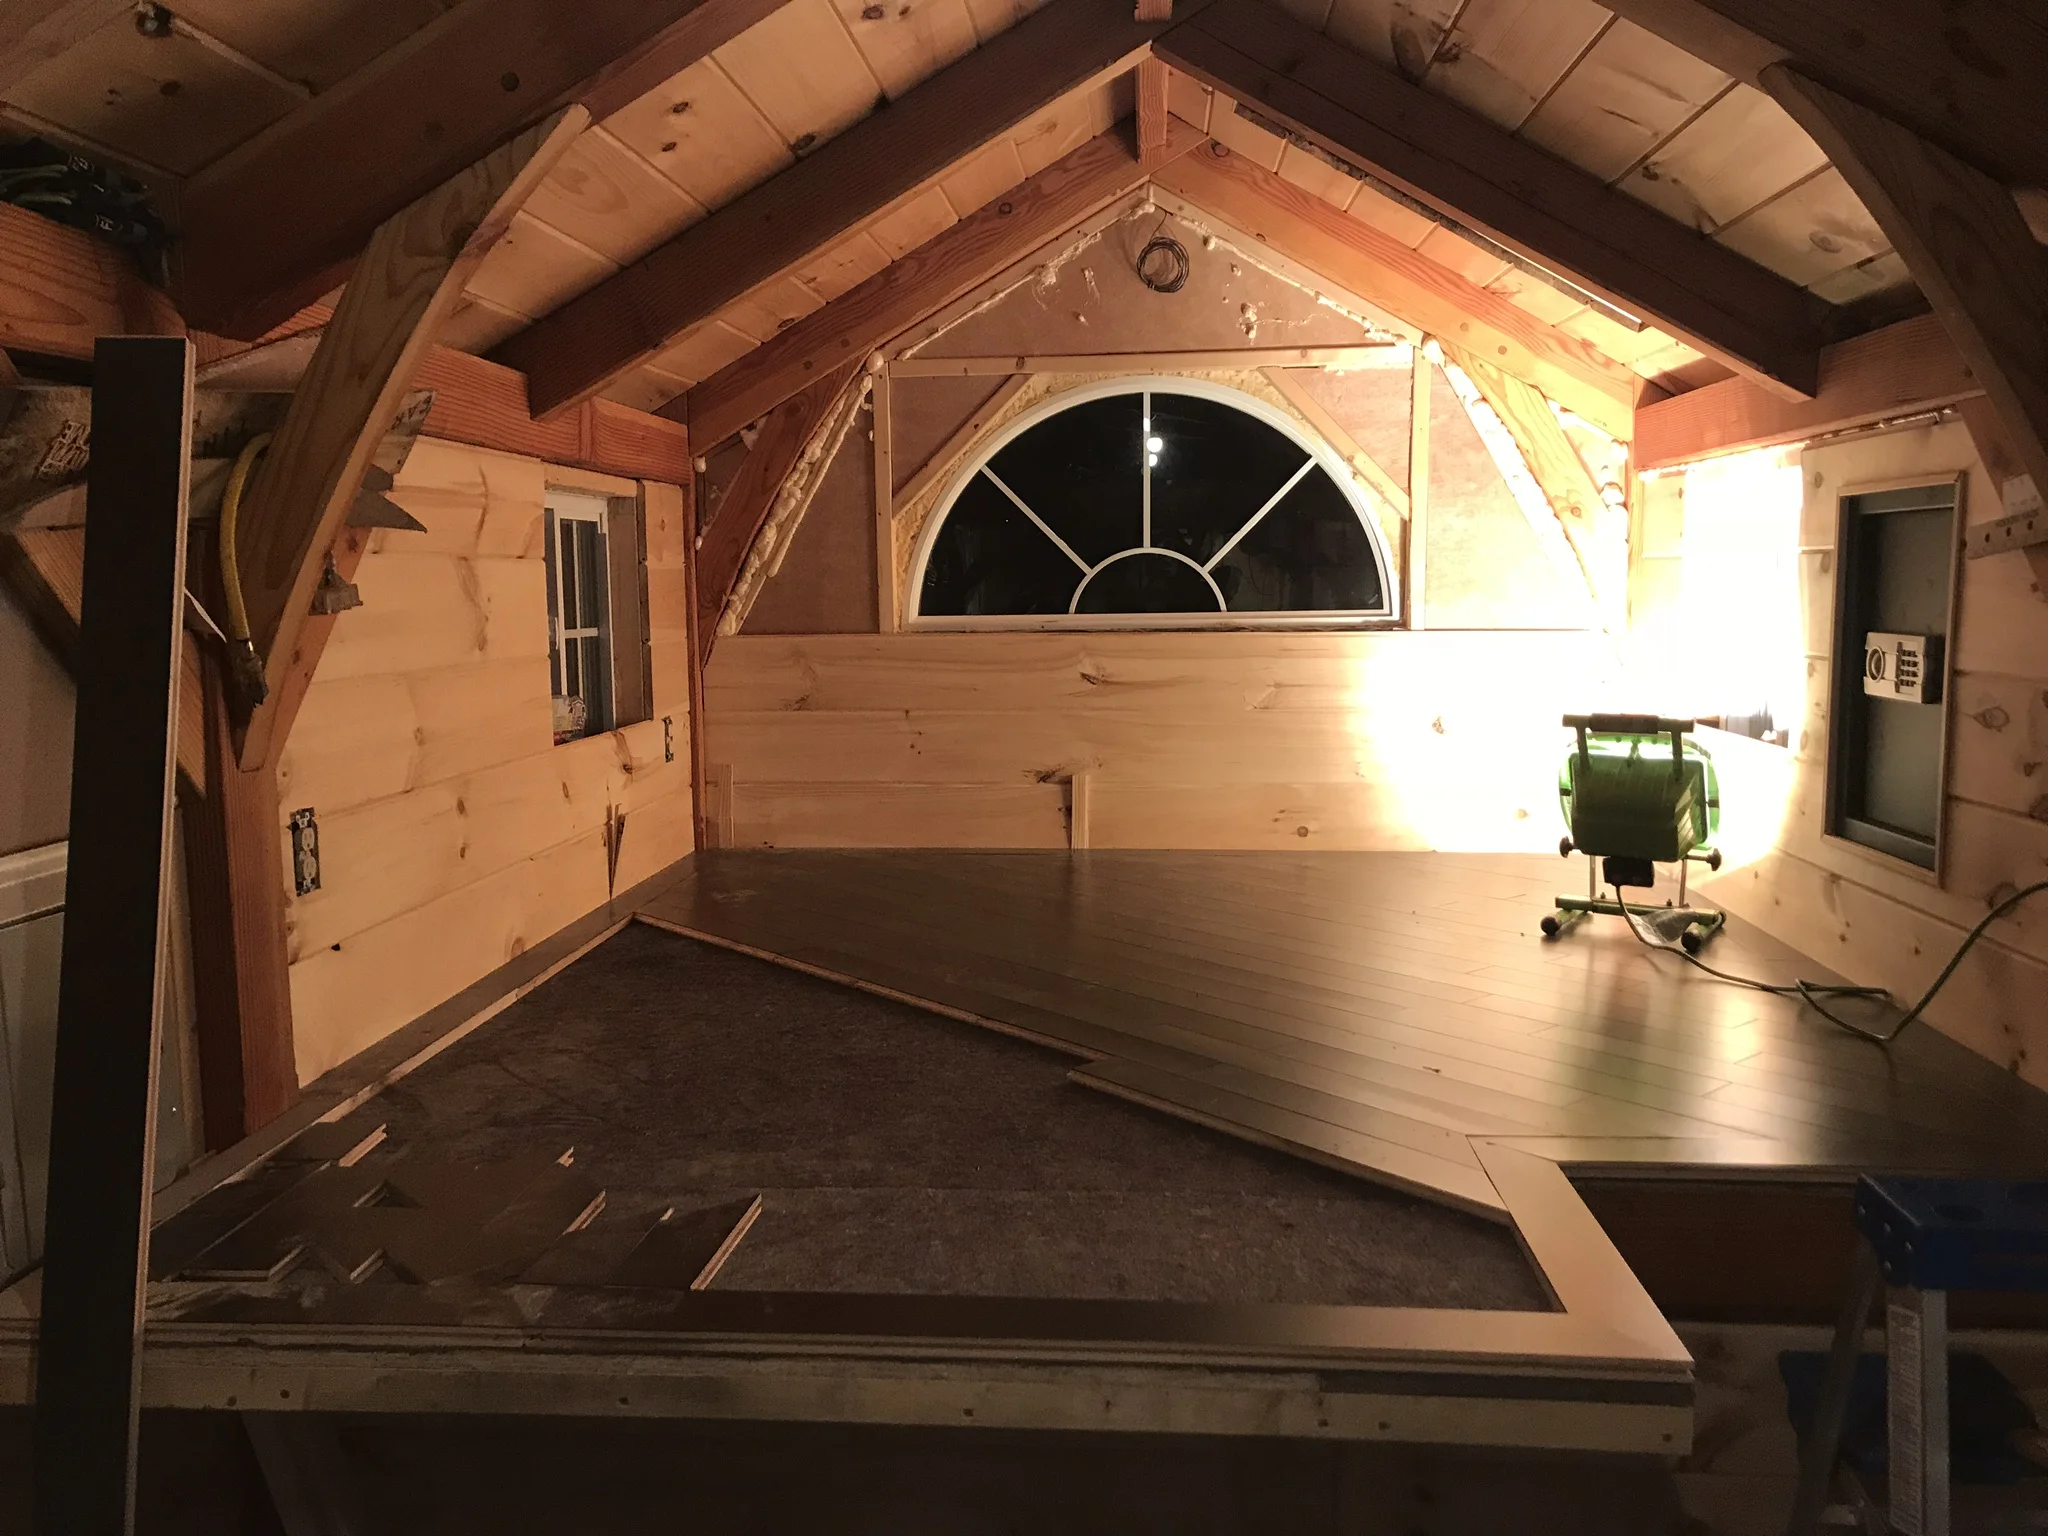
Cory and I made a picture frame border around the bedroom and began filling it in with diagonal boards.

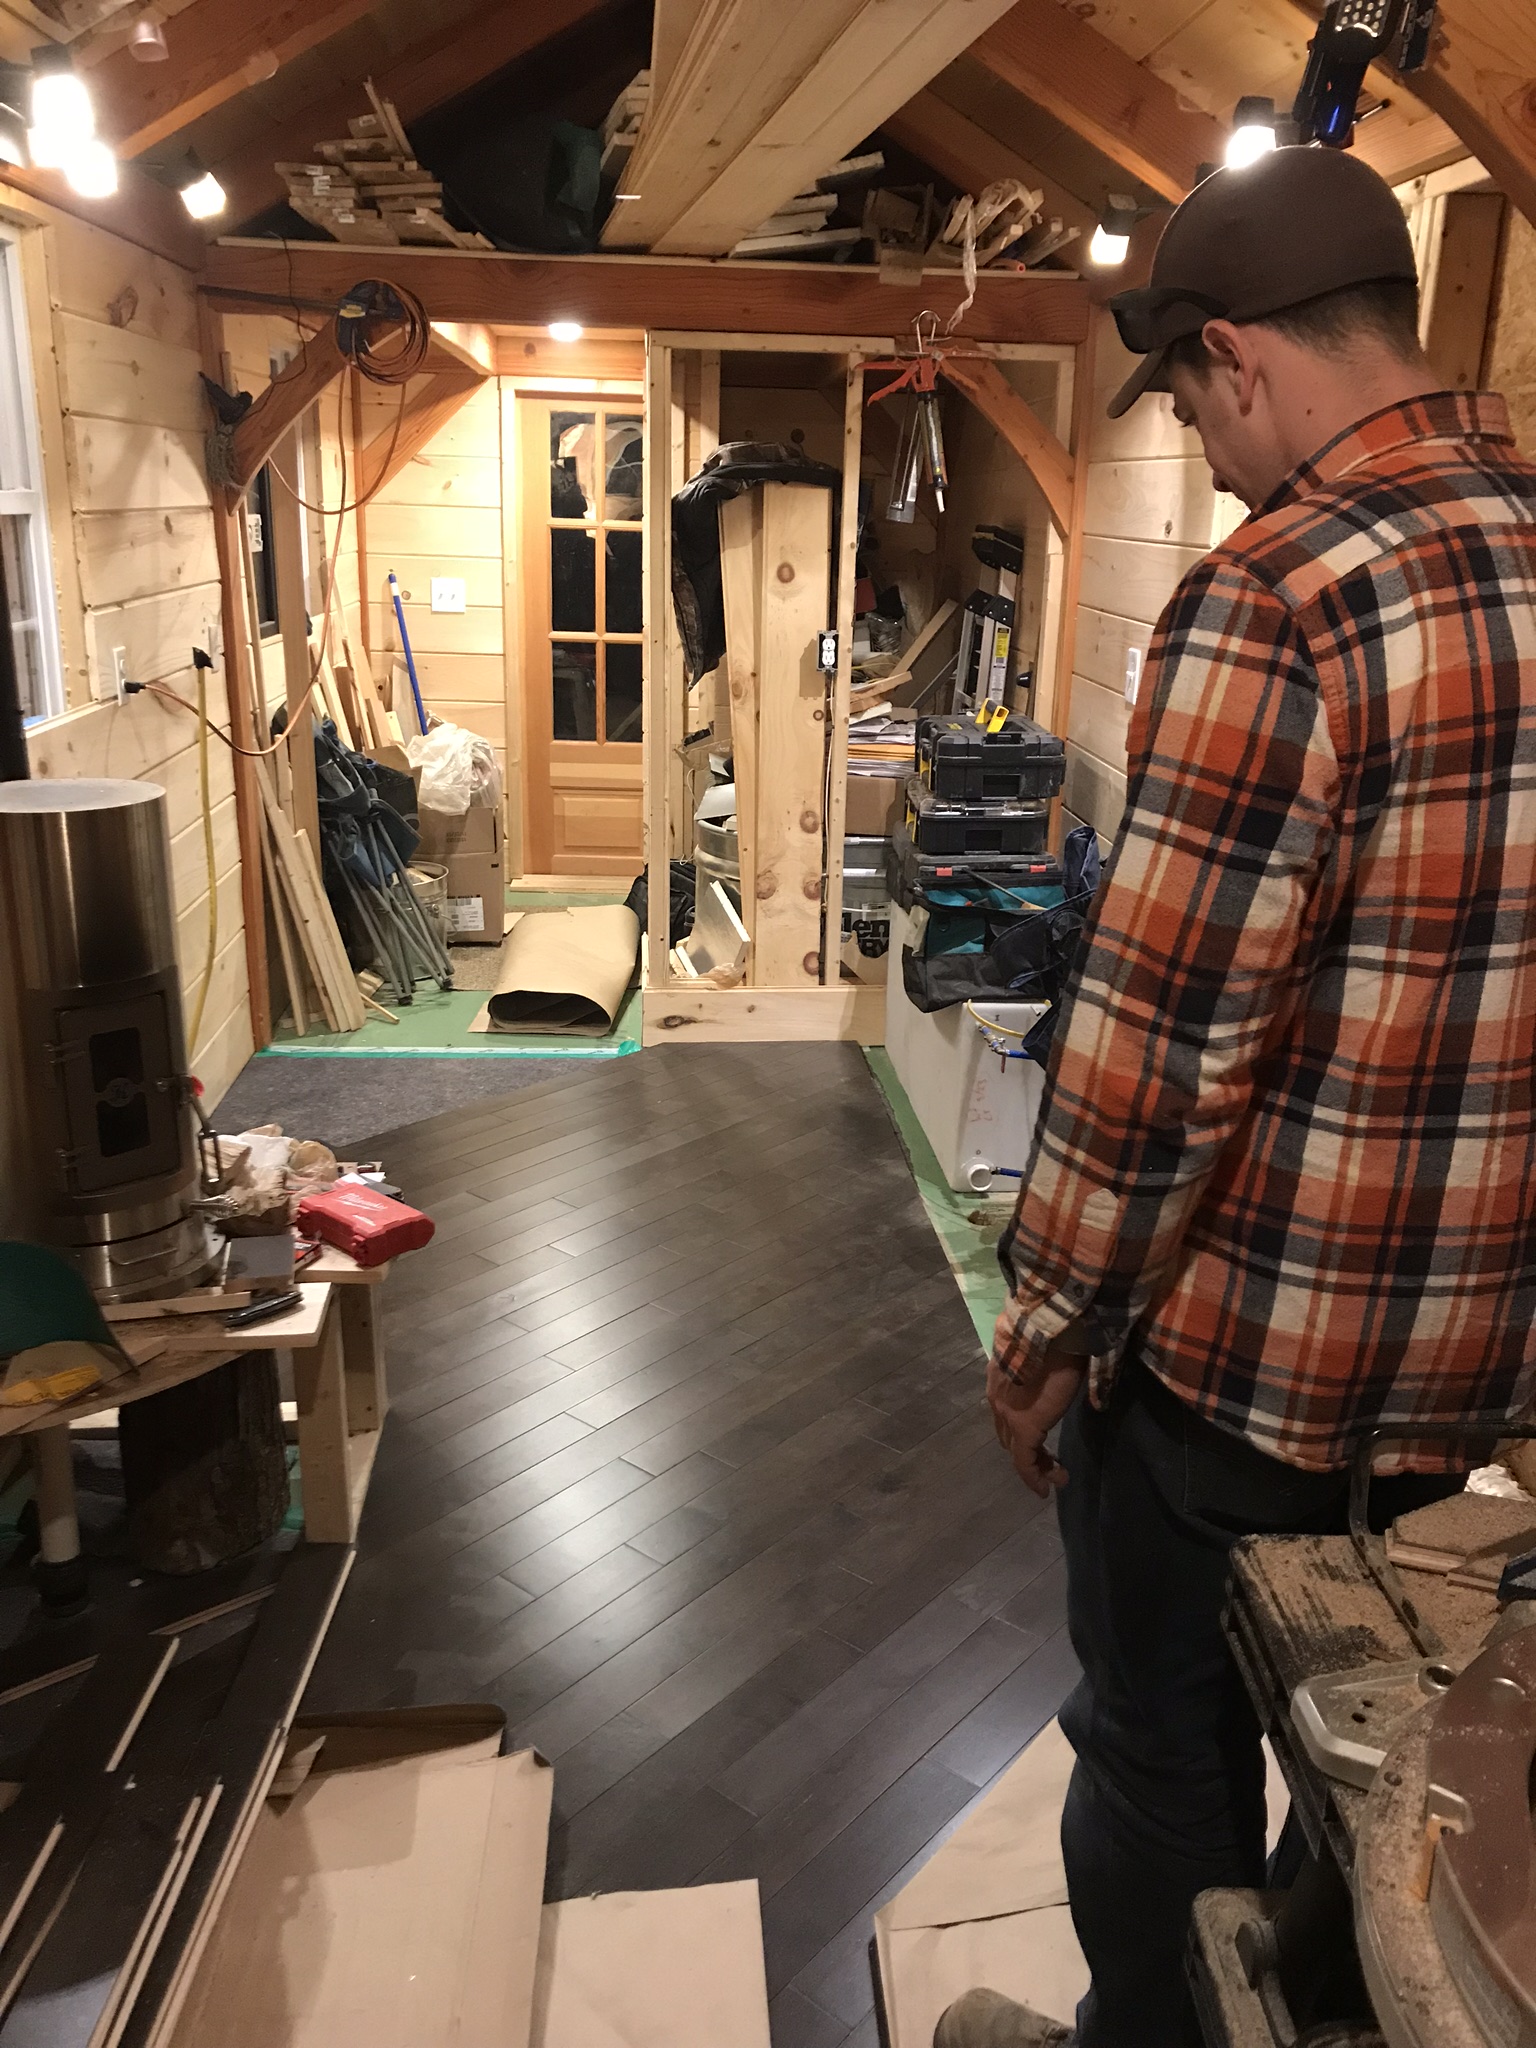
Tim and Brian worked on the kitchen and we had the miter saw between the two teams.


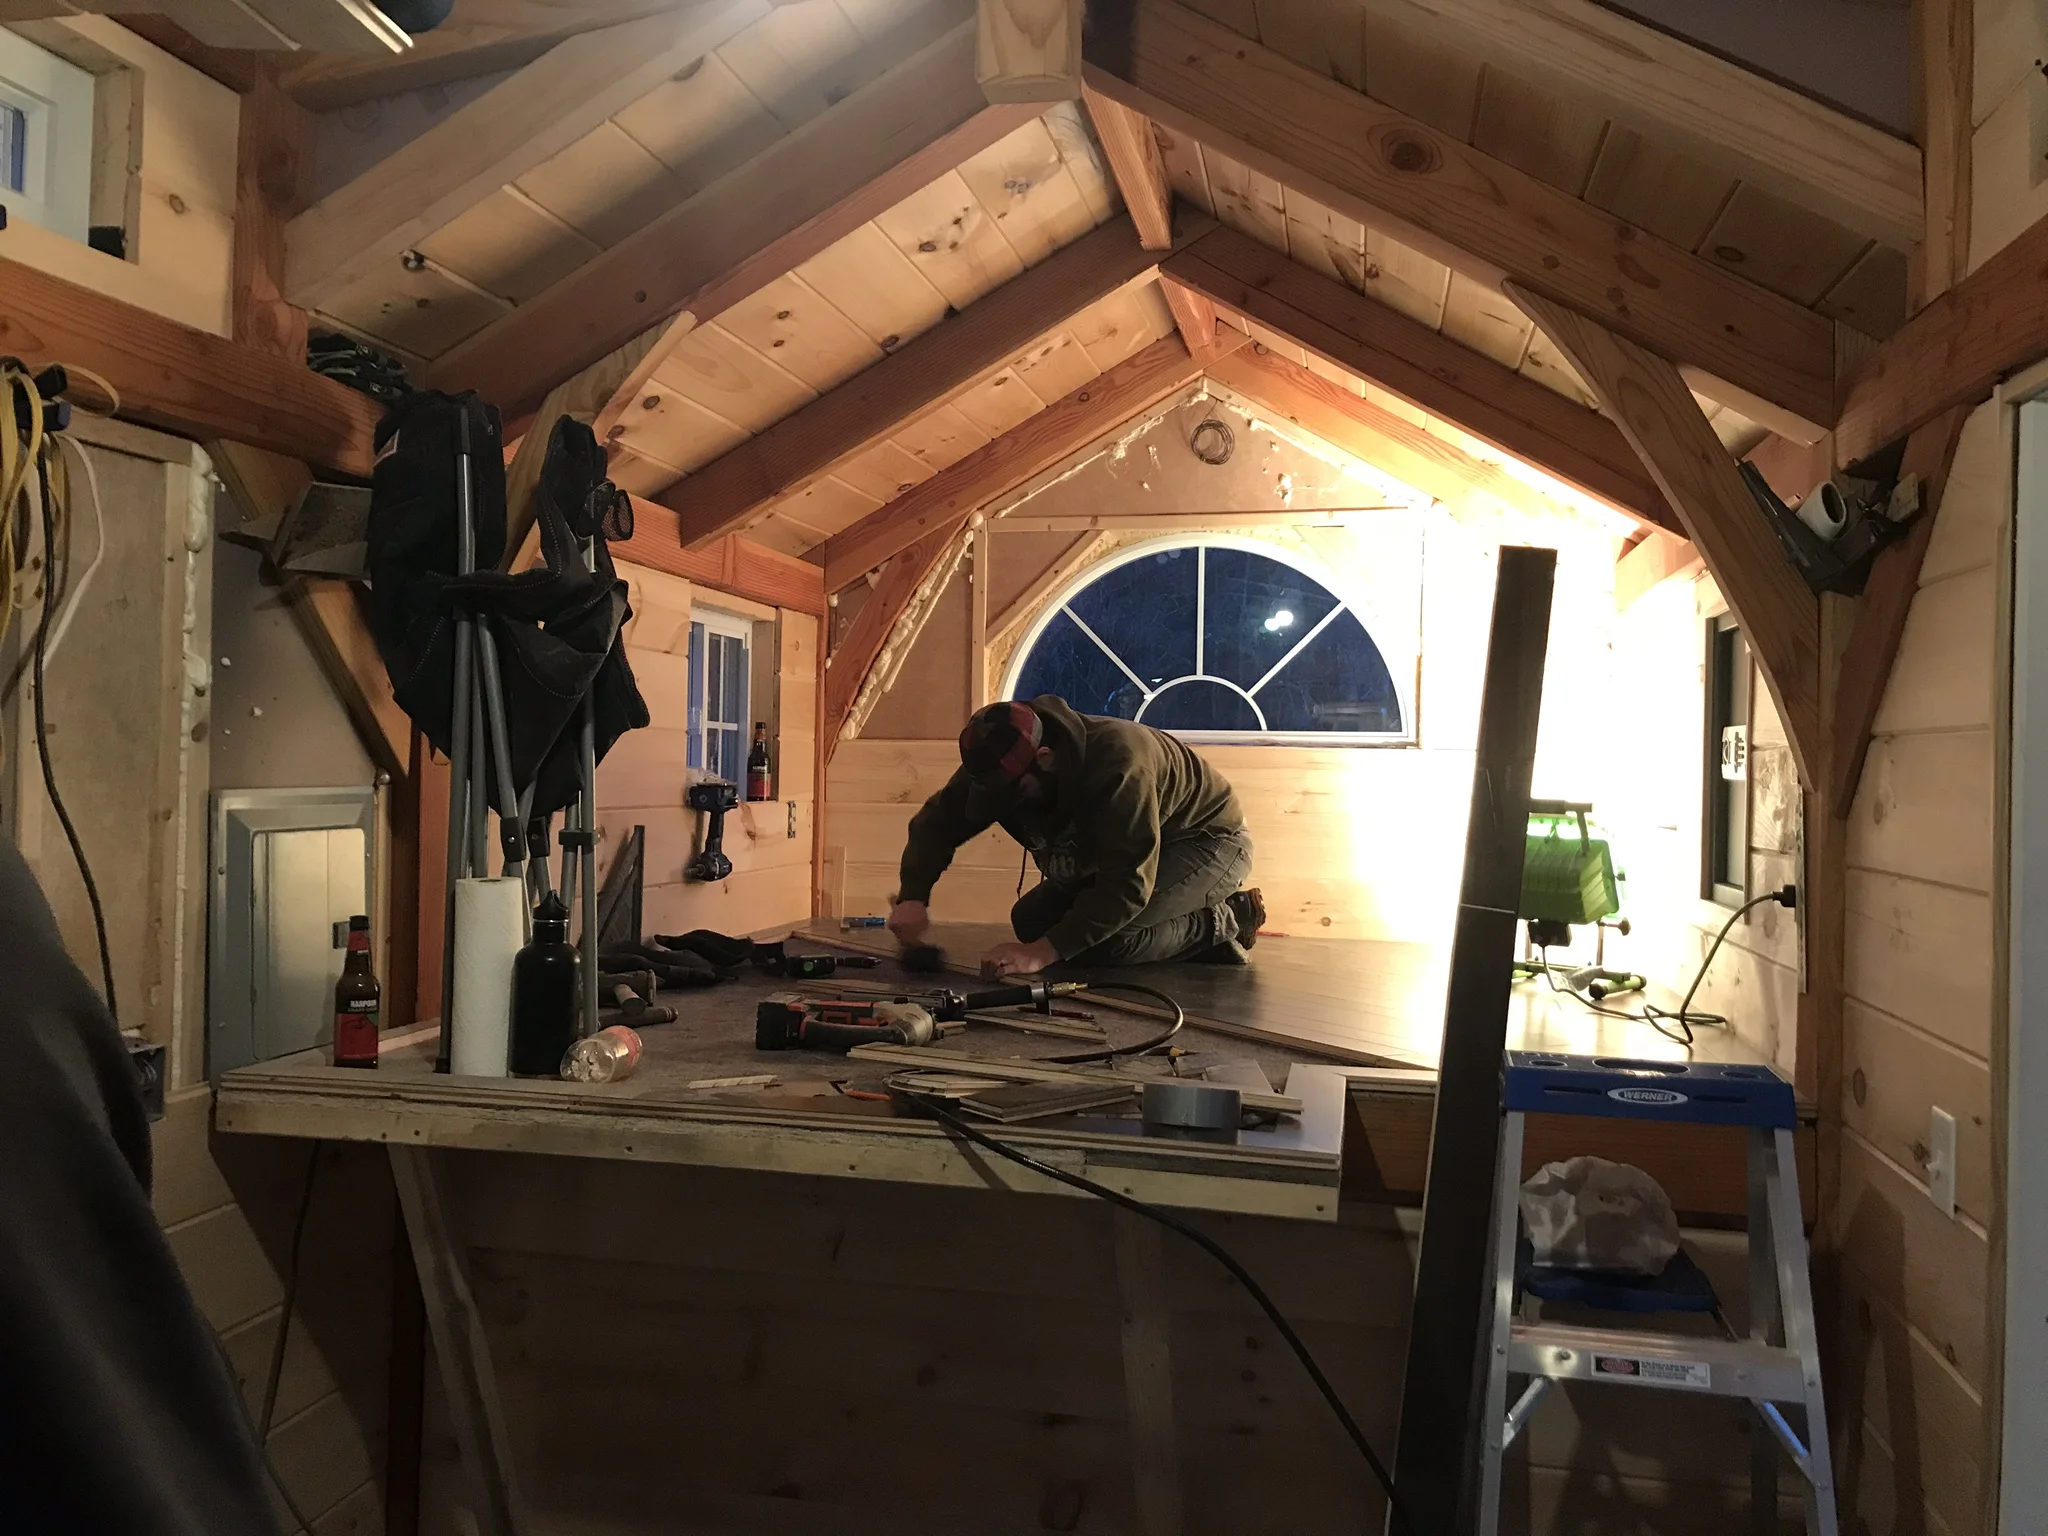
After one day of work, we all stepped back to examine how far we had gotten.

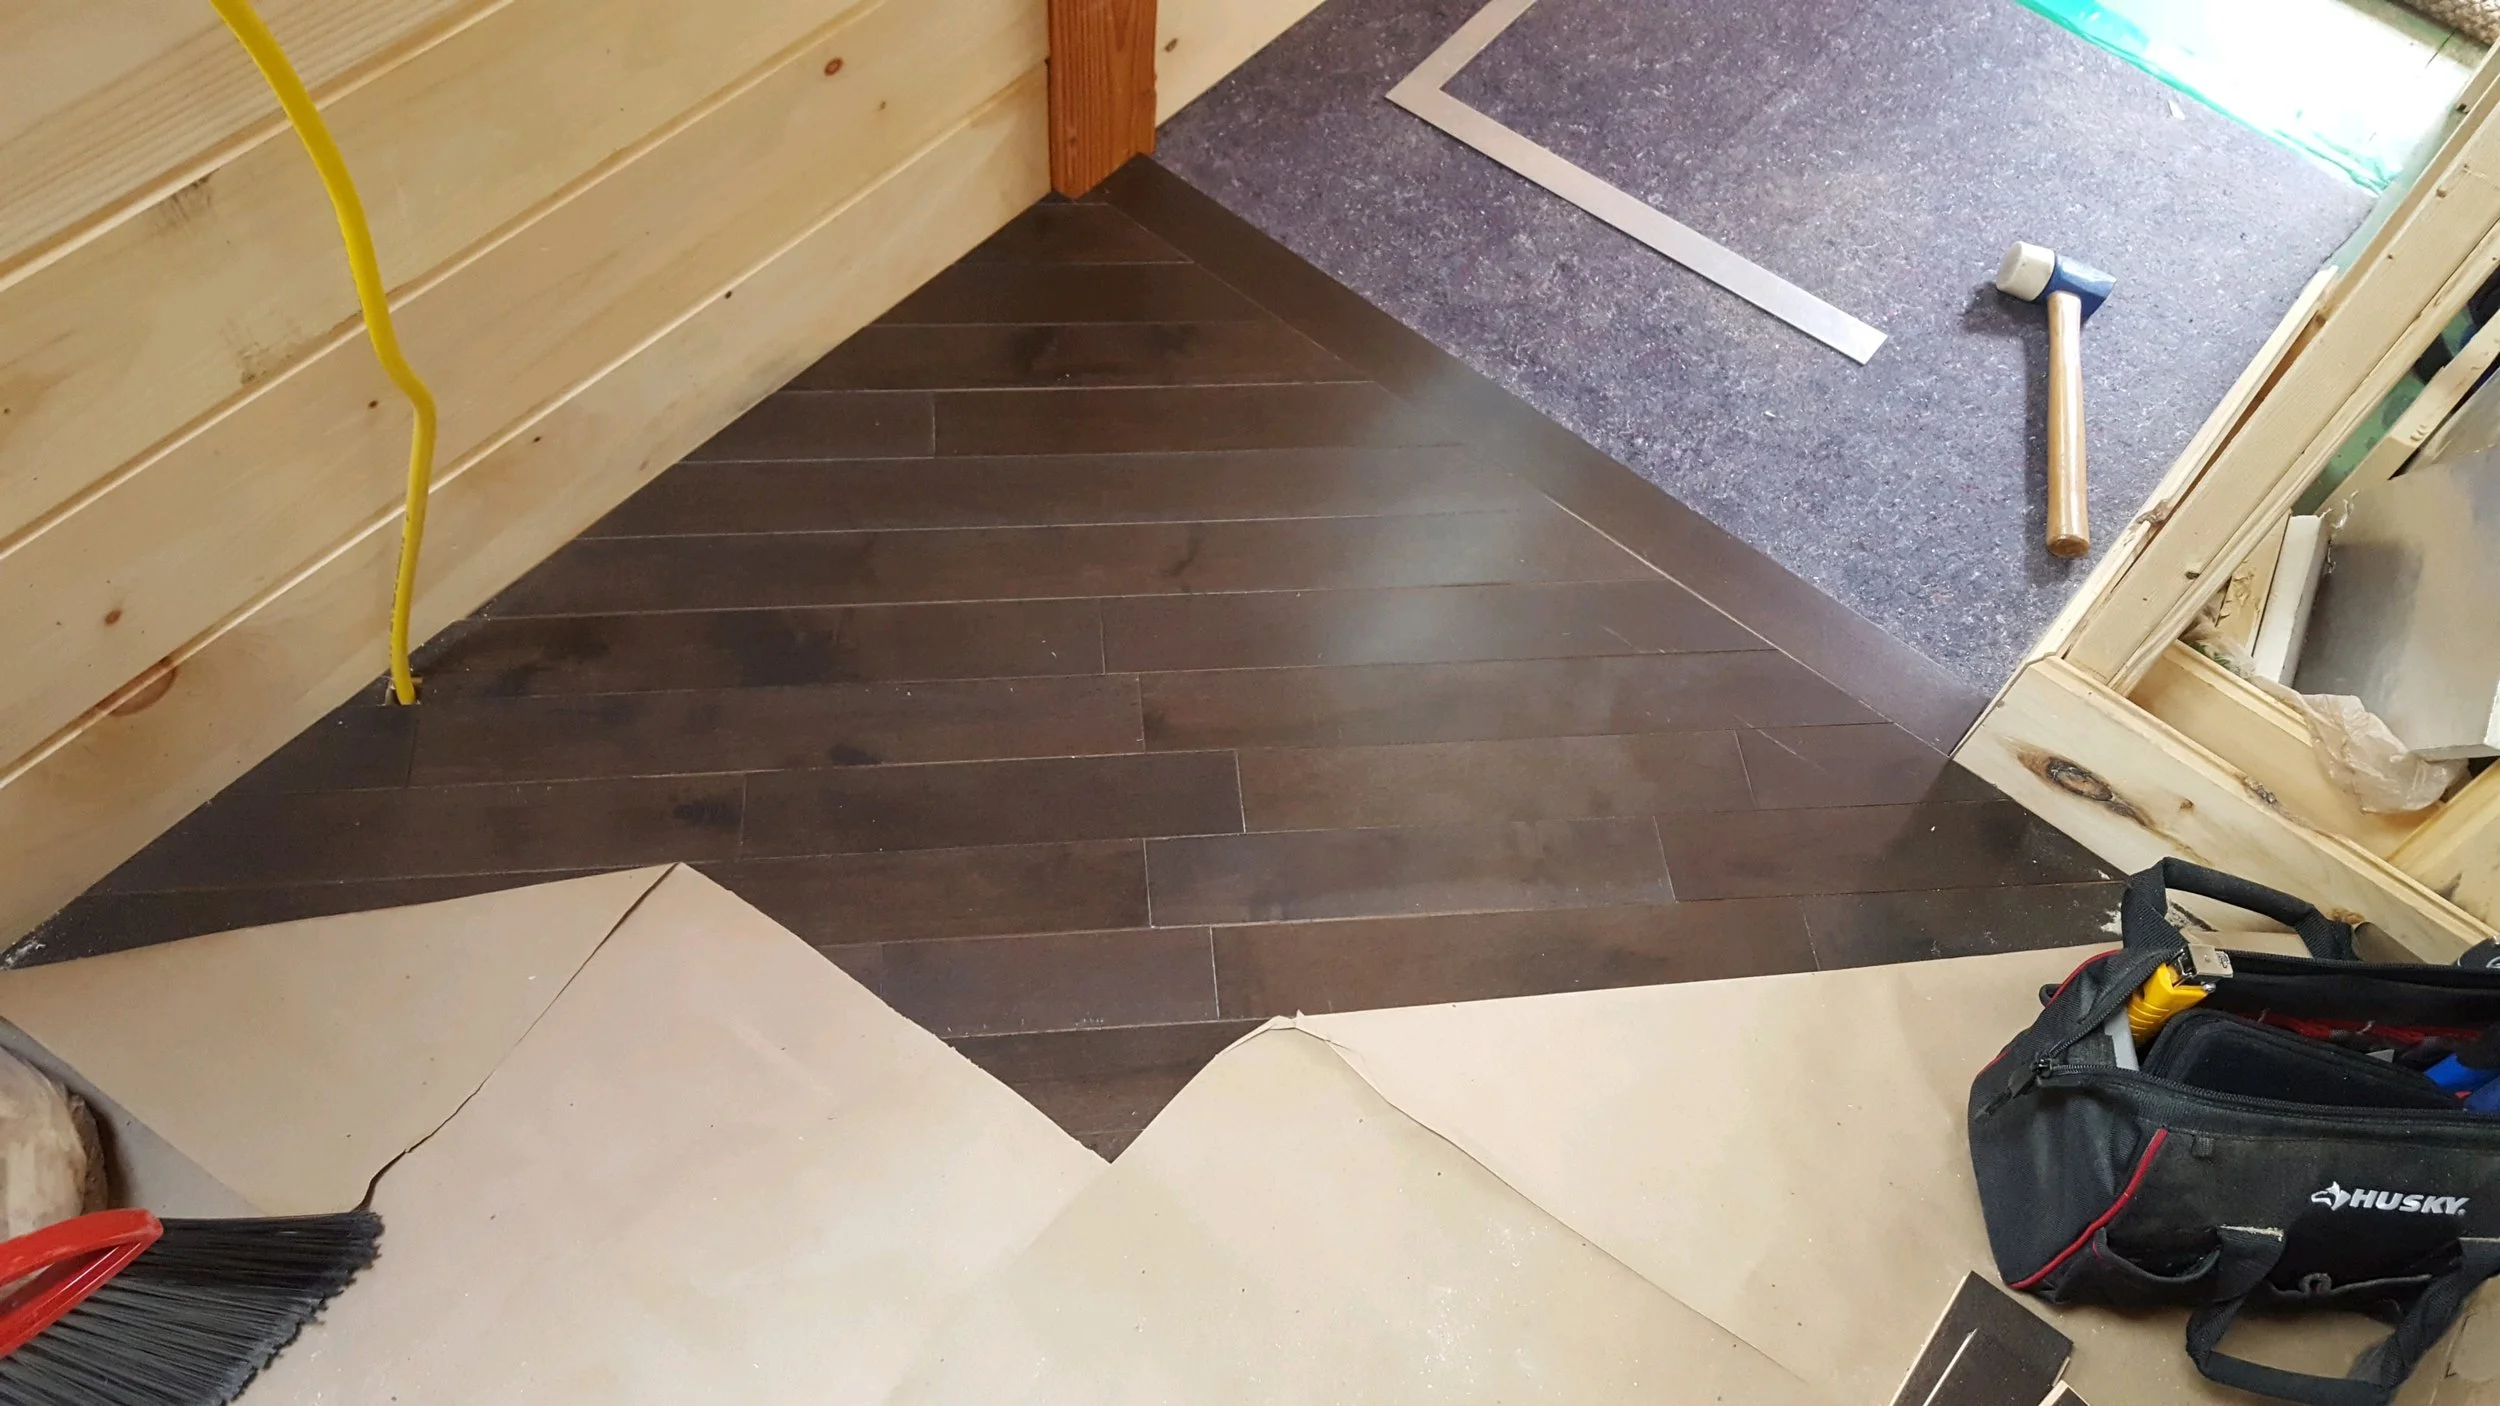
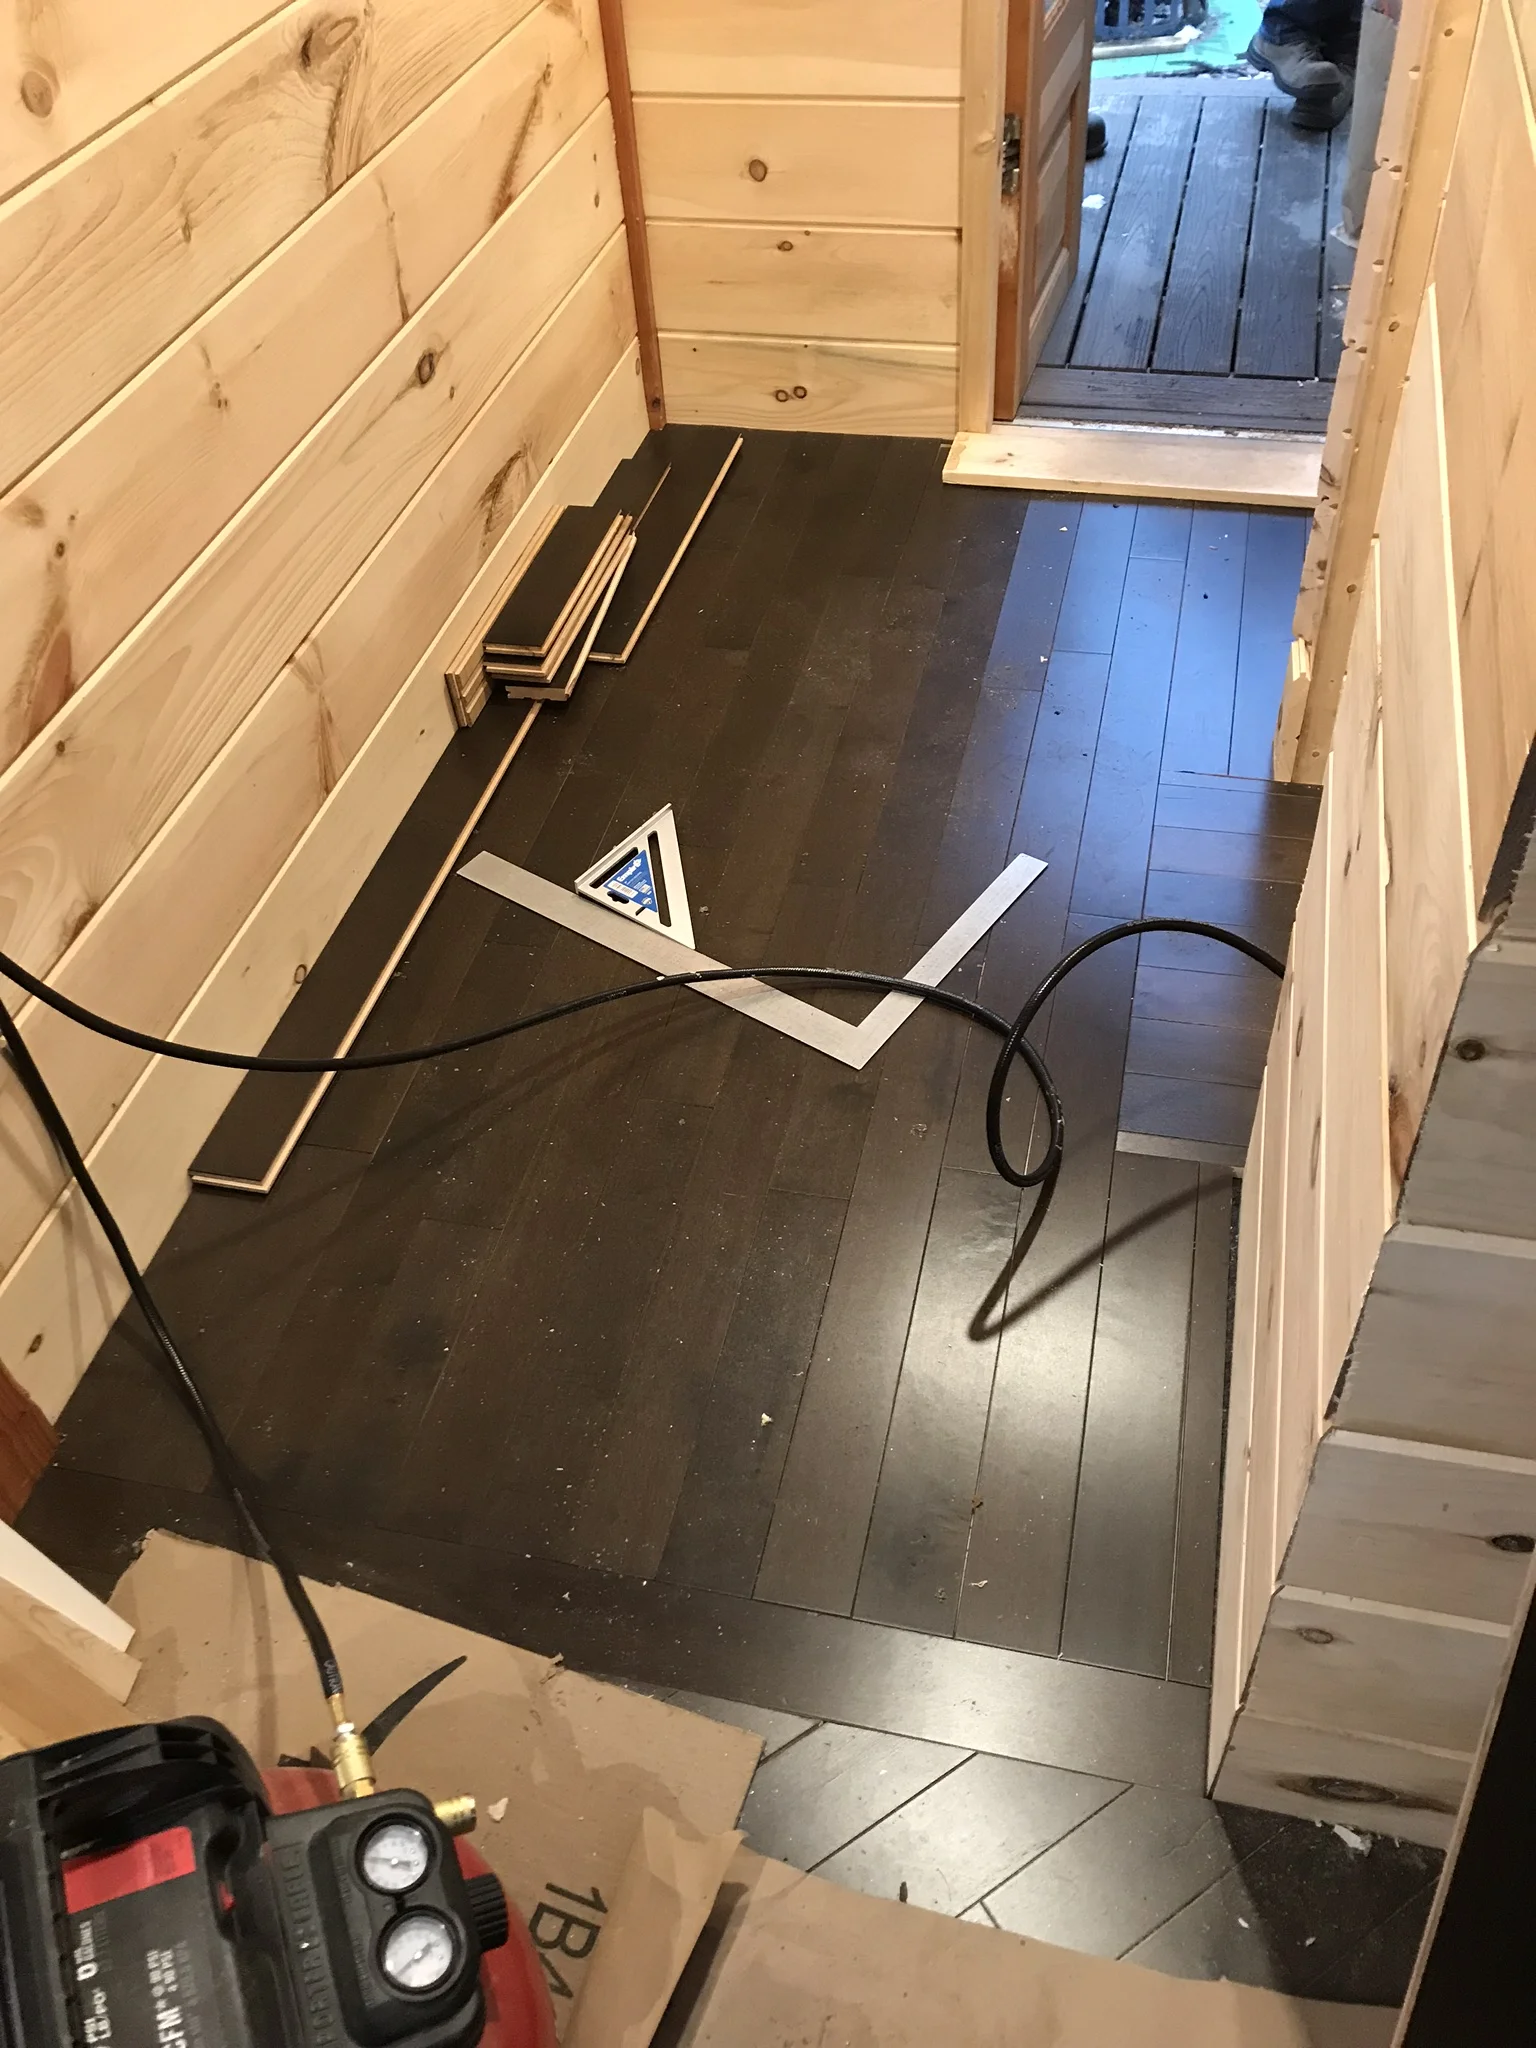
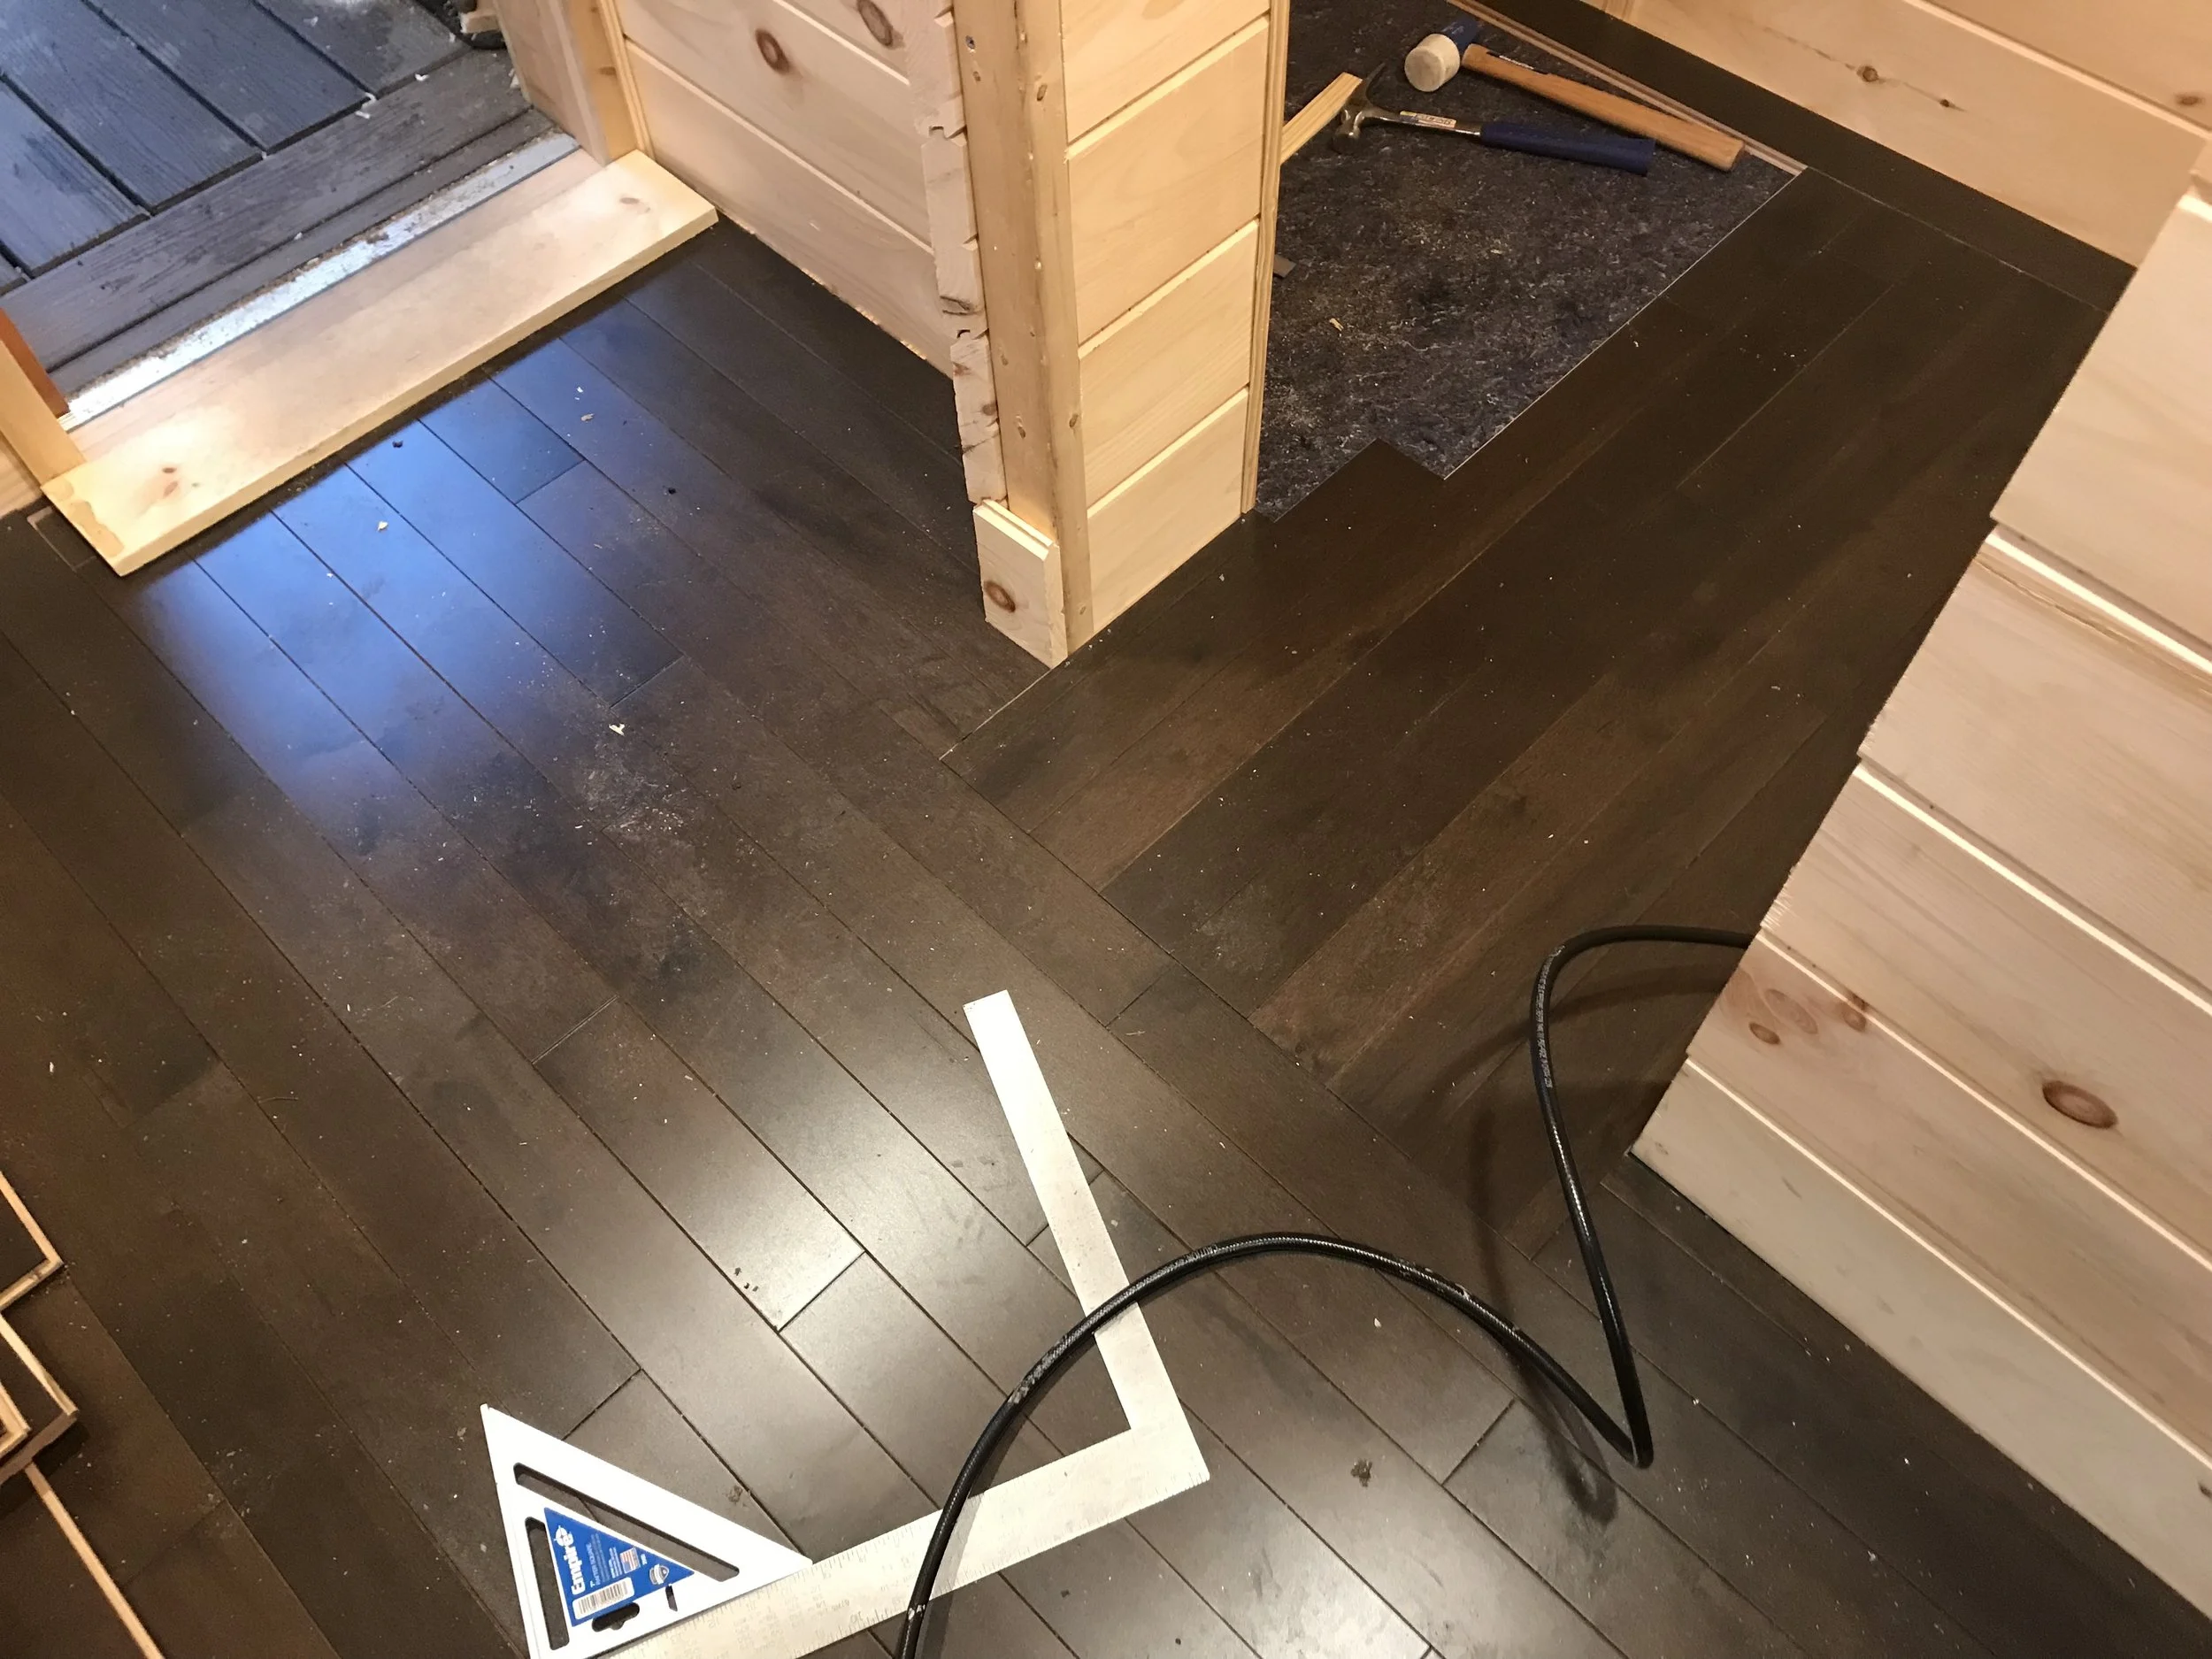
The next day, Tim returned for more flooring fun! We decided to stop the diagonals at the “mud room” and go with straight boards, just for something different to help distinguish the different rooms.

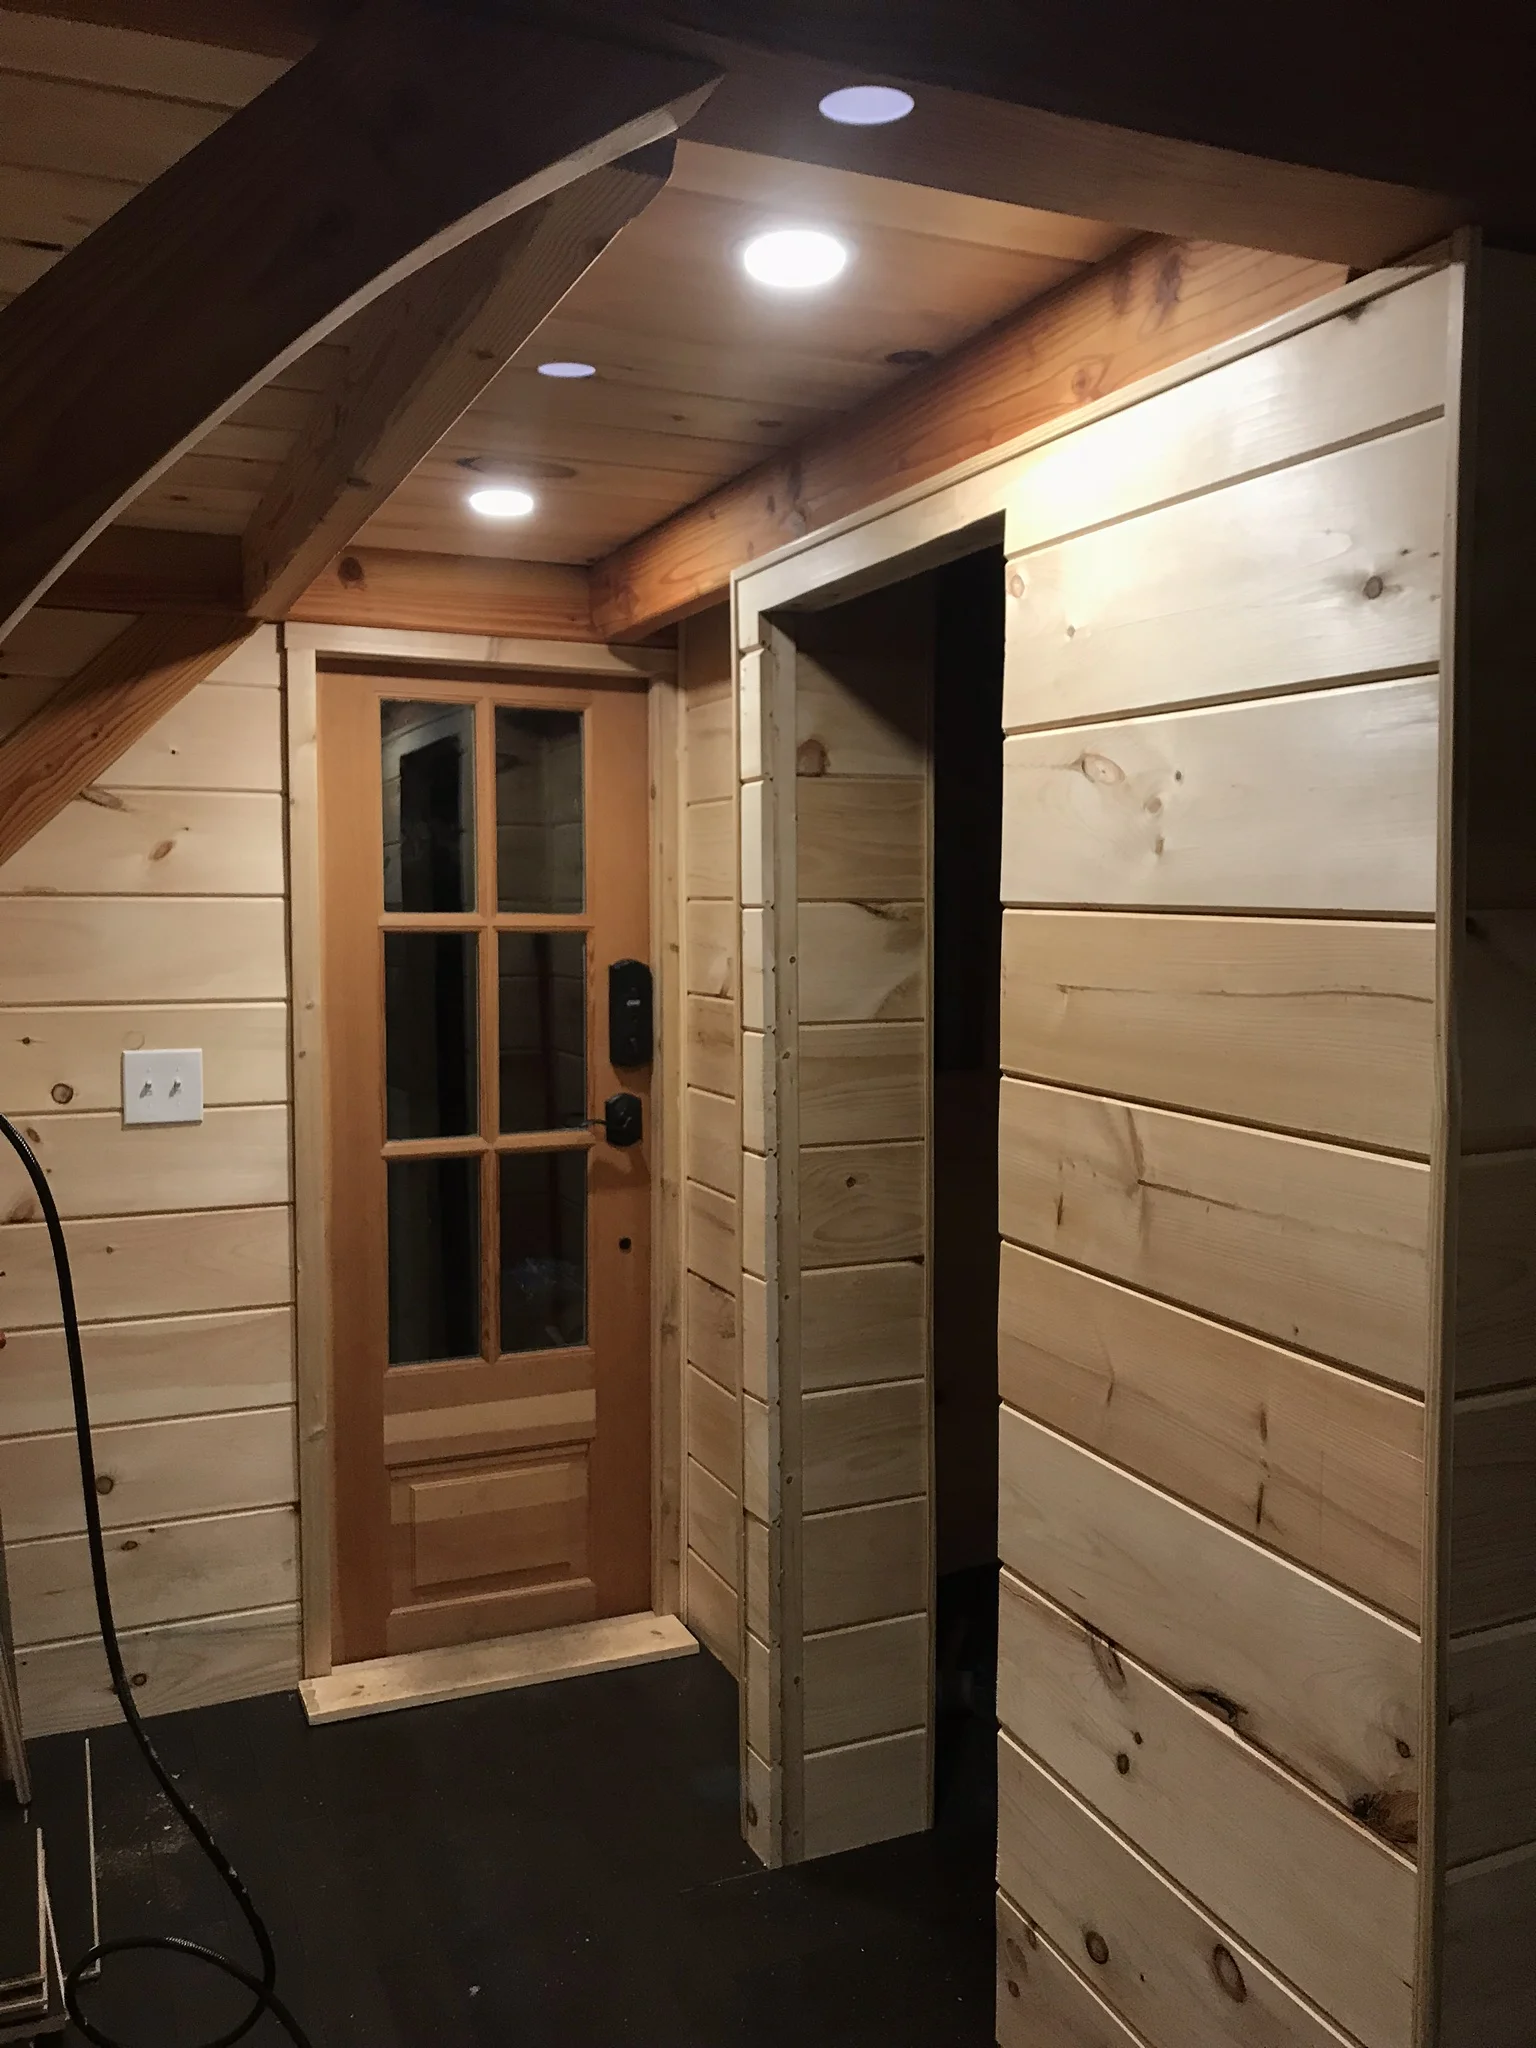
We turned the direction of the flooring again, into the bathroom.

The bathroom was probably the most difficult because it was so tiny and hard to move and stretch out!
Tadaaaaaa!!! Flooring done in a weekend! WHAT A FUN PROJECT. This job really helped make this house feel more and more like a livable space.

Finished bathroom flooring.
Finished kitchen flooring.

Transition from kitchen to front hall “mud room.”

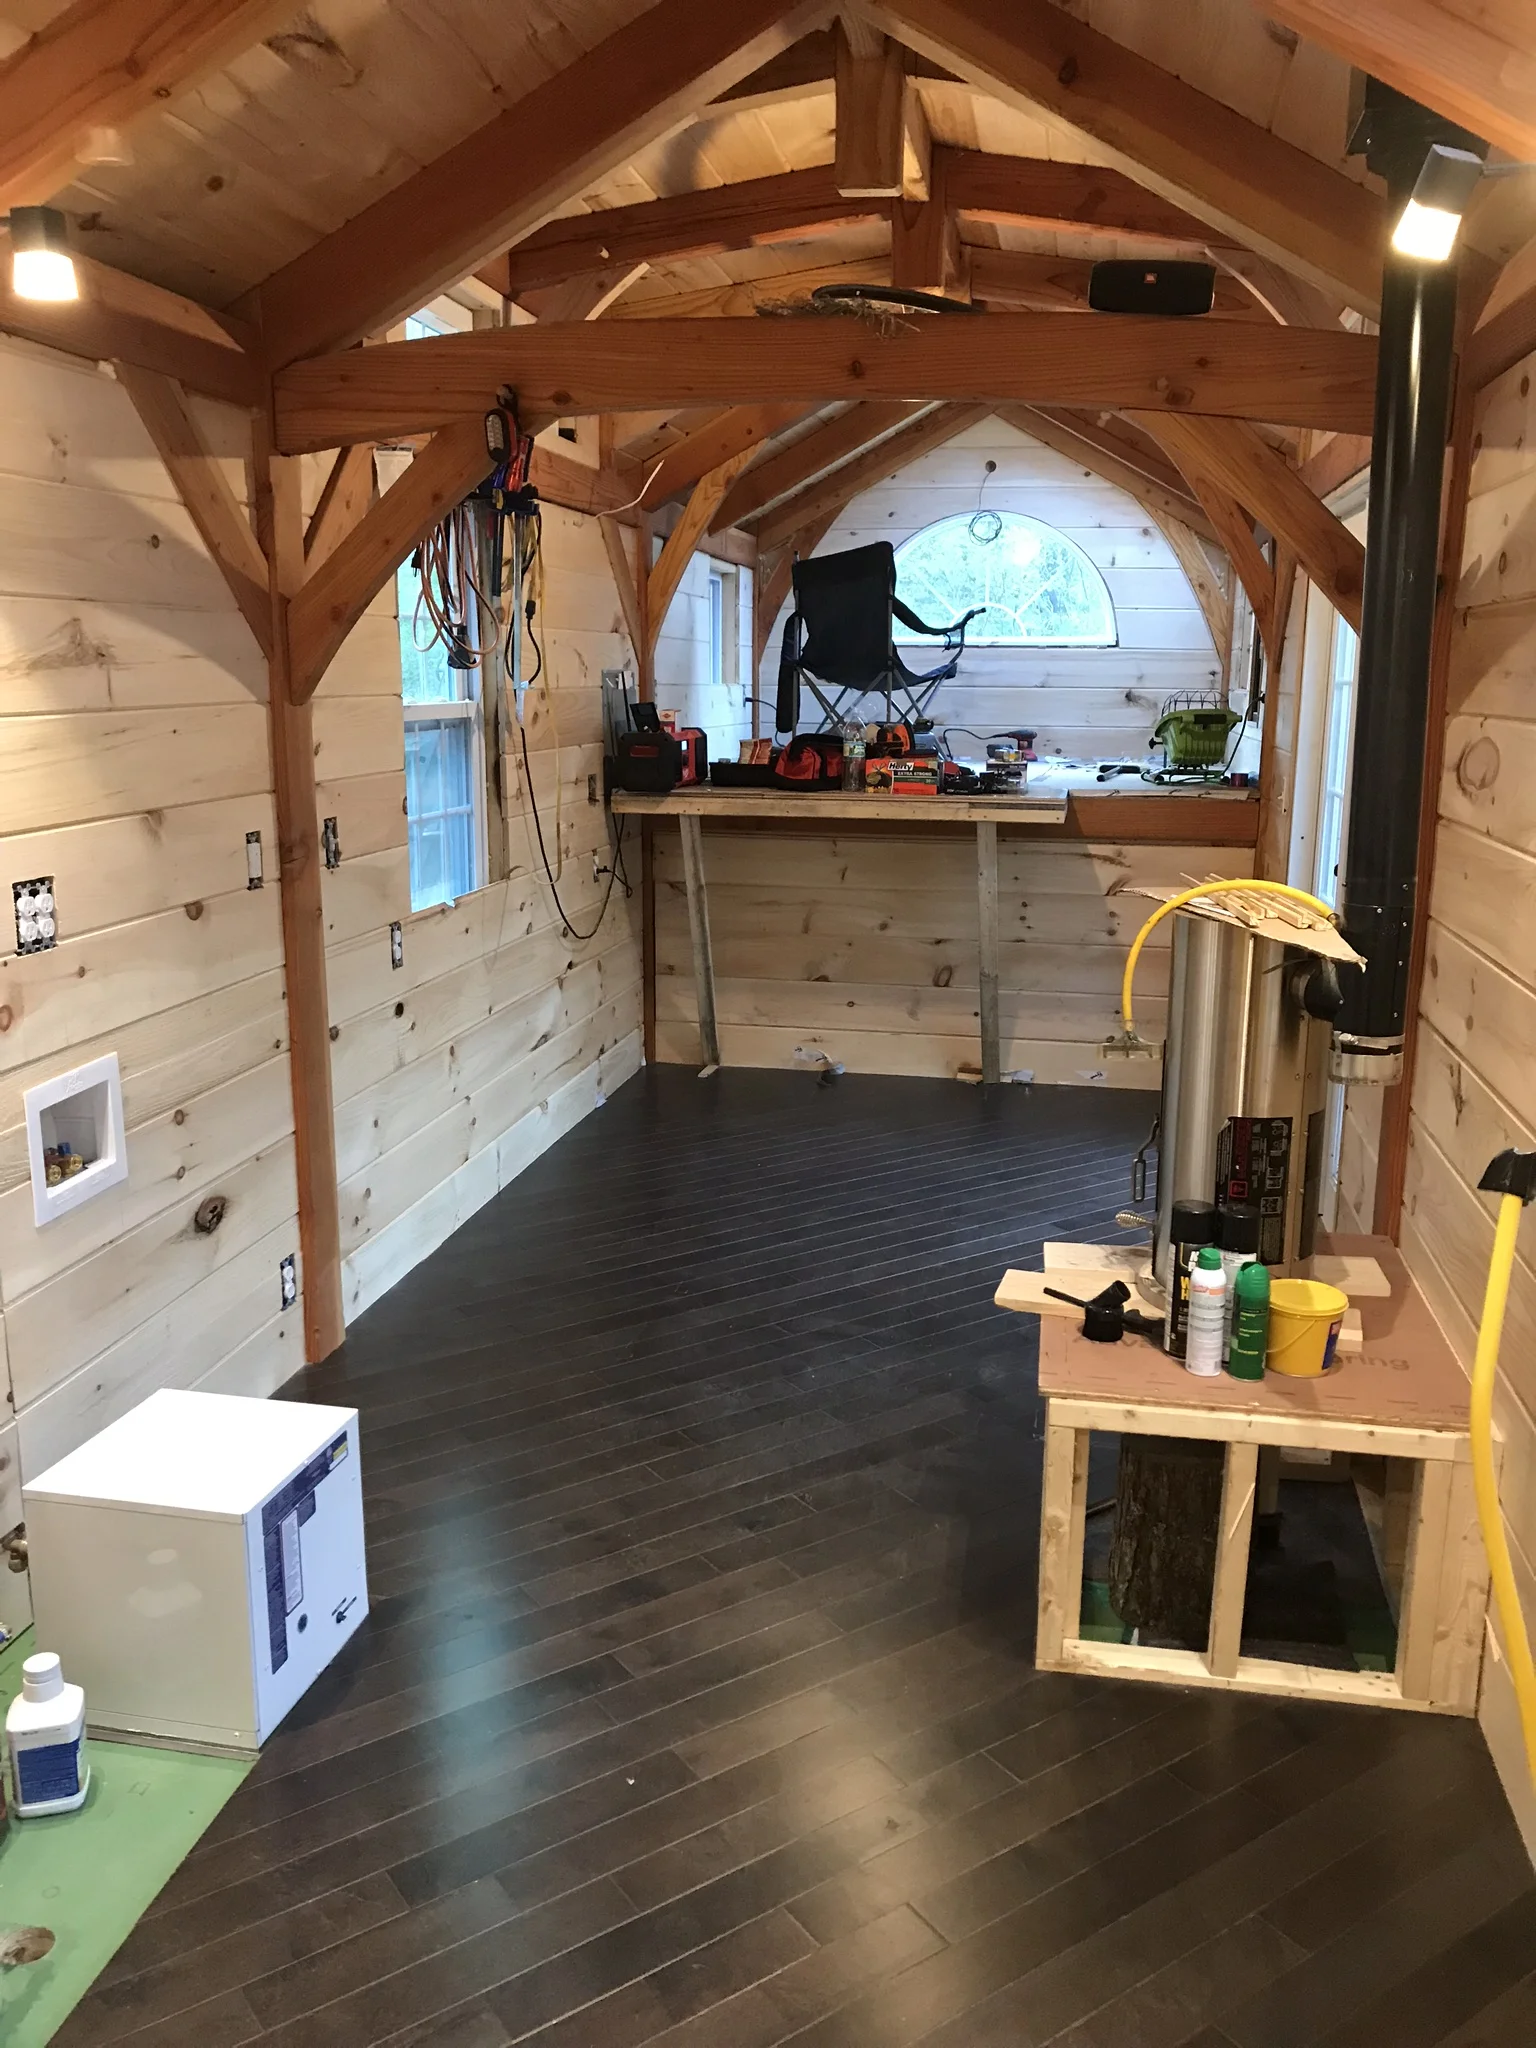
Finished living room (and bedroom) flooring.