Choosing and Preparing the Lumber
My father and I purchased discount lumber from a business in Tilton, NH that was relocating and trying to lighten their load before the move. We decided to go with douglas fir because of its strength, price, and weight Although it is a softwood, it is strong enough to allow for smaller members than a standard timber frame. Doug fir has a rich, rosy color and handsome grain and knot patterns.
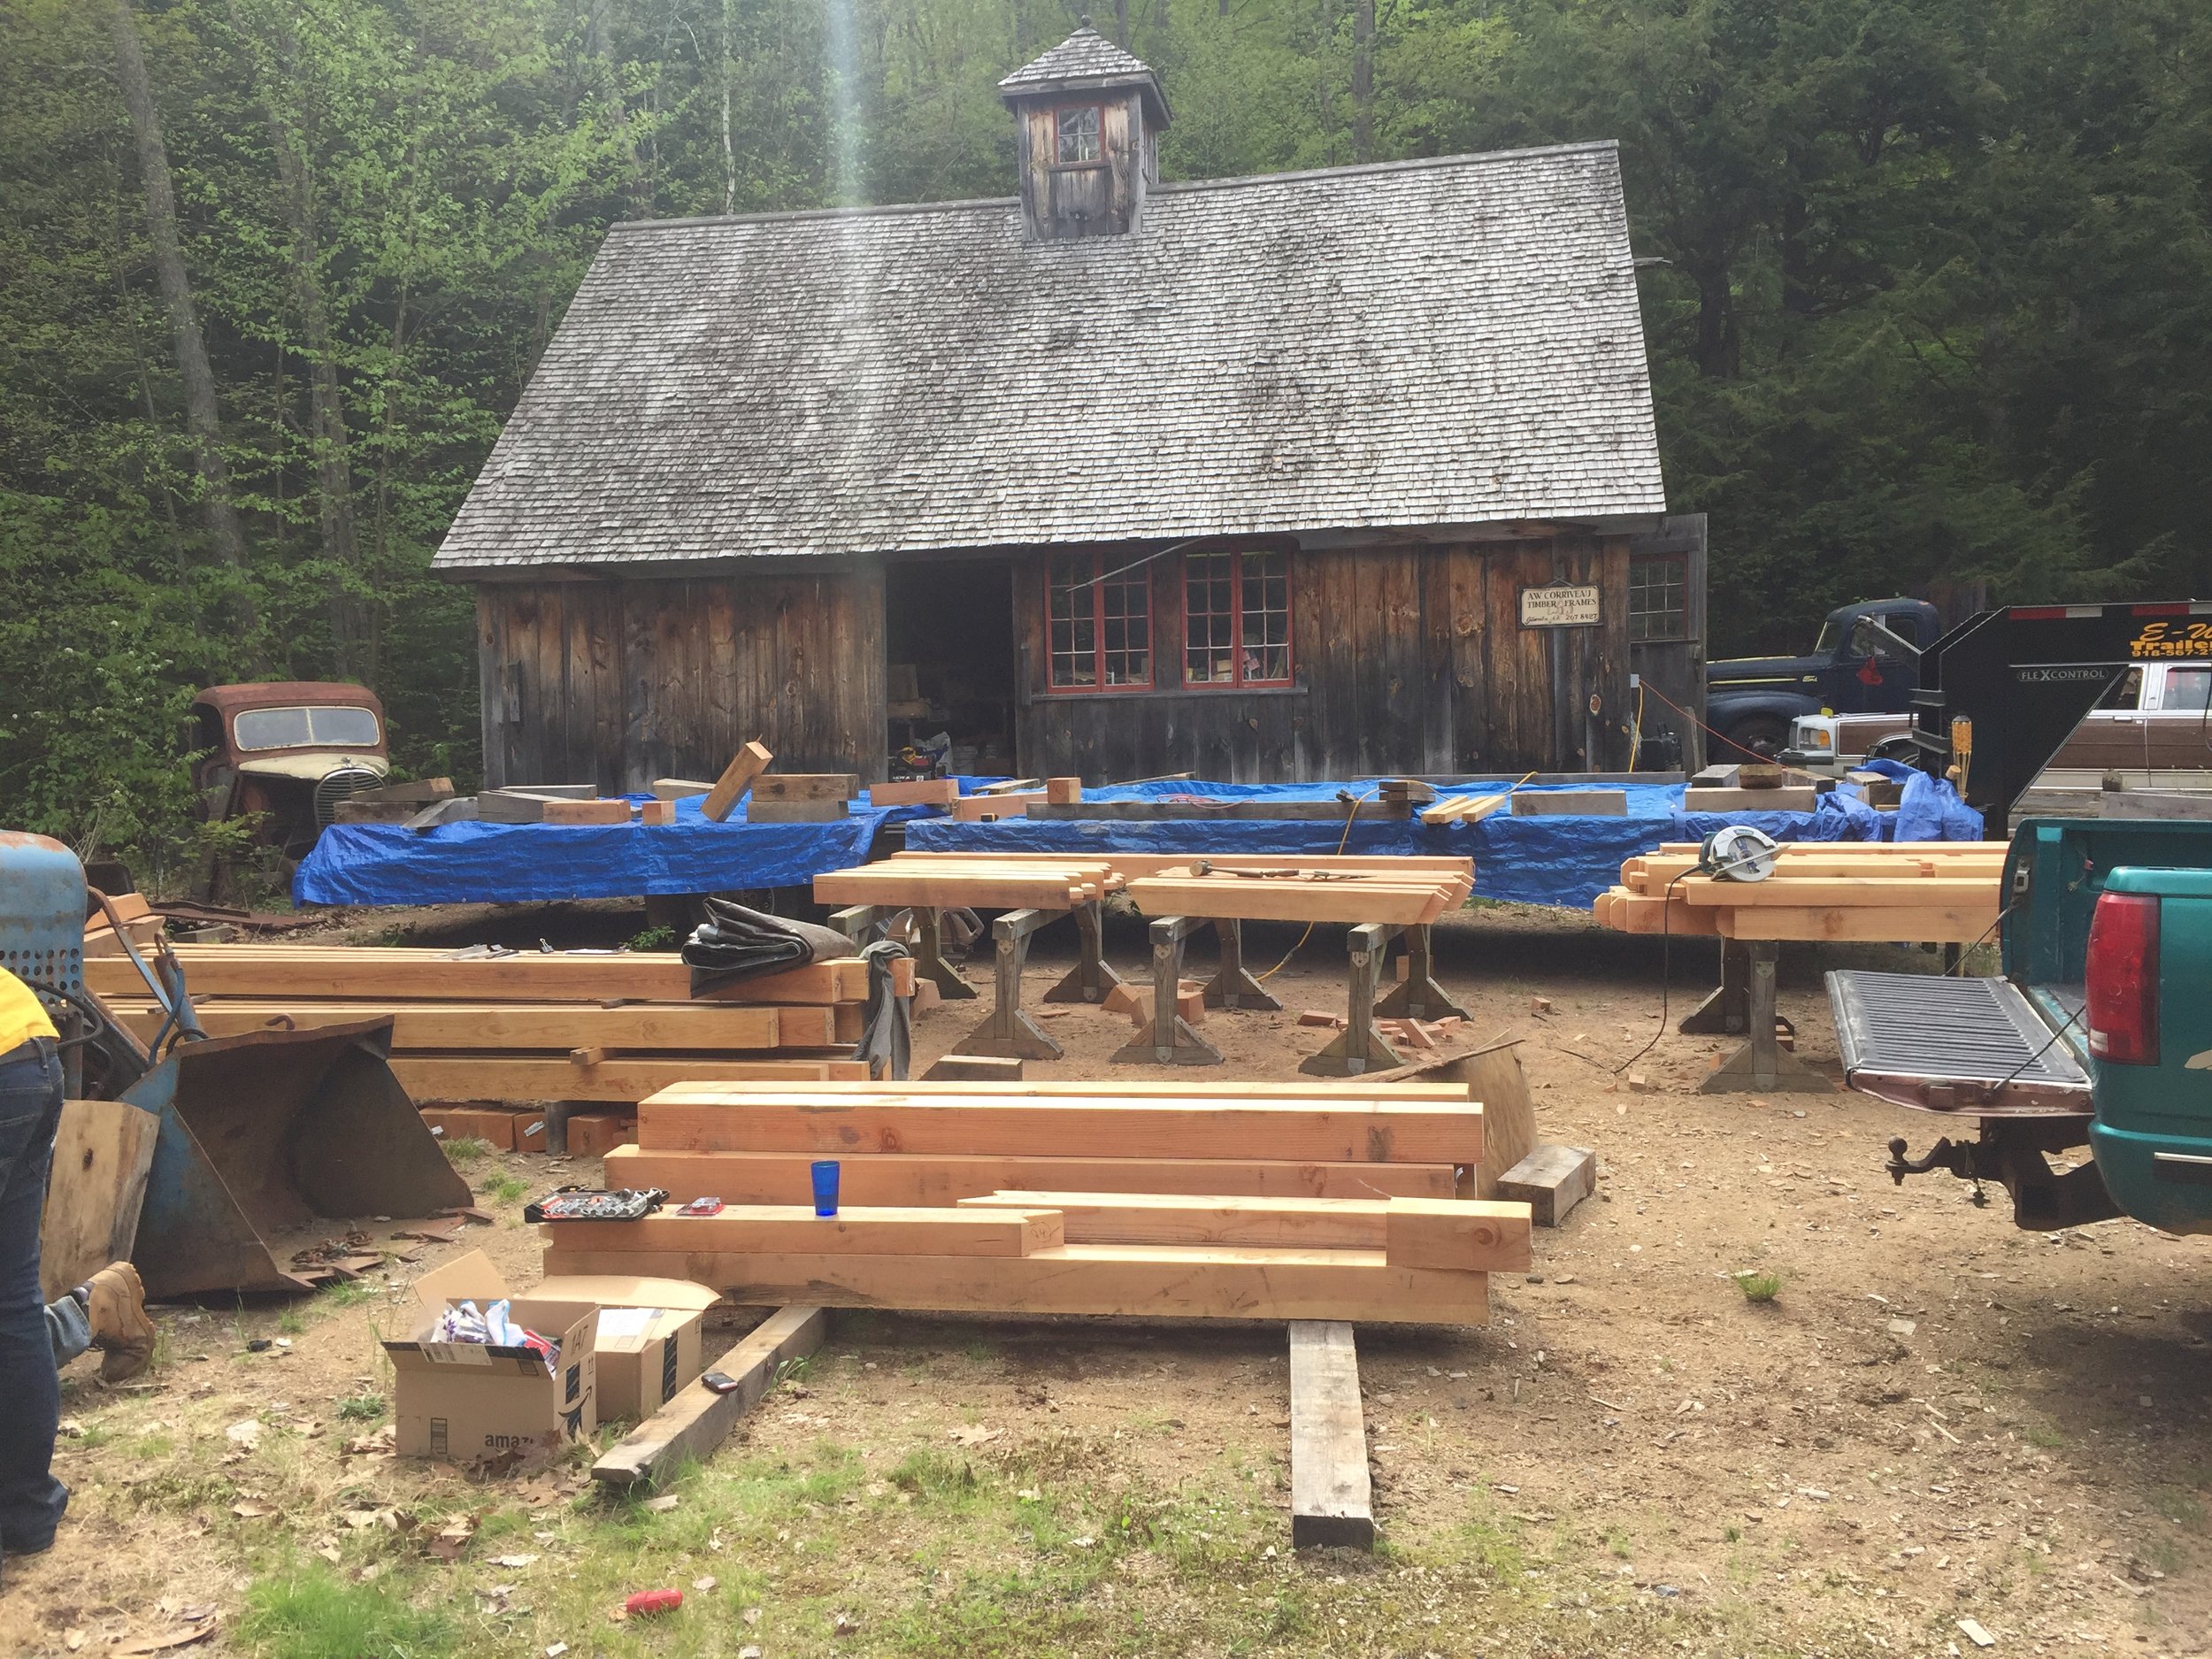
The only power tools used to prepare the lumber were: circular saws, a drill, belt sanders, and a mortise machine.


Most of the wood was chiseled away with chisels and timber frame mallets. This is a typical mortise chiseled out of a member for a tenon to fit in.

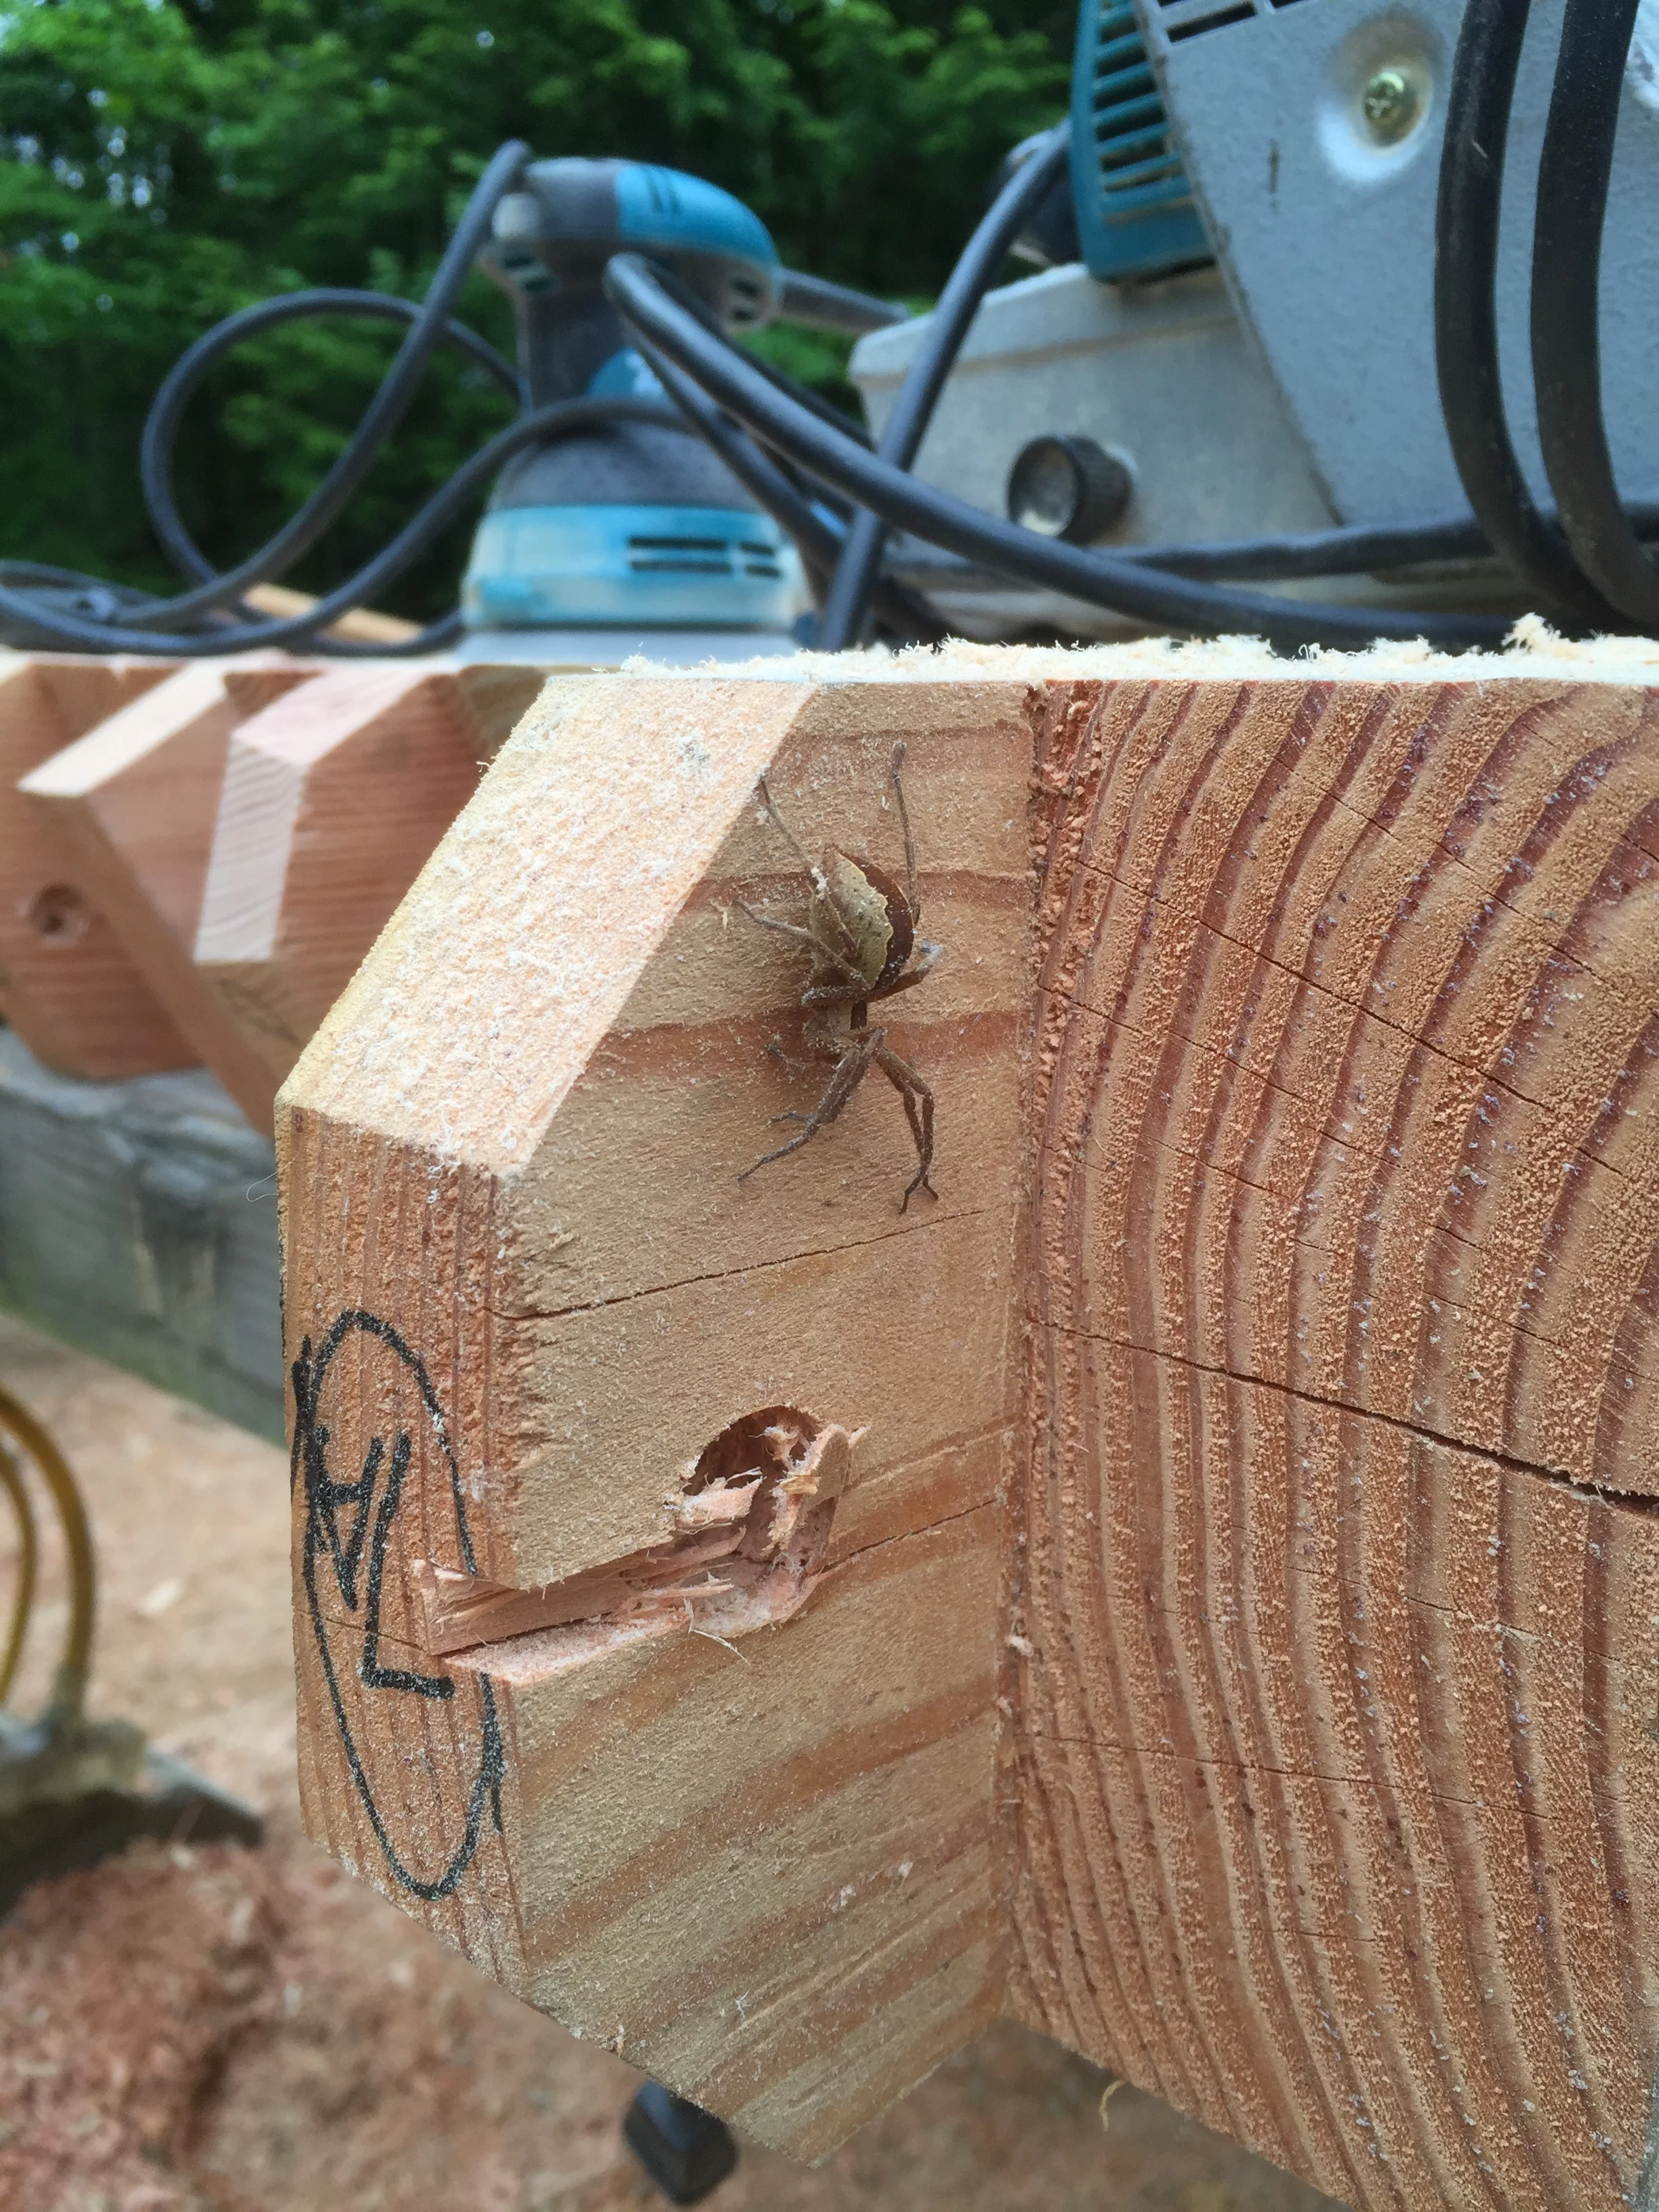
It was slow work and the bugs ate at us furiously on some of those April / May days!!

… and we had giant spider friends come visit the project.


The mortise machine saved us a lot of manual labor chiseling out the mortises in the center of the beams. It is basically a tiny chain saw on a stand that clamps down on the beam.


I’m pretty sure this was Brian’s favorite part!
Our good friend Cory liked this part, too!


I suppose we did use a band saw to cut out the curved tie beams and braces. Oh, and a router to detail the edges of each member to be exposed inside the house. :)


The douglas fir was very forgiving and easy to work with. When it came to the sanding process, we marked out each side of the beams that would be exposed on the interior For some members that meant only about one third of the side would be seen inside the house after the rest of the wall was installed. This way, we weren’t sanding more than we had to. We took a couple passes over each exposed side with the belt sander, then used the circular sander to get a nice, smooth finish.